

Fundamentals
Core
Master
Shaders
Water Shader
Summer is coming (at least when I'm writing this lesson), it's time to create a pool party! 🩳
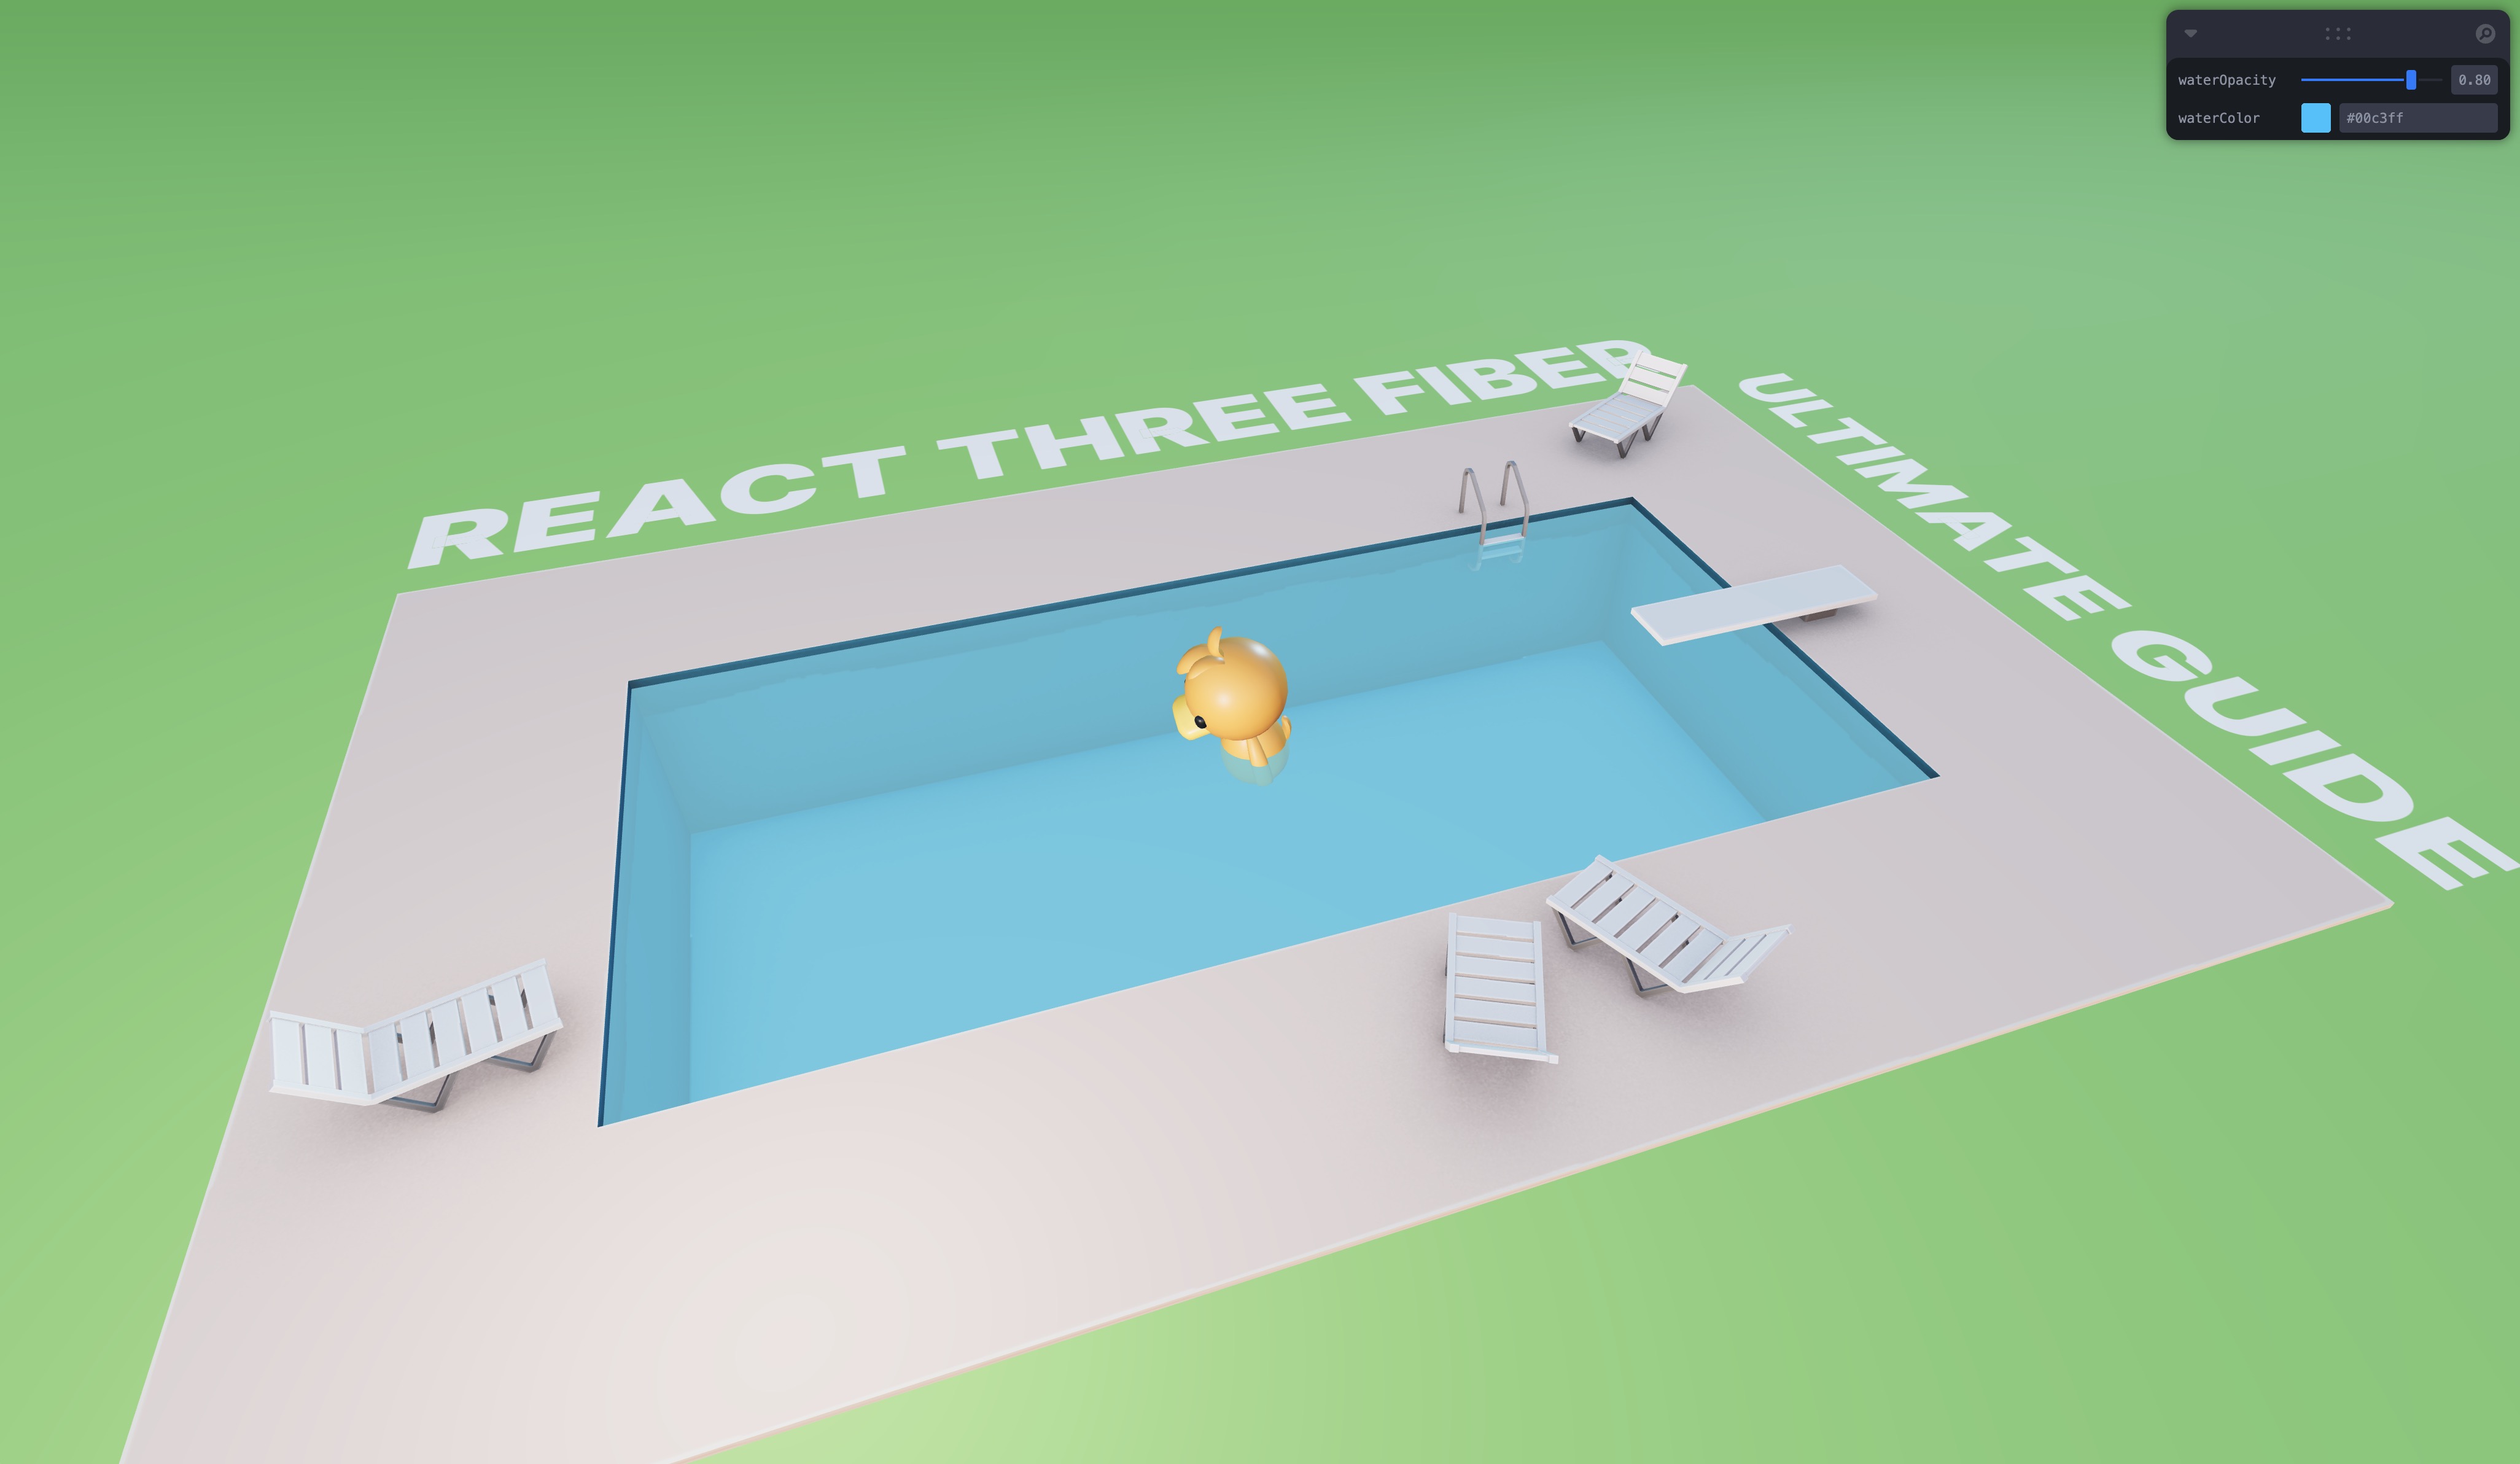
In this lesson, we will create the following water effect using React Three Fiber and GLSL:
The foam is more dense around the edges of the pool and around the duck.
To create this effect we will discover Lygia Shader library to simplify the creation of shaders and we will put into practice the render target technique to create the foam effect.
Starter pack
The starter pack for this lesson includes the following assets:
- Swimming pool model by Poly by Google CC-BY via Poly Pizza
- Duck model from Pmndrs marketplace
- Inter font from Google Fonts
The rest is simple lighting and camera setup.
A sunny day at the pool 🏊
Water shader
The water is just a simple plane with a <meshBasicMaterial /> applied to it. We will replace this material with a custom shader.
Let's create a new file WaterMaterial.jsx with a boilerplate for a shader material:
import { shaderMaterial } from "@react-three/drei"; import { Color } from "three"; export const WaterMaterial = shaderMaterial( { uColor: new Color("skyblue"), uOpacity: 0.8, }, /*glsl*/ ` varying vec2 vUv; void main() { vUv = uv; gl_Position = projectionMatrix * modelViewMatrix * vec4(position, 1.0); }`, /*glsl*/ ` varying vec2 vUv; uniform vec3 uColor; uniform float uOpacity; void main() { gl_FragColor = vec4(uColor, uOpacity); #include <tonemapping_fragment> #include <encodings_fragment> }` );
Our material has two uniforms: uColor and uOpacity.
To be able to use our custom material declaratively, let's use the extend function from @react-three/fiber in the main.jsx file:
// ... import { extend } from "@react-three/fiber"; import { WaterMaterial } from "./components/WaterMaterial.jsx"; extend({ WaterMaterial }); // ...
We need to do the
extendcall from a file that is imported before the component that uses the custom material. This way, we will be able to use theWaterMaterialdeclaratively in our components.That's why we do it in the
main.jsxfile instead of theWaterMaterial.jsxfile.
Now in Water.jsx, we can replace the <meshBasicMaterial /> with our custom material and adjust the properties with the corresponding uniforms:
import { useControls } from "leva"; import { Color } from "three"; export const Water = ({ ...props }) => { const { waterColor, waterOpacity } = useControls({ waterOpacity: { value: 0.8, min: 0, max: 1 }, waterColor: "#00c3ff", }); return ( <mesh {...props}> <planeGeometry args={[15, 32, 22, 22]} /> <waterMaterial uColor={new Color(waterColor)} transparent uOpacity={waterOpacity} /> </mesh> ); };
We successfully replaced the basic material with our custom shader material.
Lygia Shader Library
To create an animated foam effect, we will use the Lygia Shader library. This library simplifies the creation of shaders by providing a set of utilities and functions to create shaders in a more declarative way.
The section that will interest us is the generative one. It contains a set of useful functions to create generative effects like noise, curl, fbm.
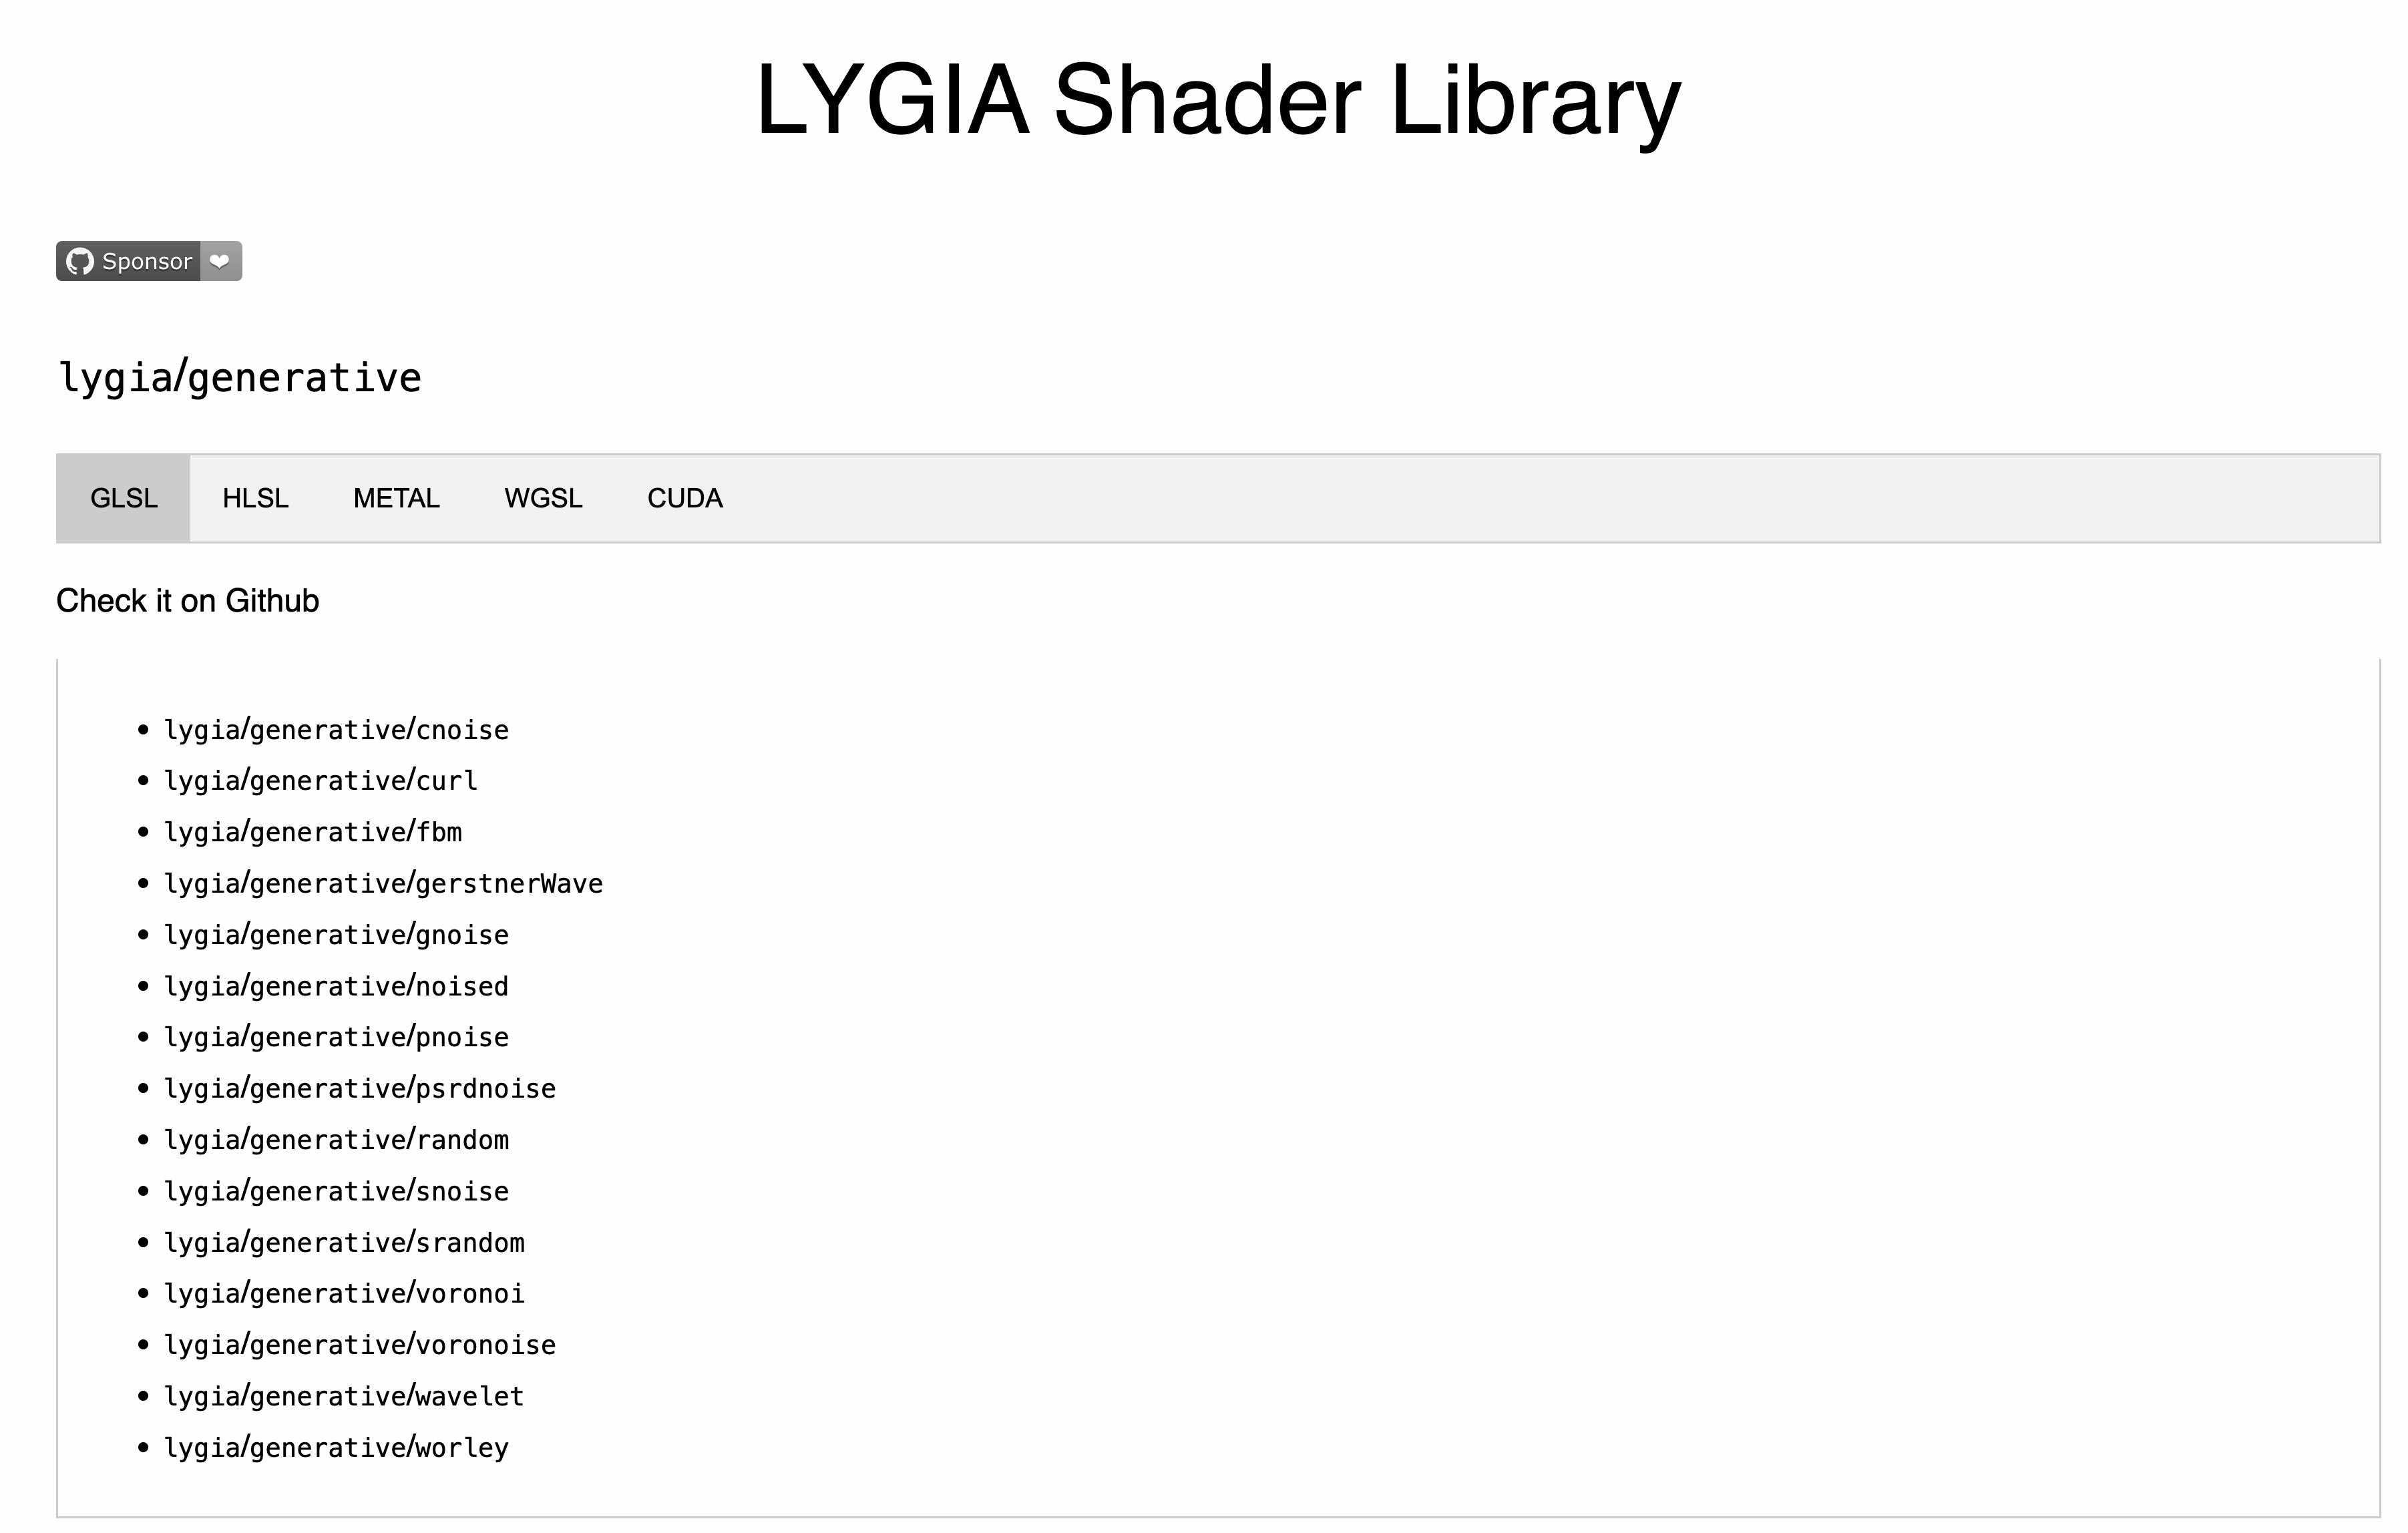
Within the generative section, you can find the list of functions available.
By opening one of the functions, you can see the code snippet to use it in your shader and a preview of the effect.
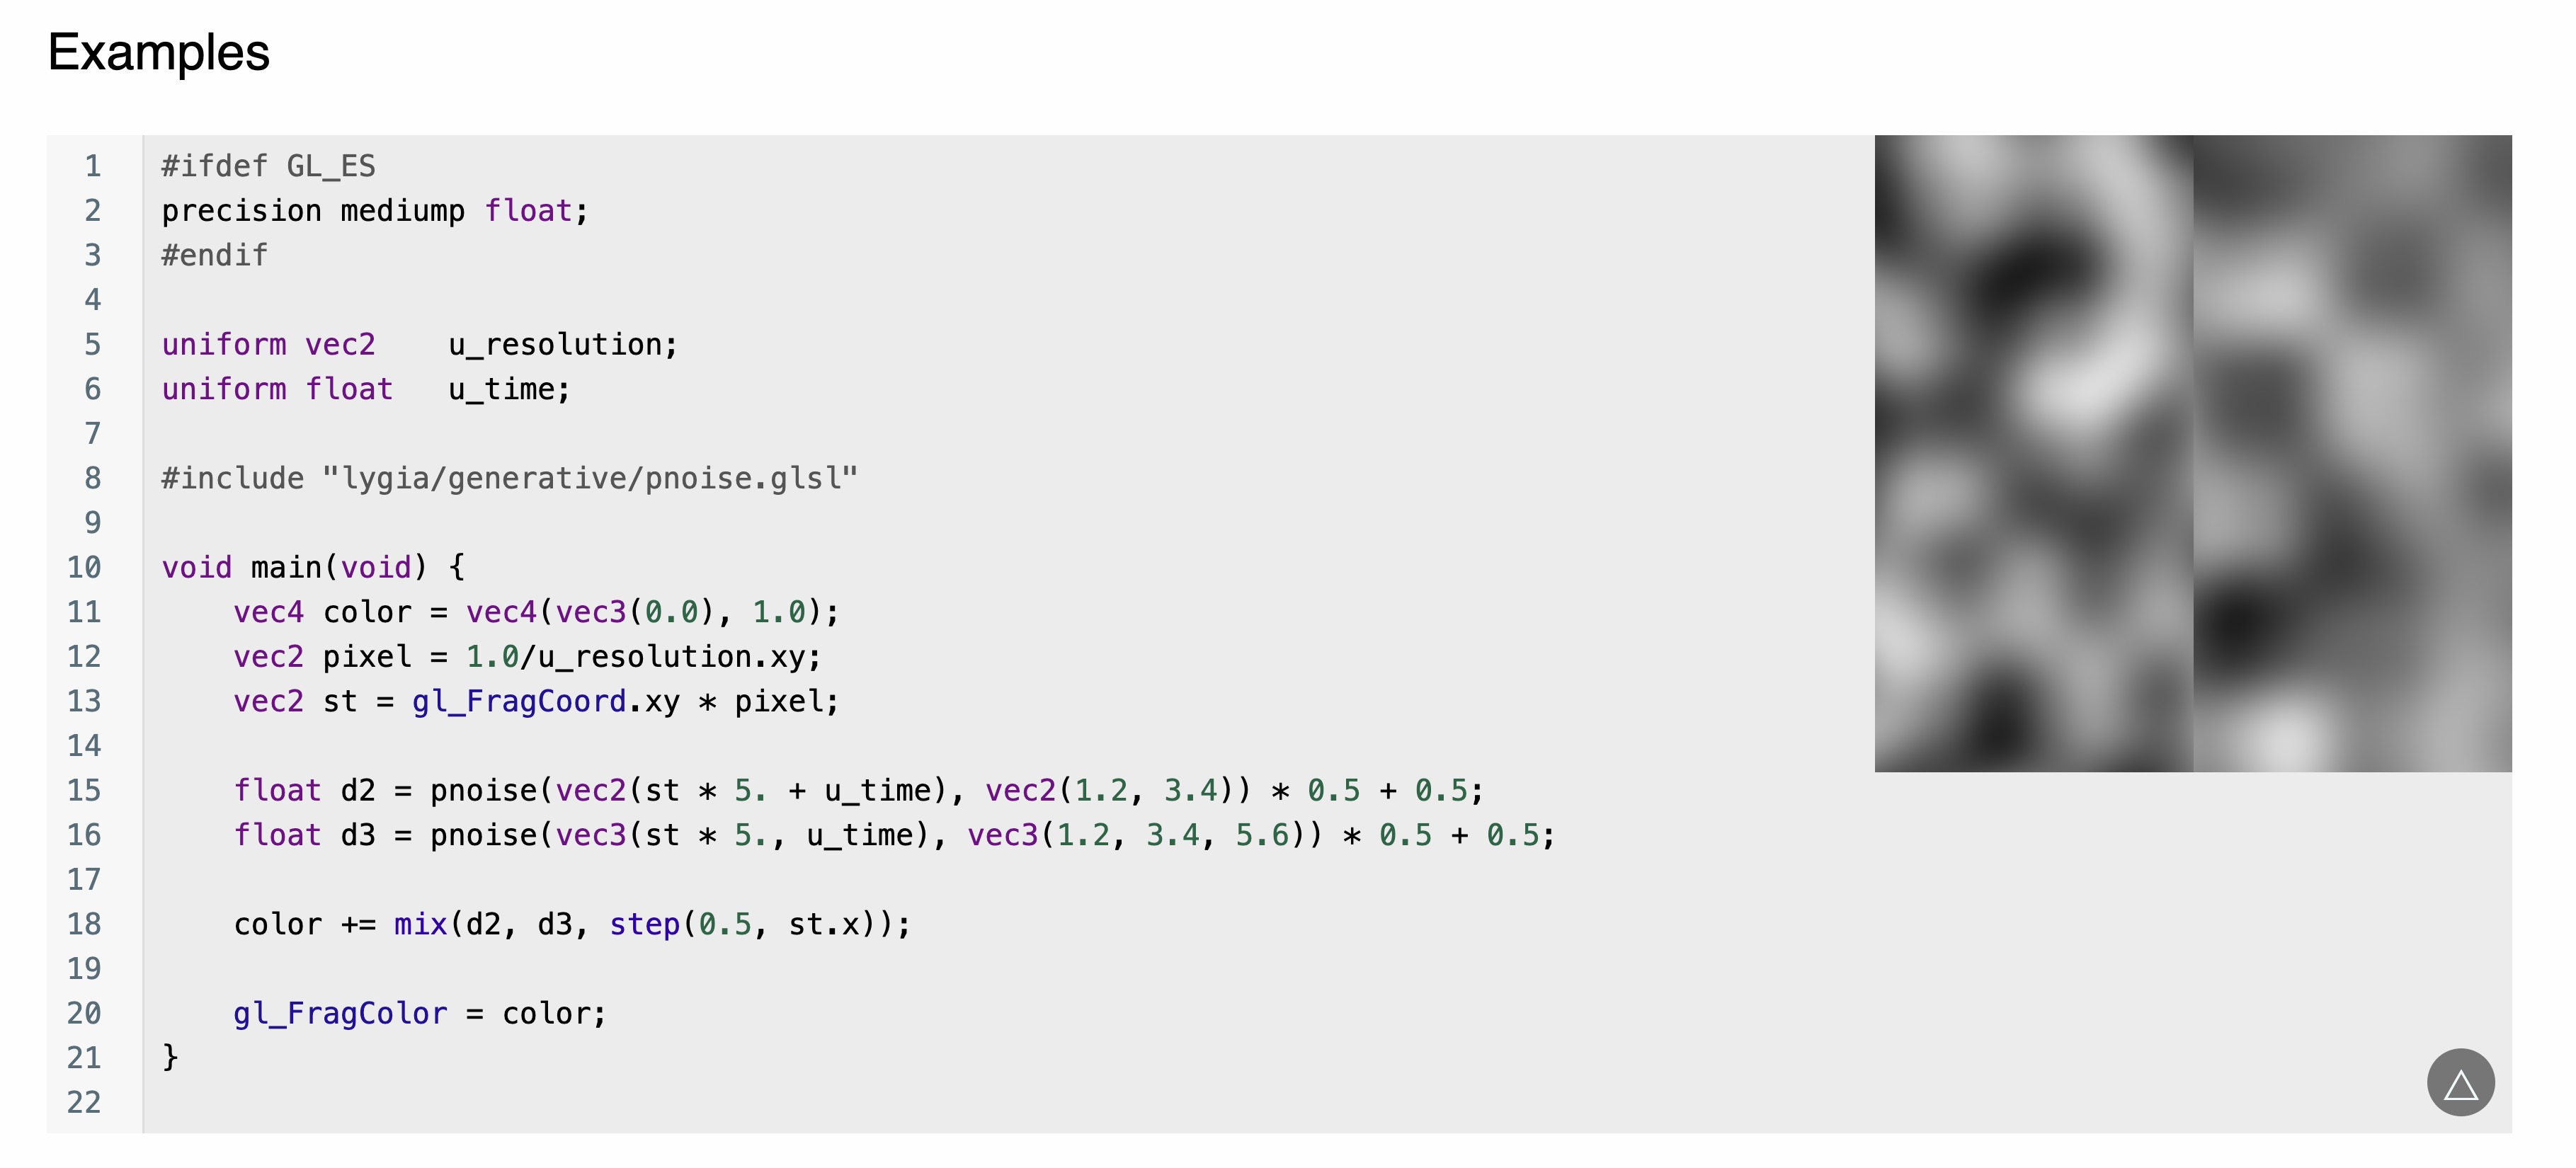
pnoise function page
This is the effect we want to use. You can see in the example that to be able to use the pnoise function, they include the pnoise shader file. We will do the same.
Resolve Lygia
To be able to use the Lygia Shader library in our project, we have two options:
- Copy the content of the library into our project and import the files we need. (We have seen how to import GLSL files in the shaders introduction lesson)
- Use a library named
resolve-lygiathat will resolve the Lygia Shader library from the web and automatically replace the#includedirectives related to lygia with the content of the files.
Depending on your project, how many effects you want to use, and if you are using other shader libraries, you may prefer one solution over the other.
In this lesson, we will use the resolve-lygia library. To install it, run the following command:
yarn add resolve-lygia
Then, to use it we simply need to wrap our fragment and/or vertex shader code with the resolveLygia function:
// ... import { resolveLygia } from "resolve-lygia"; export const WaterMaterial = shaderMaterial( { uColor: new Color("skyblue"), uOpacity: 0.8, }, /*glsl*/ ` varying vec2 vUv; void main() { vUv = uv; gl_Position = projectionMatrix * modelViewMatrix * vec4(position, 1.0); }`, resolveLygia(/*glsl*/ ` varying vec2 vUv; uniform vec3 uColor; uniform float uOpacity; void main() { gl_FragColor = vec4(uColor, uOpacity); #include <tonemapping_fragment> #include <encodings_fragment> }`) );
We will only need to use the resolveLygia function for the fragment shader in this lesson.
We can now use the pnoise function in our shader:
#include "lygia/generative/pnoise.glsl" varying vec2 vUv; uniform vec3 uColor; uniform float uOpacity; void main() { float noise = pnoise(vec3(vUv * 10.0, 1.0), vec3(100.0, 24.0, 112.0)); vec3 black = vec3(0.0); vec3 finalColor = mix(uColor, black, noise); gl_FragColor = vec4(finalColor, uOpacity); #include <tonemapping_fragment> #include <encodings_fragment> }
We multiply the vUv by 10.0 to make the noise more visible and we use the pnoise function to create the noise effect. We mix the uColor with black based on the noise value to create the final color.
We can see the noise effect applied to the water.
⚠️ Resolve Lygia seems to have some downtime issues from time to time. If you encounter any issues, you can use Glslify library or copy the files from the Lygia Shader library you need and use the glsl files as we did in the shaders introduction lesson.
Foam effect
The noise effect is the fundation of our foam effect. Before fine-tuning the effect, let's create the uniforms we will need to have full control over the foam effect.
WaterMaterial.jsx:
import { shaderMaterial } from "@react-three/drei"; import { resolveLygia } from "resolve-lygia"; import { Color } from "three"; export const WaterMaterial = shaderMaterial( { uColor: new Color("skyblue"), uOpacity: 0.8, uTime: 0, uSpeed: 0.5, uRepeat: 20.0, uNoiseType: 0, uFoam: 0.4, uFoamTop: 0.7, }, /*glsl*/ ` varying vec2 vUv; void main() { vUv = uv; gl_Position = projectionMatrix * modelViewMatrix * vec4(position, 1.0); }`, resolveLygia(/*glsl*/ ` #include "lygia/generative/pnoise.glsl" varying vec2 vUv; uniform vec3 uColor; uniform float uOpacity; uniform float uTime; uniform float uSpeed; uniform float uRepeat; uniform int uNoiseType; uniform float uFoam; uniform float uFoamTop; void main() { float noise = pnoise(vec3(vUv * 10.0, 1.0), vec3(100.0, 24.0, 112.0)); vec3 black = vec3(0.0); vec3 finalColor = mix(uColor, black, noise); gl_FragColor = vec4(finalColor, uOpacity); #include <tonemapping_fragment> #include <encodings_fragment> }`) );
We added the following uniforms:
uTime: to animate the foam effectuSpeed: to control the speed of the effect animationuRepeat: to scale the noise effectuNoiseType: to switch between different noise functionsuFoam: to control the threshold when the foam effect startsuFoamTop: to control the threshold at which the foam gets denser
Now we need to apply these uniforms on the material.
Water.jsx:
import { useFrame } from "@react-three/fiber"; import { useControls } from "leva"; import { useRef } from "react"; import { Color } from "three"; export const Water = ({ ...props }) => { const waterMaterialRef = useRef(); const { waterColor, waterOpacity, speed, noiseType, foam, foamTop, repeat } = useControls({ waterOpacity: { value: 0.8, min: 0, max: 1 }, waterColor: "#00c3ff", speed: { value: 0.5, min: 0, max: 5 }, repeat: { value: 30, min: 1, max: 100, }, foam: { value: 0.4, min: 0, max: 1, }, foamTop: { value: 0.7, min: 0, max: 1, }, noiseType: { value: 0, options: { Perlin: 0, Voronoi: 1, }, }, }); useFrame(({ clock }) => { if (waterMaterialRef.current) { waterMaterialRef.current.uniforms.uTime.value = clock.getElapsedTime(); } }); return ( <mesh {...props}> <planeGeometry args={[15, 32, 22, 22]} /> <waterMaterial ref={waterMaterialRef} uColor={new Color(waterColor)} transparent uOpacity={waterOpacity} uNoiseType={noiseType} uSpeed={speed} uRepeat={repeat} uFoam={foam} uFoamTop={foamTop} /> </mesh> ); };
We can now create the foam logic in the shader.
We compute our adjusted time by multiplying the uTime by uSpeed:
float adjustedTime = uTime * uSpeed;
Then we generate the noise effect using the pnoise function:
float noise = pnoise(vec3(vUv * uRepeat, adjustedTime * 0.5), vec3(100.0, 24.0, 112.0));
We apply the foam effect by using the smoothstep function:
noise = smoothstep(uFoam, uFoamTop, noise);
Then, we create brighter colors to represent the foam. We create an intermediateColor and a topColor:
vec3 intermediateColor = uColor * 1.8; vec3 topColor = intermediateColor * 2.0;
We adjust the color based on the noise value:
vec3 finalColor = uColor; finalColor = mix(uColor, intermediateColor, step(0.01, noise)); finalColor = mix(finalColor, topColor, step(1.0, noise));
When the noise is between 0.01 and 1.0, the color will be the intermediate color. When noise is above or equal to 1.0, the color will be the top color.
Here is the final shader code:
#include "lygia/generative/pnoise.glsl" varying vec2 vUv; uniform vec3 uColor; uniform float uOpacity; uniform float uTime; uniform float uSpeed; uniform float uRepeat; uniform int uNoiseType; uniform float uFoam; uniform float uFoamTop; void main() { float adjustedTime = uTime * uSpeed; // NOISE GENERATION float noise = pnoise(vec3(vUv * uRepeat, adjustedTime * 0.5), vec3(100.0, 24.0, 112.0)); // FOAM noise = smoothstep(uFoam, uFoamTop, noise); // COLOR vec3 intermediateColor = uColor * 1.8; vec3 topColor = intermediateColor * 2.0; vec3 finalColor = uColor; finalColor = mix(uColor, intermediateColor, step(0.01, noise)); finalColor = mix(finalColor, topColor, step(1.0, noise)); gl_FragColor = vec4(finalColor, uOpacity); #include <tonemapping_fragment> #include <encodings_fragment> }
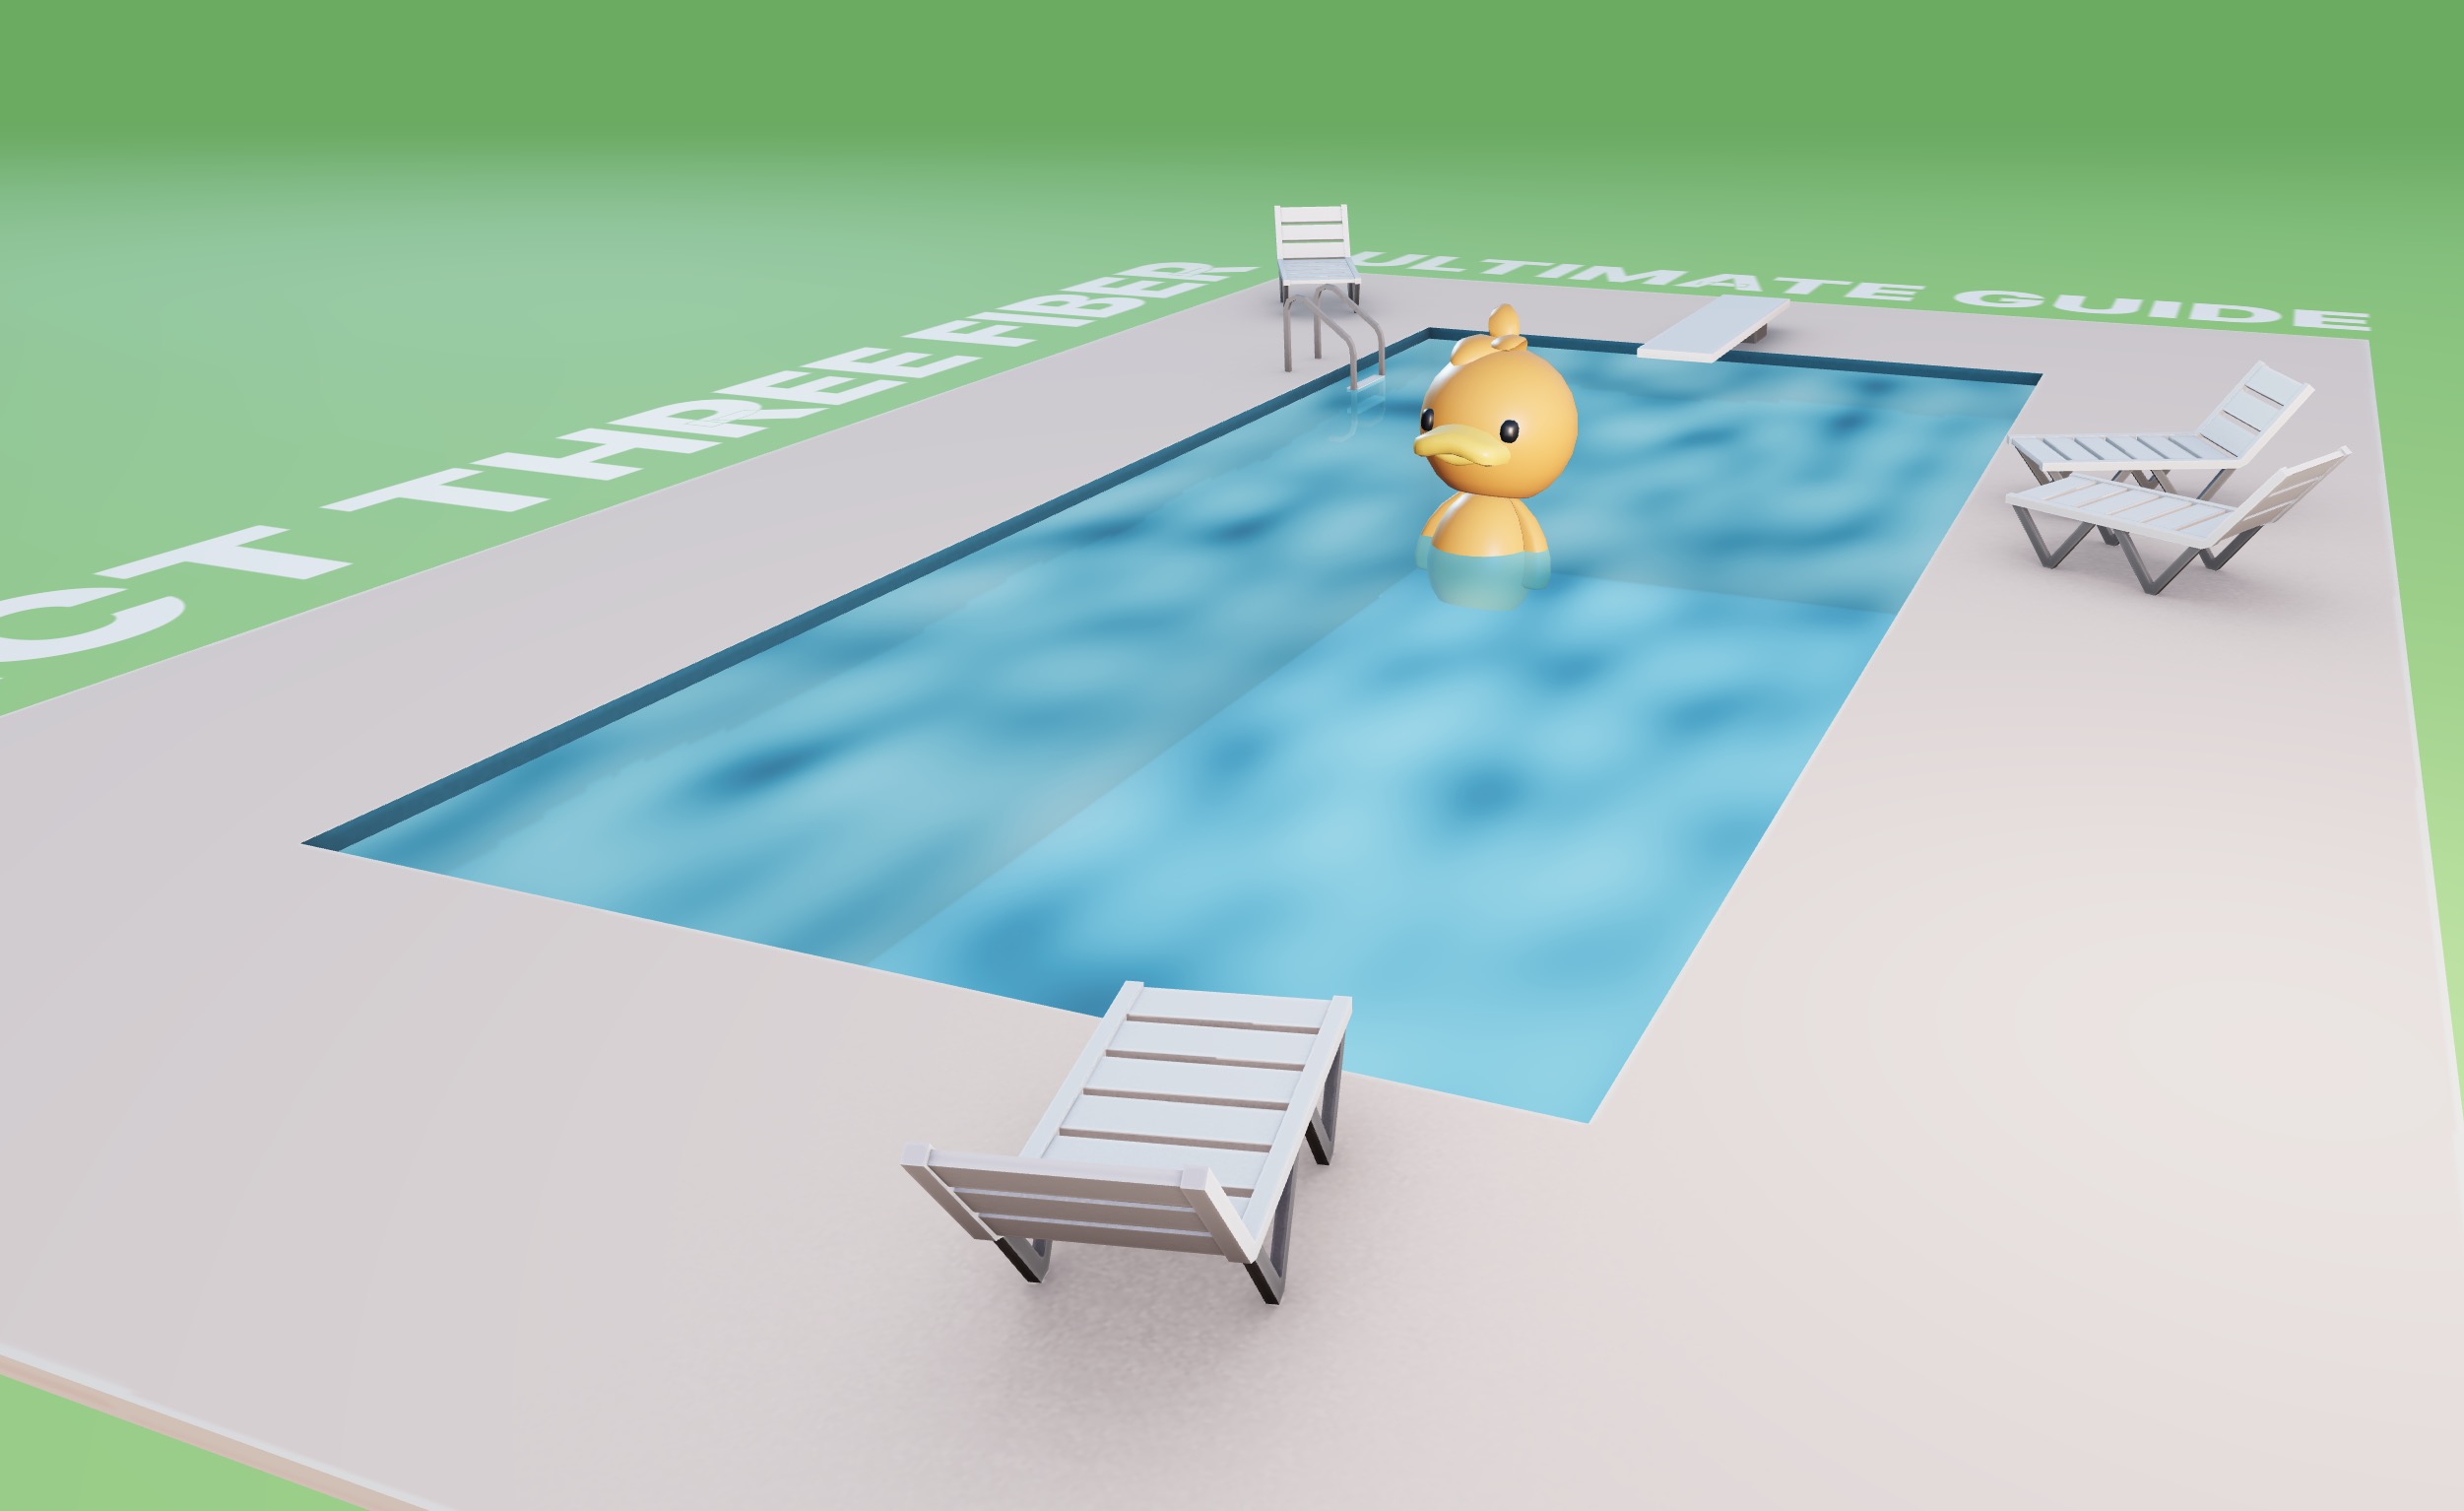
We now have a nice foam effect on the water.
End of lesson preview
To get access to the entire lesson, you need to purchase the course.