

Fundamentals
Core
Master
Shaders
Theatre.js
Theatre.js is a javascript animation library that allows us to create cinematic experiences with Three.js and React Three Fiber.
It's main feature compared to other animation libraries we've been using so far is that it comes with a studio UI that allows us to create and edit animations visually.
From animating Three.js objects directly in the 3D space to creating complex sequences with multiple transitions and easing functions, Theatre.js has everything we need to create amazing 3D transitions.
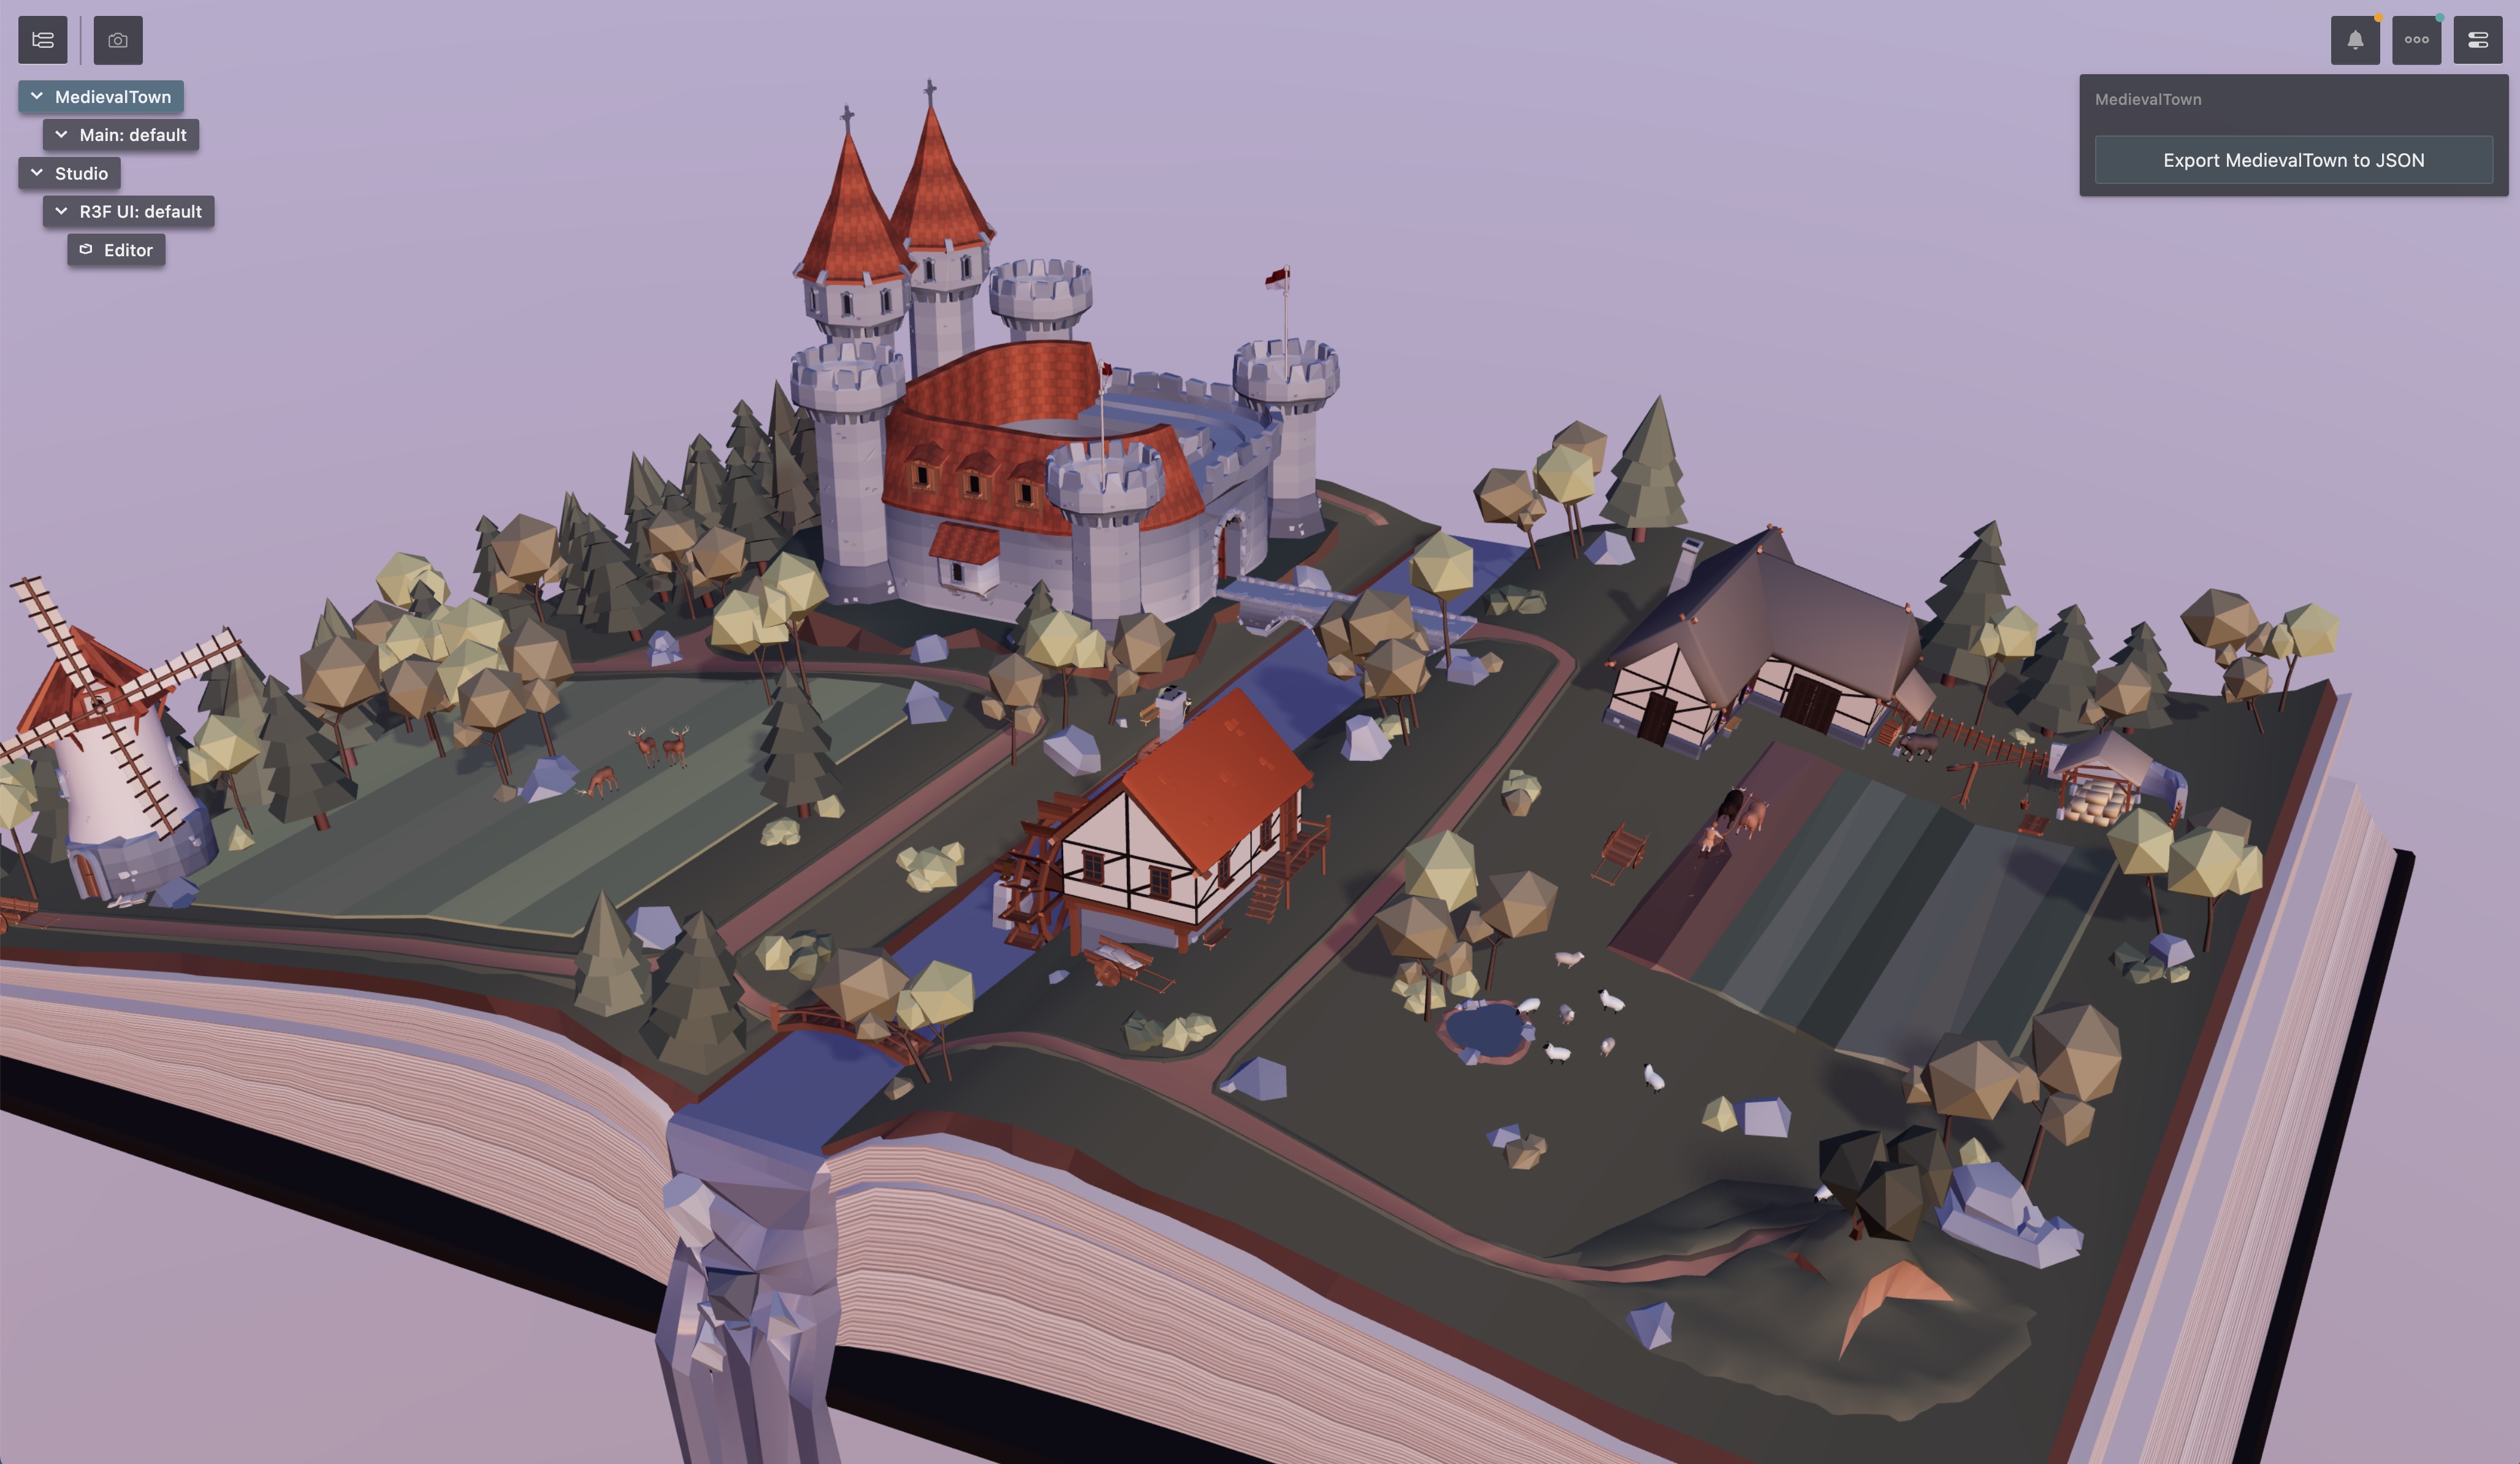
For this lesson, we will create a website for an imaginary medieval town. We will use this beautiful Medieval Fantasy Book model by Pixel.
The animation is part of the model, we keep it in autoplay to add some life to the scene.
I also prepared the UI with TailwindCSS and Framer Motion to switch between different sections of the website.
Ready to become the next Steven Spielberg of the web? Let's get started!
Installation
To add Theatre.js to our project, run the following command in your terminal:
yarn add @theatre/[email protected] @theatre/[email protected] @theatre/[email protected]
Then, in our code, we need to get the sheet we'll be working on for our project. In App.jsx:
// ... import { getProject } from "@theatre/core"; const project = getProject("MedievalTown"); const mainSheet = project.sheet("Main"); // ...
The project name should be unique to avoid conflicts with other projects. As Theatre.js use localStorage to store the animation data and we often use the same browser url and port in development, it's important to use a unique name.
The sheet is meant to animate one or more objects in the scene. We will be using only one sheet for this project. You should consider using multiple sheets if you want to animate different objects independently. In our case, all our animations make sense to be in the same sheet.
Finally we need to wrap all the components that will be animated in a <SheetProvider>:
// ... import { SheetProvider } from "@theatre/r3f"; // ... function App() { // ... return ( <> <UI currentScreen={currentScreen} onScreenChange={setTargetScreen} isAnimating={currentScreen !== targetScreen} /> <Canvas camera={{ position: [5, 5, 10], fov: 30, near: 1 }} shadows> <SoftShadows /> <SheetProvider sheet={mainSheet}> <Experience /> </SheetProvider> </Canvas> </> ); } export default App;
Now it's time to add the visual editor to our project.
Theatre.js Studio
To add the Theatre.js Studio to our project, we need to import it and initialize it:
// ... import extension from "@theatre/r3f/dist/extension"; import studio from "@theatre/studio"; studio.initialize(); studio.extend(extension); // ...
Pretty simple right? Now if you run your project, you should see the Theatre.js Studio UI on your screen:
Editable
To make an object editable with Theatre.js and being able to interact with it in the studio, we need to import the editable component. In Experience.jsx:
// ... import { editable as e } from "@theatre/r3f"; // ...
We use
editable as eto match the official documentation. It's a simple shortcut to make our code shorter.
Then we need to prefix the object'JSX element we want to make editable with e and define the theatreKey prop:
// ... export const Experience = () => { return ( <> <e.directionalLight theatreKey="SunLight" position={[3, 3, 3]} intensity={0.2} castShadow shadow-bias={-0.001} shadow-mapSize-width={2048} shadow-mapSize-height={2048} /> <e.group theatreKey="MedievalFantasyBook"> <MedievalFantasyBook scale={0.1} envMapIntensity={0.3} /> </e.group> <Environment preset="dawn" background blur={4} /> </> ); };
We made the directional light and the Medieval Fantasy Book editable. Let's reload our page and see what happens:
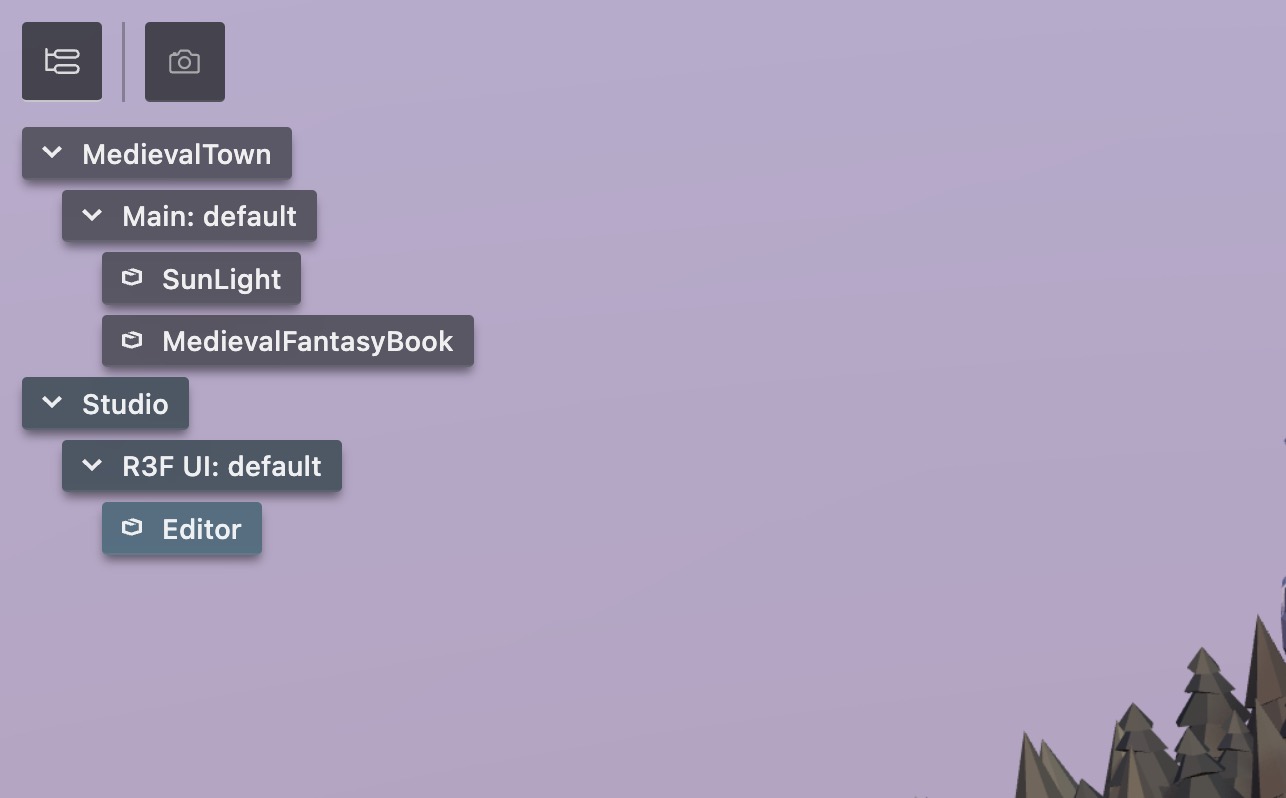
Our objects appear under the Main sheet in the outline panel
Controls
We are now ready to play with the studio.
End of lesson preview
To get access to the entire lesson, you need to purchase the course.