

Fundamentals
Core
Master
Shaders
Setup
In this lesson we will setup our environment with all the tools we need to start building our first 3D application. Then we will create our first React project and install the dependencies we need.
Your operating system doesn't matter. I'm using a Mac, but you can follow along on Windows or Linux as well.
Visual Studio Code
You can use any code editor you want, but I recommend using Visual Studio Code. It's free, open-source, and has a lot of great extensions.
You can download it here: https://code.visualstudio.com/
If you choose to use Visual Studio Code, here are some extensions I recommend:
- ESLint: Linting utility for JavaScript and JSX. It will show you errors and warnings in your code.
- Prettier: Code formatter. It will format your code automatically when you save based on your settings.
- Copilot: AI pair programmer. It will help you write code faster by suggesting lines of code based on your context.
Node.js
Node.js is a JavaScript runtime built on Chrome's V8 JavaScript engine. It allows you to run JavaScript code outside of the browser. In our case we will use it to run the development server of our projects.
You can download it here: https://nodejs.org/en/download/
Download the LTS version. It's the most stable version.
Yarn
Yarn is a package manager for JavaScript. It's similar to npm, but faster and more secure.
You can download it here: https://classic.yarnpkg.com/en/docs/install
We will use it to install the libraries we need for our projects. For example Three.js, React Three Fiber, etc...
Vite
Vite is a build tool for modern web projects. It's fast, lightweight and easy to use.
It doesn't require installation.
To create a new React project, open your terminal (on Visual Studio Code you open it from the menu Terminal > New Terminal) and run the following command:
yarn create vite
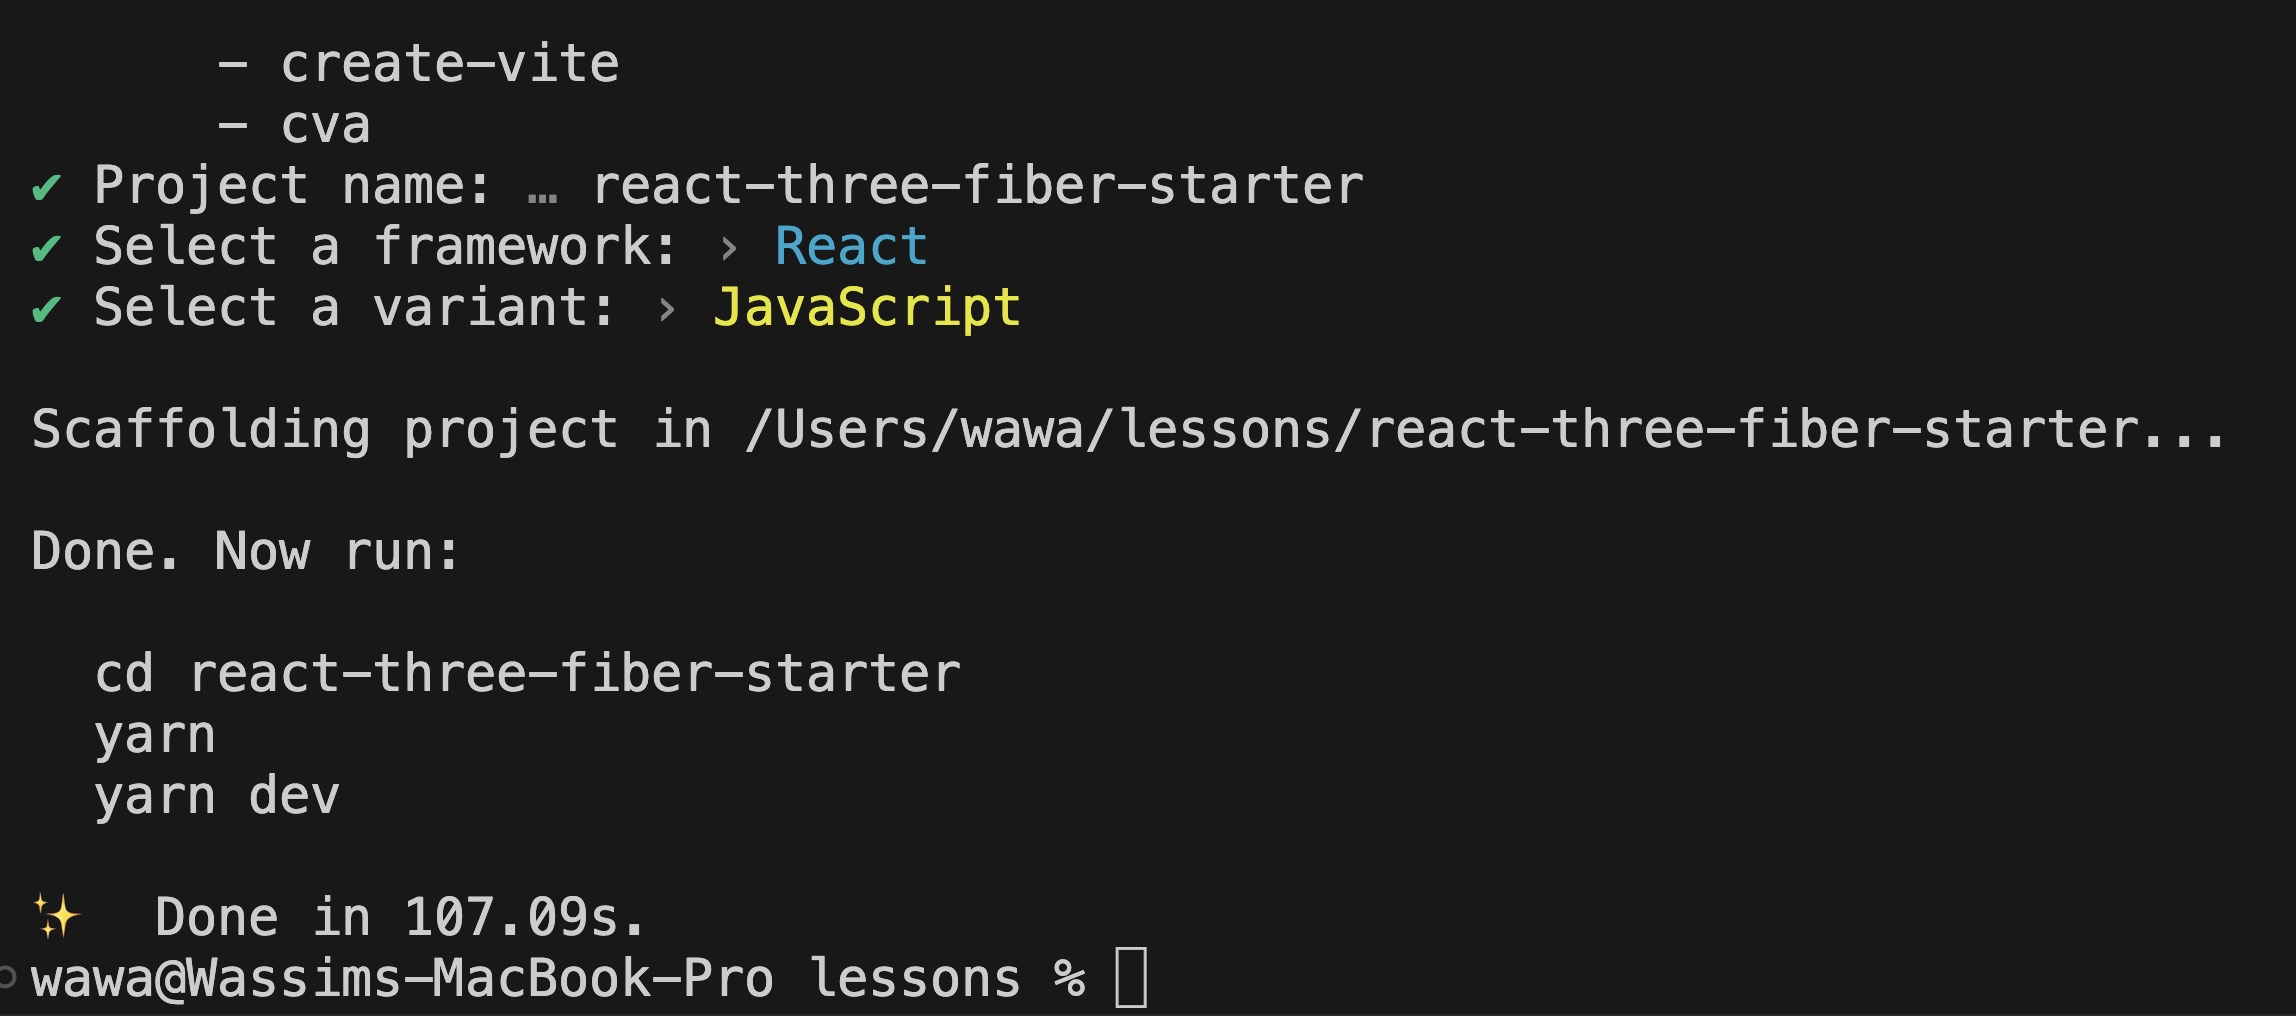
Then type your project name, hit enter, and with your keyboard arrow keys choose React as framework and JavaScript as language.
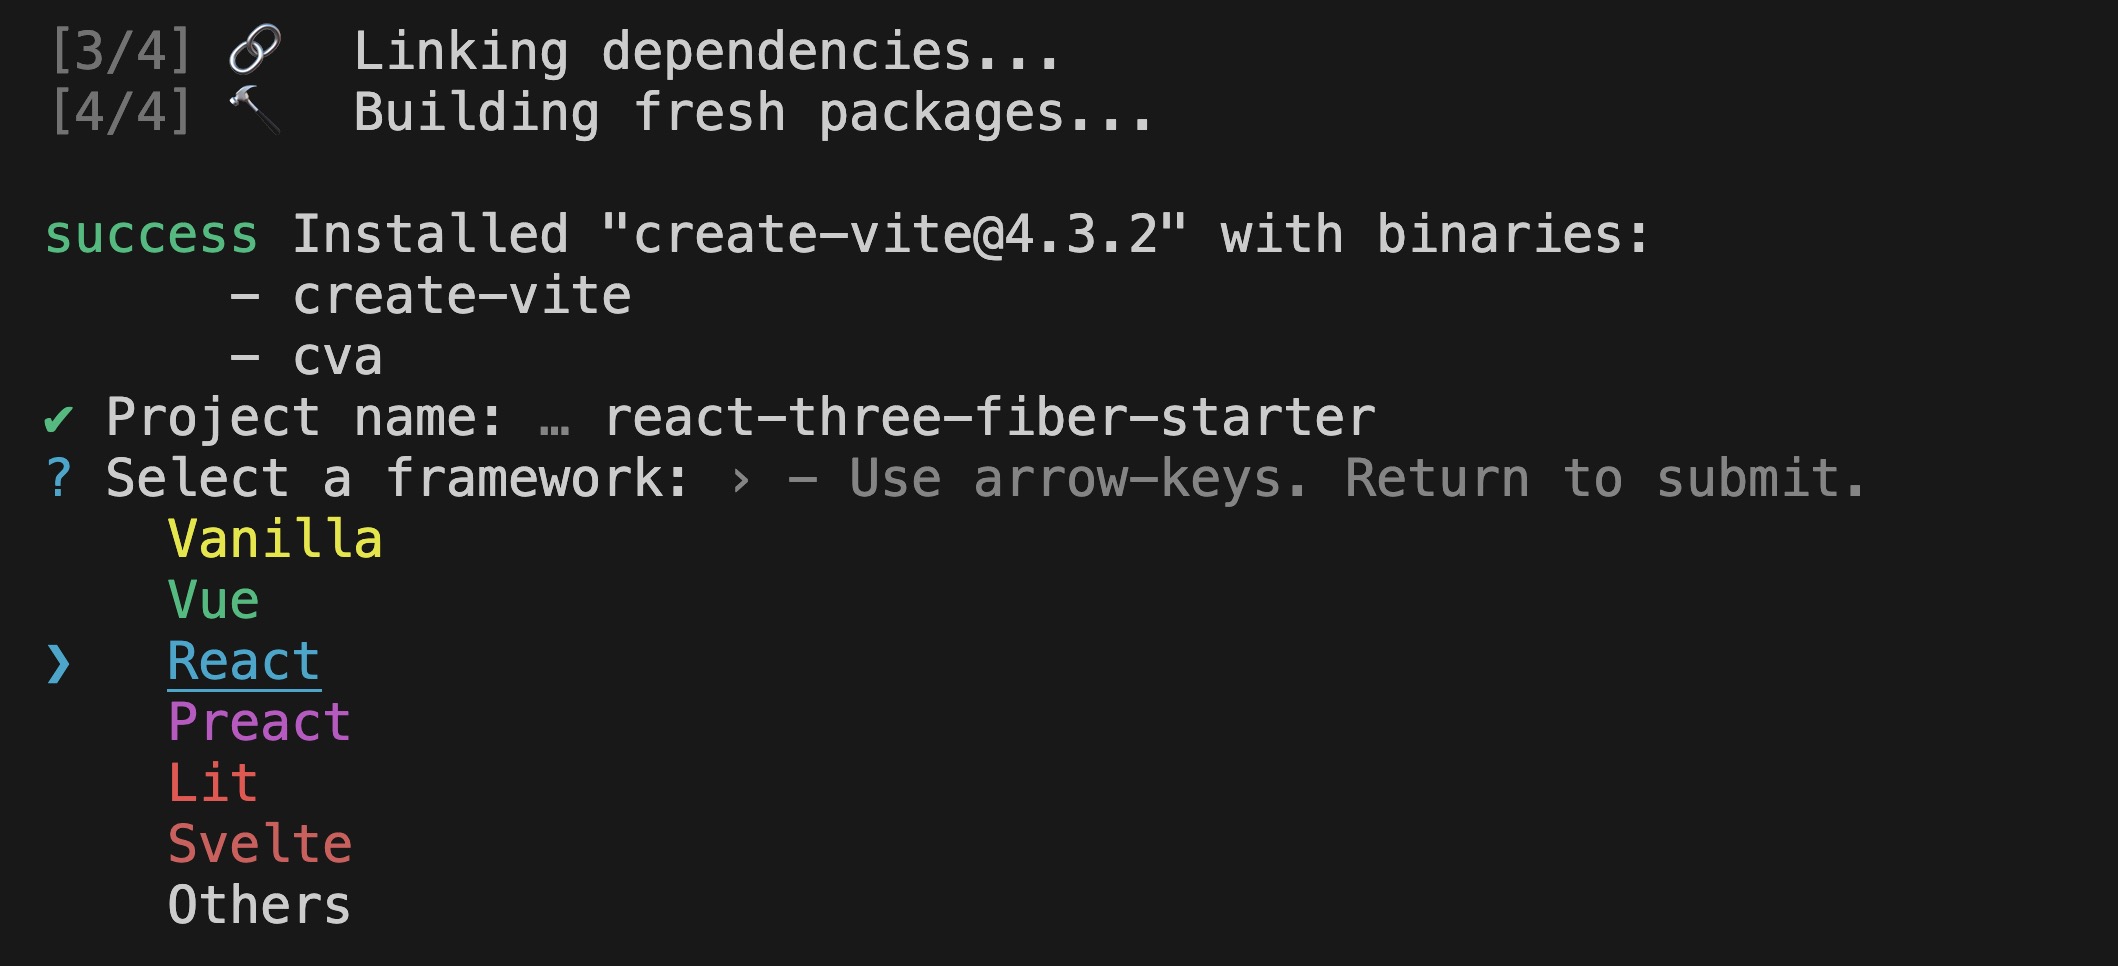
You should see something like this:
Now on Visual Studio Code, open the project folder by clicking on Open Folder and selecting the folder you just created.
In the terminal, run the following commands to install the dependencies and start the development server of your project:
yarn yarn dev
Your terminal should provide you with a local URL to access your project:
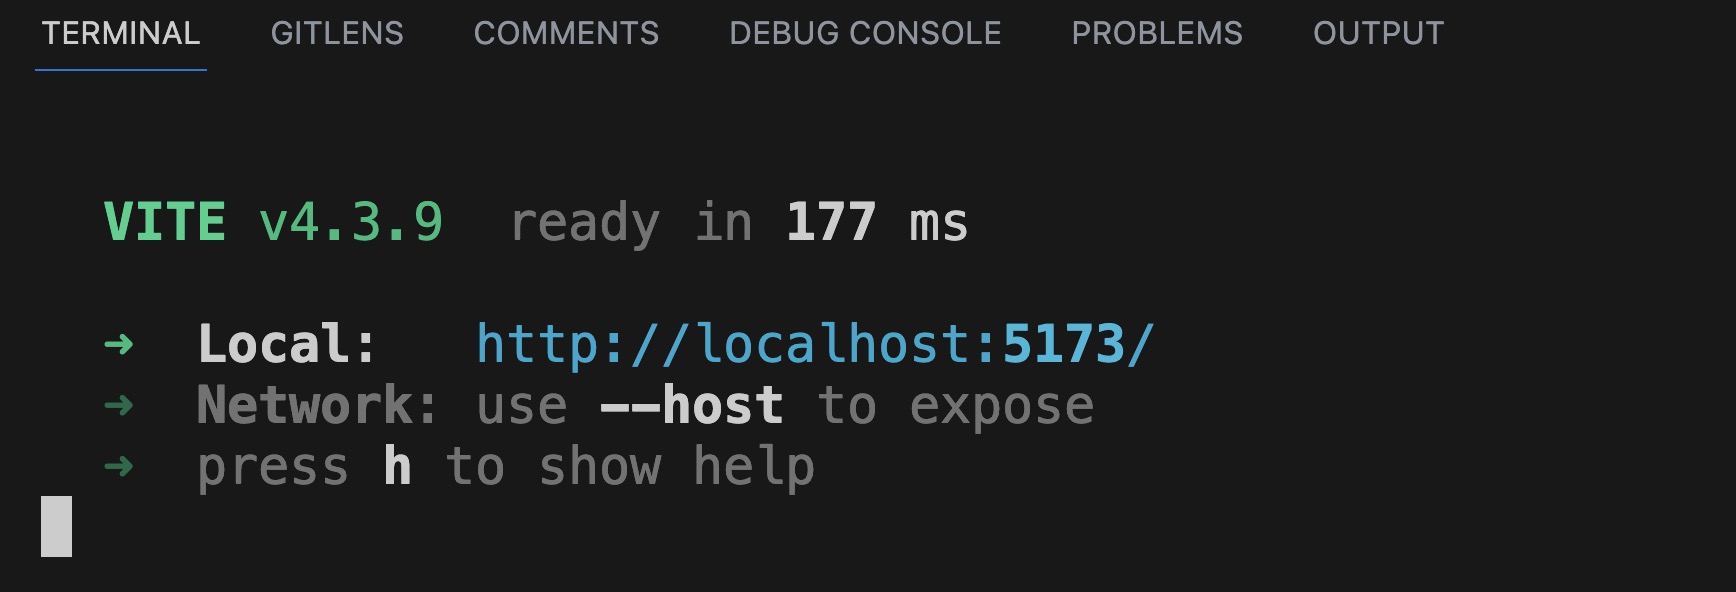
Open it in your browser or use the shortcut cmd + click on Mac or ctrl + click on Windows/Linux on the URL and you should see the default Vite React page:

We now have a working React project. Time to install the libraries we need.
React Three Fiber
To add r3f to our project, run the following command in your terminal:
yarn add three @types/three @react-three/fiber
If your terminal is still running the development server, stop it by pressing cmd + c on Mac or ctrl + c on Windows/Linux before running the command above.
This will install three and react-three-fiber as dependencies of our project.
Once it's done remove the App.css file and replace the content of index.css with the following:
#root { width: 100vw; height: 100vh; } body { margin: 0; }
This will make our canvas fill the entire screen.
Replace the content of App.jsx with the following:
import { Canvas } from "@react-three/fiber"; function App() { return ( <Canvas> <mesh> <boxGeometry /> <meshNormalMaterial /> </mesh> </Canvas> ); } export default App;
A Canvas component is the root of every r3f application. It's a React component that creates a WebGL context and a Three.js scene.
Inside the Canvas component we have a mesh component. A mesh is an object that can be rendered in the scene. It's made of a geometry and a material.
Don't worry if you don't understand what a geometry or a material is, we will cover them in the next lessons. Just know that this code will render a cube in the middle of the screen.
Then run yarn dev again to start the development server with the new dependencies.
You should see a square in the middle of the screen:

But it looks 2D not 3D, this is because the cube is in front of the camera.
We can slightly move the camera up, to the right and backward by adding the camera prop to the Canvas component:
<Canvas camera={{ position: [3, 3, 3] }}>
We will cover how positioning works in the next lessons.
Now the cube is visible in 3D:

Versions ⚠️
Three.js and React Three Fiber are libraries that are updated frequently. This means that the code you see in this course or other tutorials might behave differently if you're not using the same version.
At the moment of writing this course, Three.js is on its move to WebGPU which is prone to breaking changes or changes in the way things are rendered.
By using the starter pack provided with this course, you will be sure to have the same versions as me but it's important to know how to check the versions of your dependencies.
Open the package.json file and look for the dependencies and devDependencies objects:
{ "name": "react-three-fiber-starter", "private": true, "version": "0.0.0", "type": "module", "scripts": { "dev": "vite", "build": "vite build", "lint": "eslint src --ext js,jsx --report-unused-disable-directives --max-warnings 0", "preview": "vite preview" }, "dependencies": { "@react-three/drei": "^9.74.14", "@react-three/fiber": "^8.13.0", "@types/three": "^0.152.1", "react": "^18.2.0", "react-dom": "^18.2.0", "three": "^0.153.0" }, "devDependencies": { "@types/react": "^18.0.37", "@types/react-dom": "^18.0.11", "@vitejs/plugin-react": "^4.0.0", "eslint": "^8.38.0", "eslint-plugin-react": "^7.32.2", "eslint-plugin-react-hooks": "^4.6.0", "eslint-plugin-react-refresh": "^0.3.4", "vite": "^4.3.9" } }
You can see that the version of Three.js is ^0.153.0 and the version of React Three Fiber is ^8.13.0.
The ^ symbol means that we are using a semver version. This means that we will get all the updates of the library until the next major version.
To learn more about Semantic Versioning check this link: https://devhints.io/semver
ESLint
If you installed the ESLint extension for Visual Studio Code, you should see some errors in your code.
This is because the default configuration file made by Vite doesn't include r3f rules.
To fix it, open the .eslintrc.cjs file and add this line to the extends array:
"plugin:@react-three/recommended",
Your whole file should look like this:
module.exports = { env: { browser: true, es2020: true }, extends: [ "eslint:recommended", "plugin:react/recommended", "plugin:react/jsx-runtime", "plugin:react-hooks/recommended", "plugin:@react-three/recommended", ], parserOptions: { ecmaVersion: "latest", sourceType: "module" }, settings: { react: { version: "18.2" } }, plugins: ["react-refresh"], rules: { "react-refresh/only-export-components": "warn", }, };
Now after saving the file, the errors should disappear.
To be able to lint our code, we need to install the @react-three/eslint-plugins package to the dev dependencies of our project:
yarn add -D @react-three/eslint-plugin
-Dwill install the package as a dev dependency. (As it's not needed in the final production build)
Drei
Drei is a collection of useful helpers and abstractions on top of r3f.
We will use it a lot in the next lessons to create 3D experiences easier and faster.
To install the drei package run the following command in your terminal:
yarn add @react-three/drei
Conclusion
We have installed all the dependencies we need for our projects and now have a working r3f project. This is from where we will start creating our 3D experiences.