

Fundamentals
Core
Master
Shaders
3D Portfolio
We've learned a lot so far, and now it's time to put it all together. In this lesson, we'll create a great looking responsive portfolio!
Don't worry, we will also learn new things along the way 😊
What we'll build
Destkop version:
Mobile version:
Don't limit yourself to build the exact same thing. Feel free to add your own touch to it.
I hope you're excited! Let's get started! 🚀
Starter pack
To focus on the essential, the starter pack for this final project contains all the 3D models, animations, fonts and textures we will use. (Except for the avatar, we'll get to that in a moment)
The React components for each model has been generated with gltfjsx.
I only added a line in the comment to credit the author and keep track of the origin for each model:
/* Auto-generated by: https://github.com/pmndrs/gltfjsx Command: npx [email protected] public/models/Balloon.glb -o src/components/Balloon.jsx -r public Balloon by Poly by Google [CC-BY] (https://creativecommons.org/licenses/by/3.0/) via Poly Pizza (https://poly.pizza/m/d1gDDhM7pTf) */
For the moment, this is what the starter pack looks like when we run the app:

A white cube and a very light grey background.
Let's not lose any time and start building our portfolio!
3D Avatar
![]()
We will use Ready Player Me to create our avatar. It's a free service that allows developers to add avatars to their apps.
Go to Ready Player Me, create an account or login if you already have one, and create your avatar.
You can use a photo as a reference, or create a new avatar from scratch.
![]()
The editor offers a wide range of options to make your avatar look like you.
Once you're happy with your avatar, click on the Enter Hub button on the top right corner.
In the Hub, click on the download icon on the left of Customize look button.
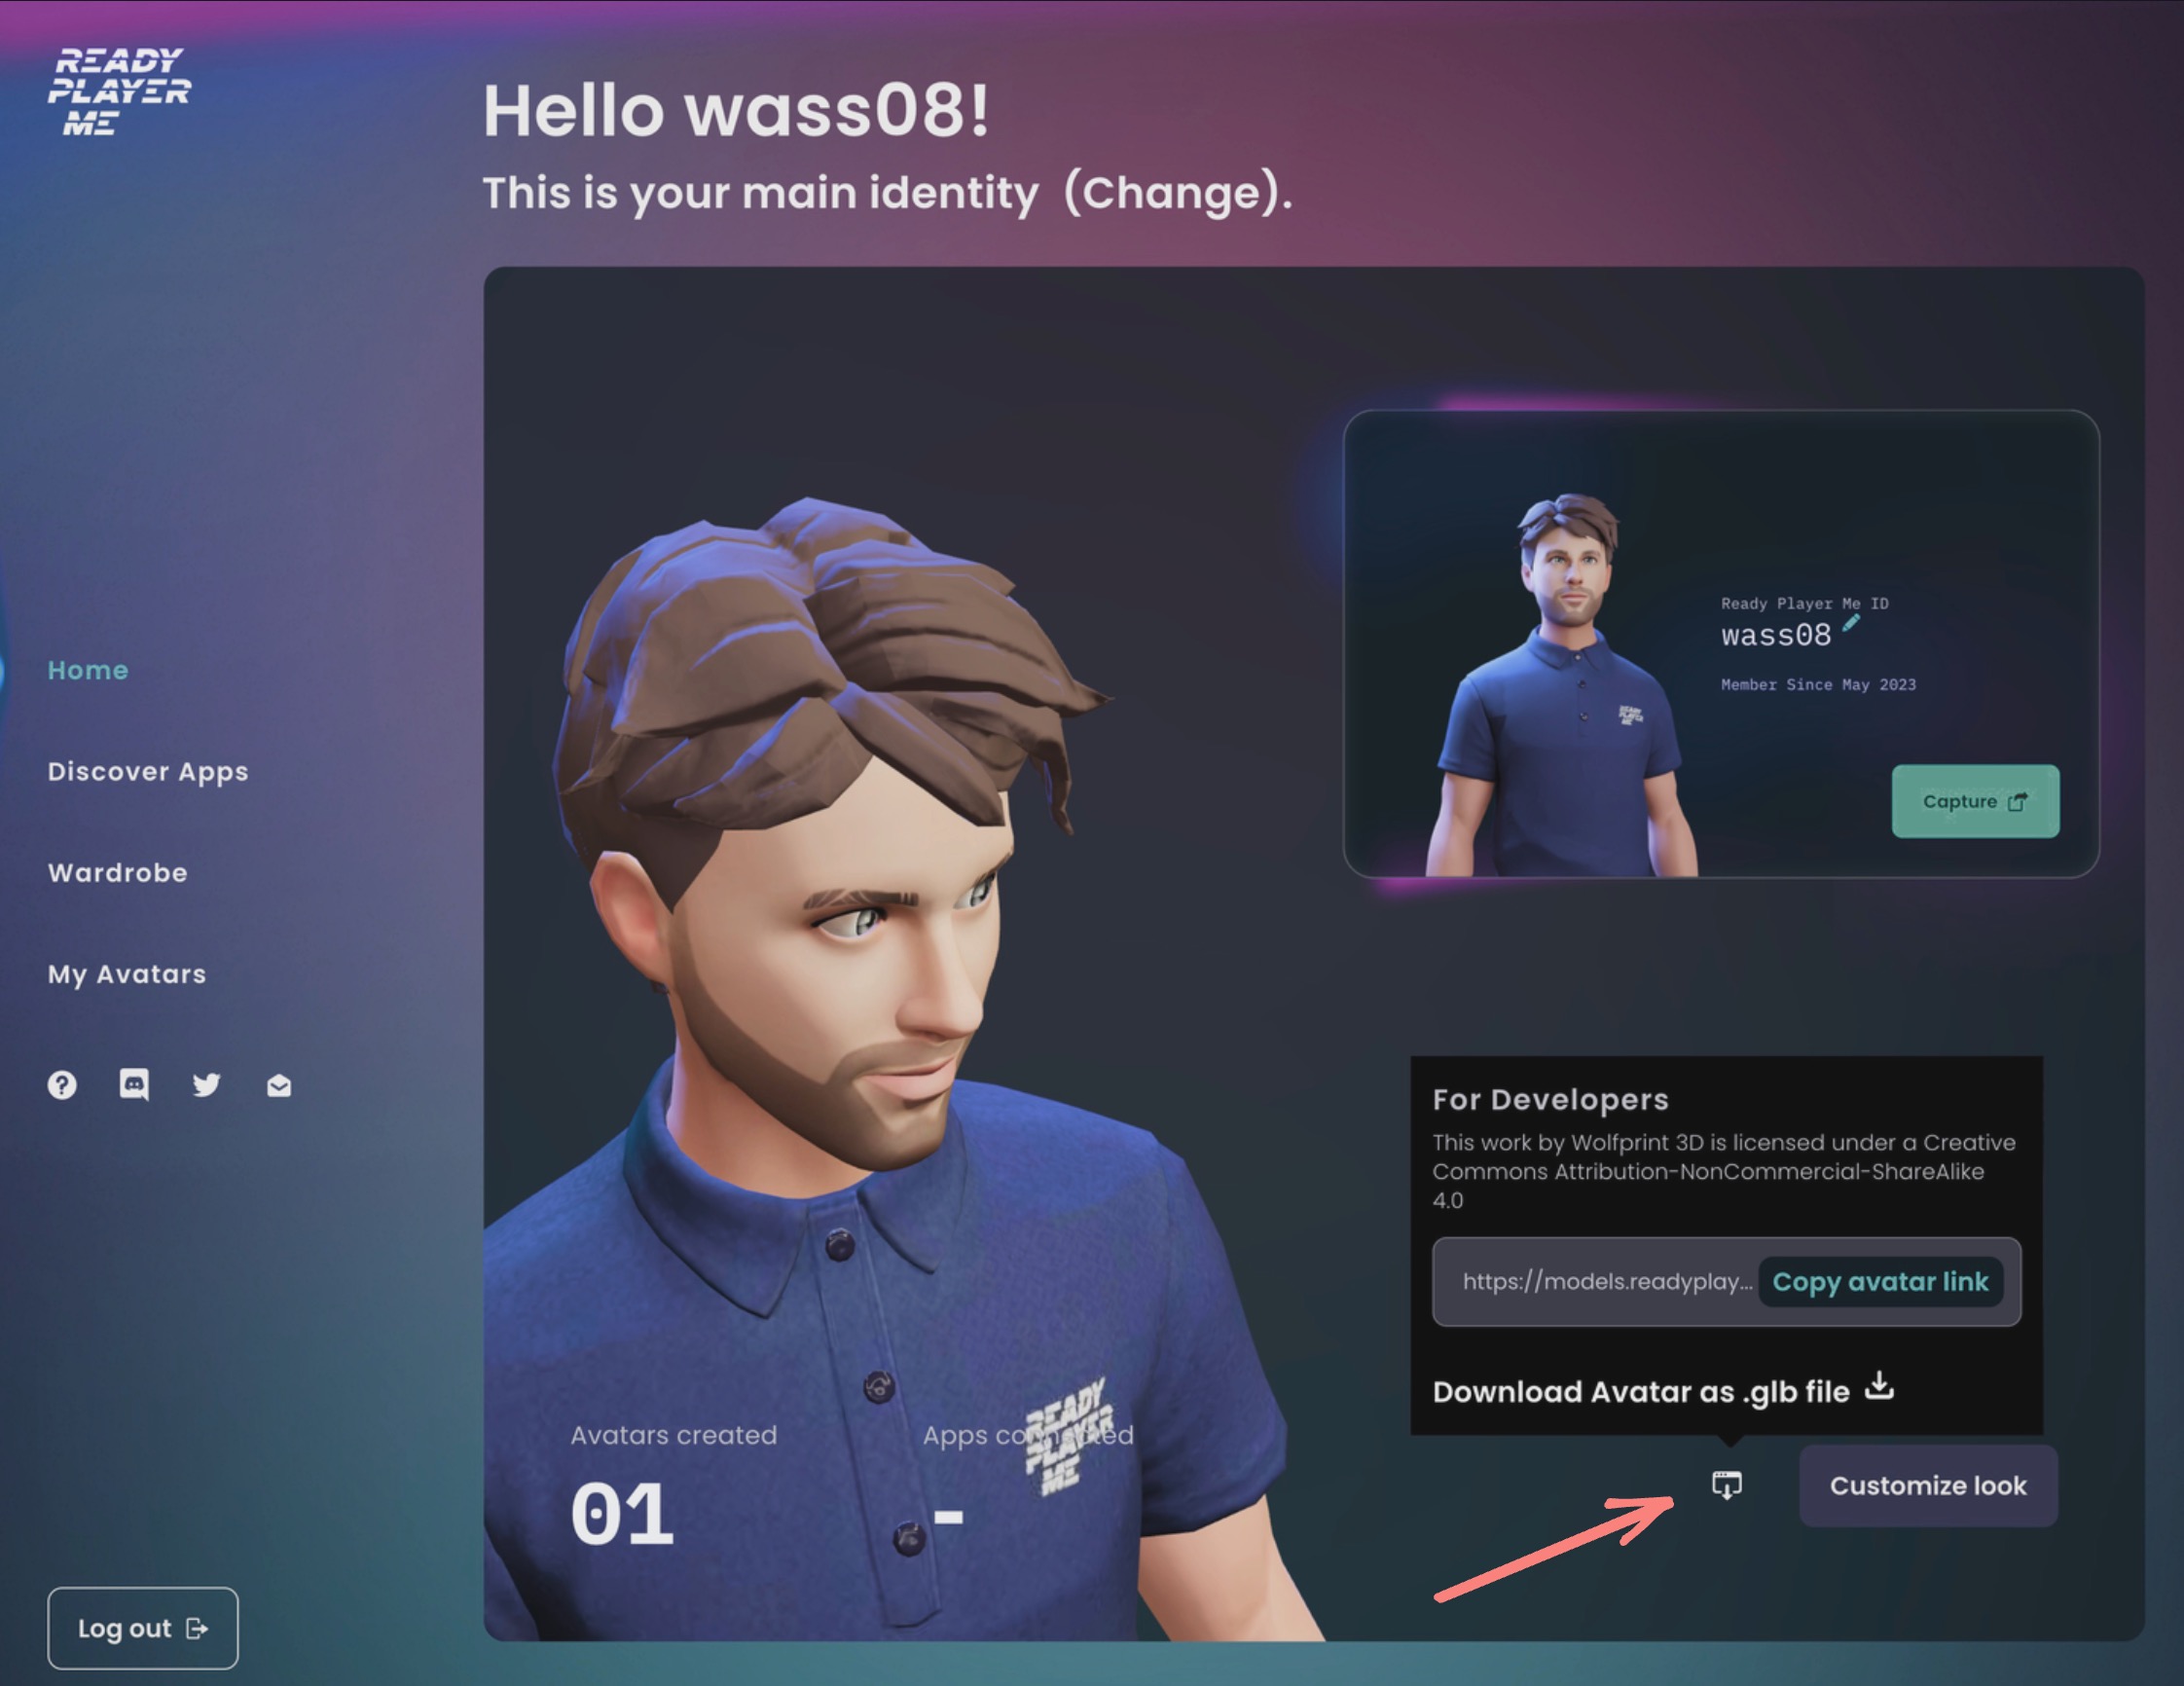
And click on Download Avatar as .glb file.
You should have a file named starting with the id of your avatar and ending with .glb.
For example, mine is 646d9dcdc8a5f5bddbfac913.glb
Copy this file in the public/models folder of your project.
Then run the following command in your terminal:
npx gltfjsx public/models/646d9dcdc8a5f5bddbfac913.glb -o src/components/Avatar.jsx -k -r public
Replace 646d9dcdc8a5f5bddbfac913.glb with the name of your avatar file.
A quick reminder of the parameters we used:
-oto specify the output file-kto keep the names of the nodes-rto specify the root path for the model
In the src/components/Avatar.jsx file, let's rename the component to Avatar:
// ... export function Avatar(props) { // ... }
We can now replace the Cube component in src/Experience.jsx with our Avatar component:
import { Environment } from "@react-three/drei"; import { Avatar } from "./Avatar"; export const Experience = () => { return ( <> <Environment preset="sunset" /> <Avatar /> </> ); };
![]()
You should now see your handsome avatar in the middle of the scene!
Some students reported issues with the generated file from
gltfjsxlocal CLI. If you have any issues when you try to display the Avatar, you can use the online version to generateAvatar.jsxcomponent.Be sure to rename the component name and that the path of the model is correct. You should add
/models/before the name of the model in theuseGLTFhook and the preload function at the end of the file.For my avatar, it would be:
// ... export function Avatar(props) { const { nodes, materials } = useGLTF("/models/646d9dcdc8a5f5bddbfac913.glb"); // ...and at the end of the file:
// ... useGLTF.preload("/models/646d9dcdc8a5f5bddbfac913.glb");
Mixamo animation
We will use Mixamo to add animations to our avatar. Thanks to Ready Player Me, we already have a rigged avatar, so the process will be very simple.
Go to Mixamo, create an account or login if you already have one, and go to animations.
You should see animations on the left, and a preview zone on the right.
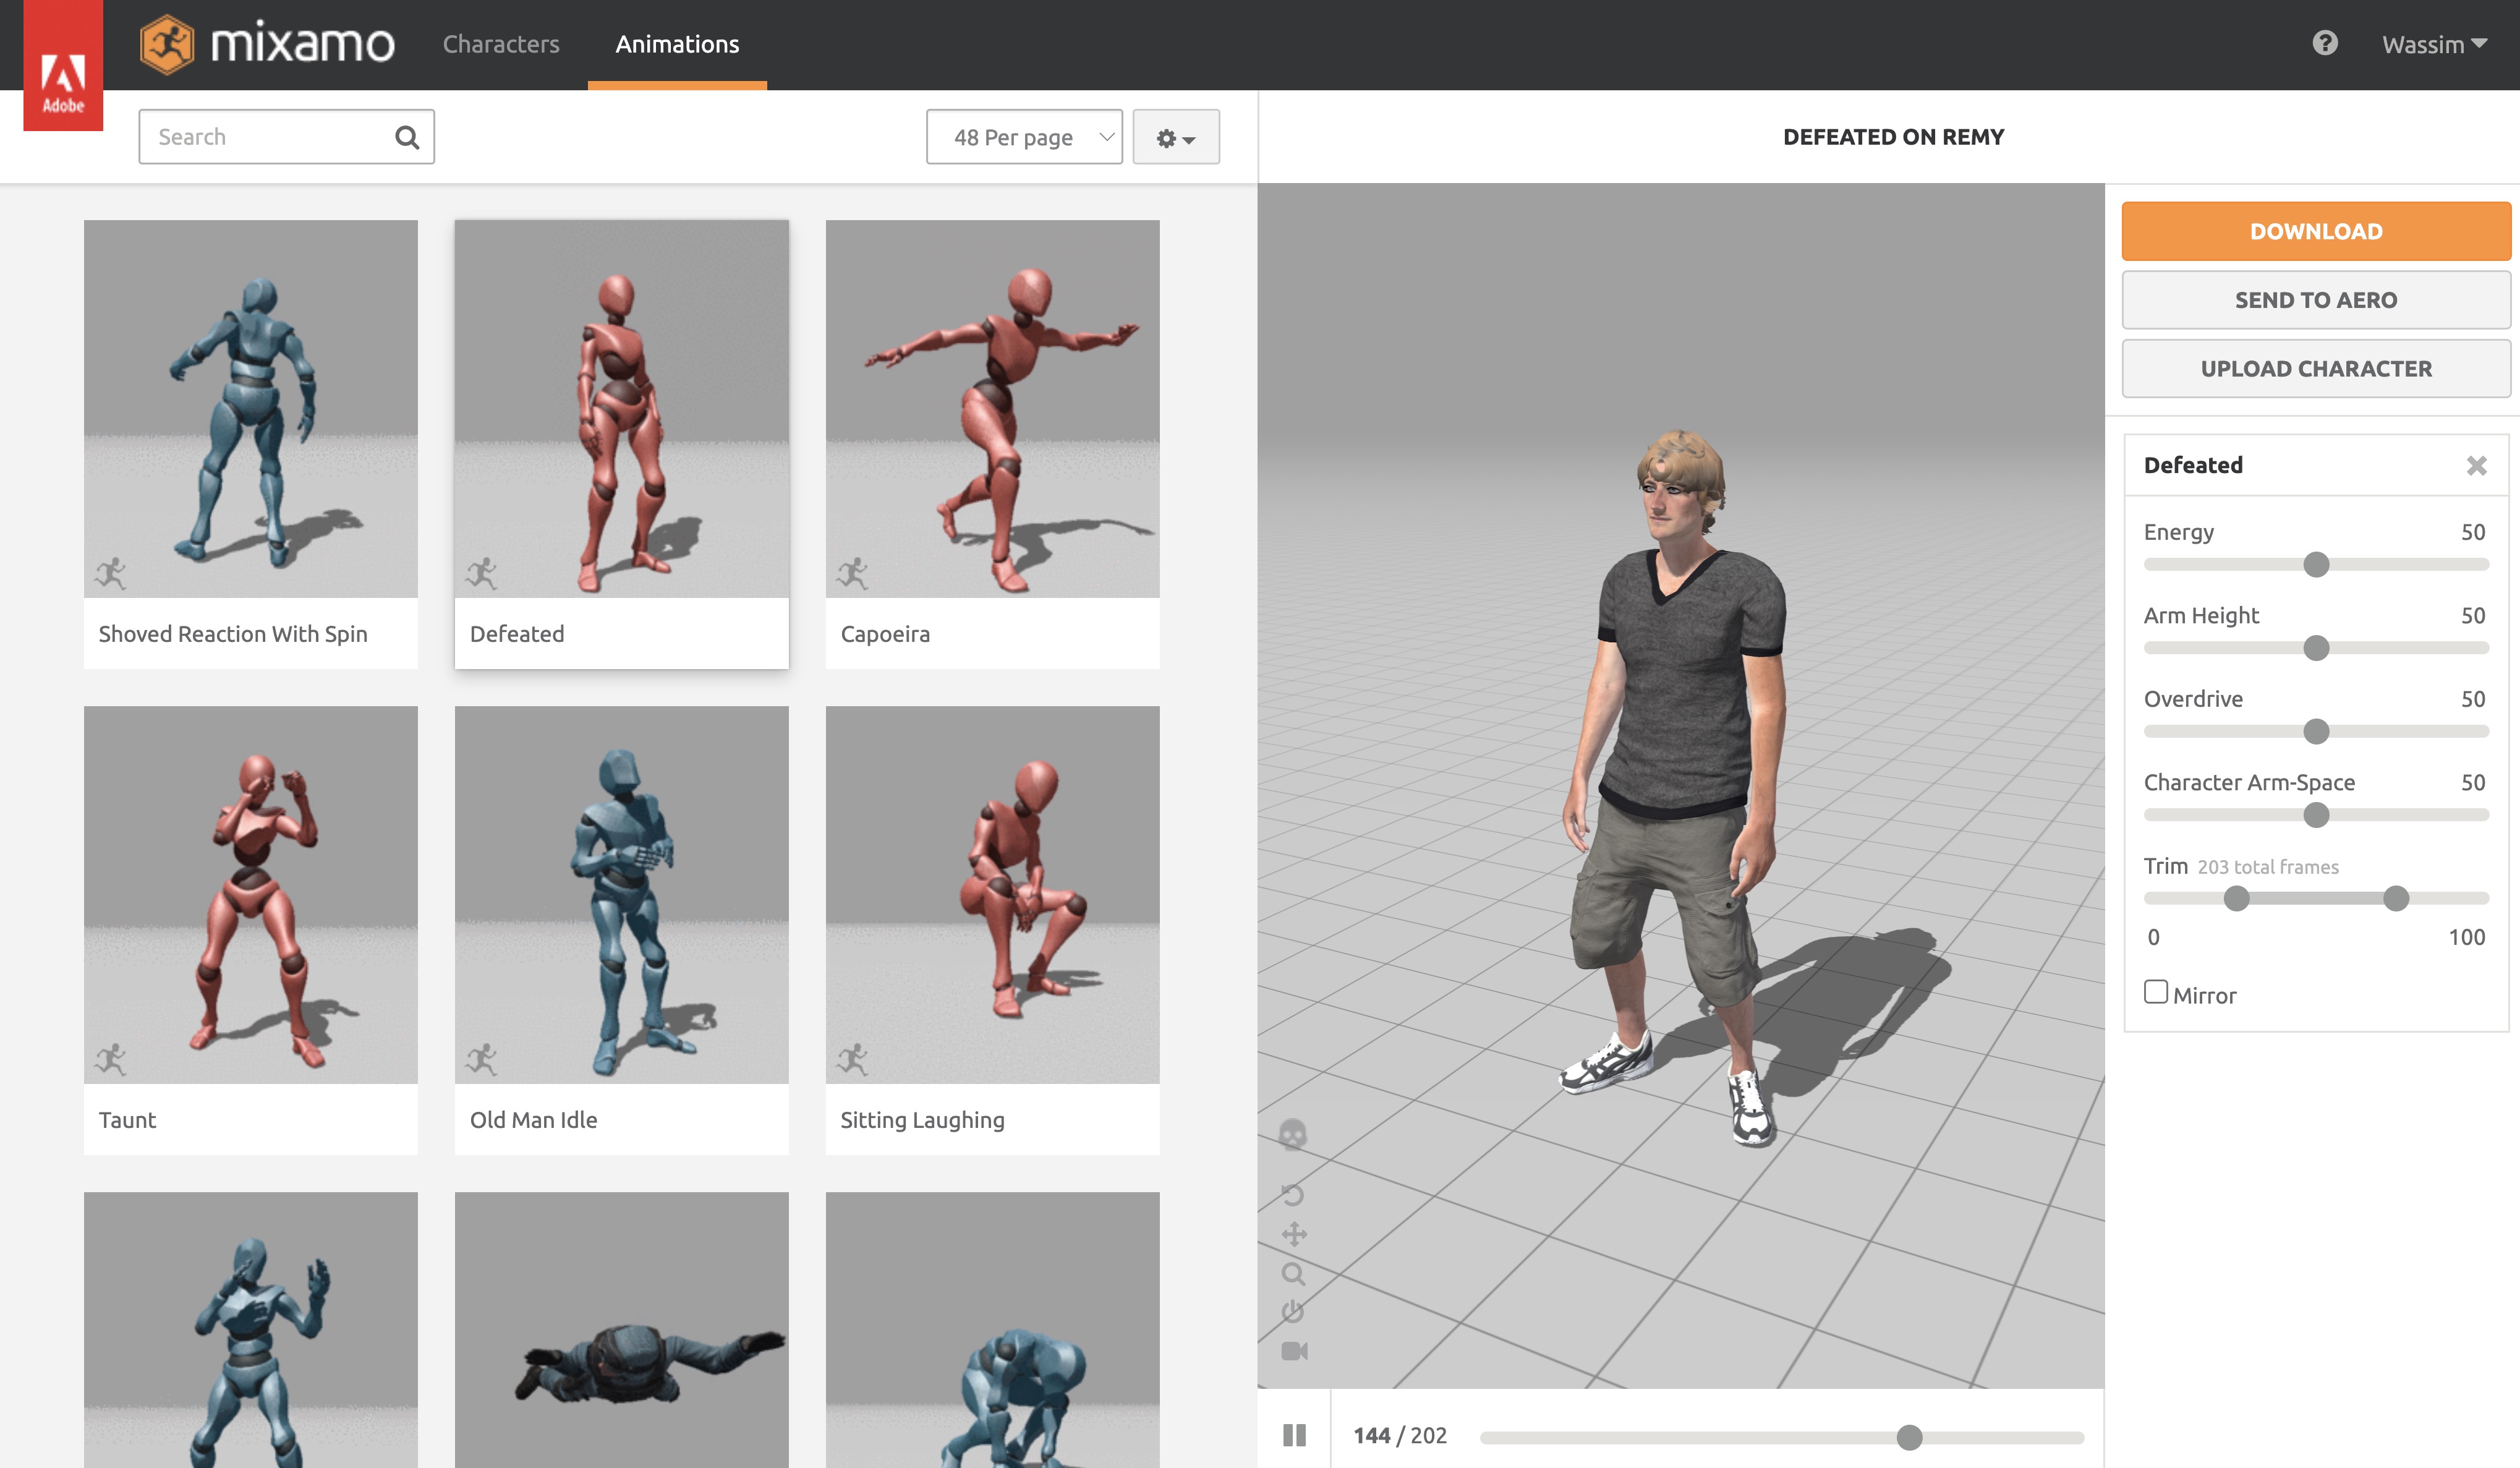
Click on the Upload Character button, a modal will open but it only accepts .fbx, .obj, and .zip files. We need to convert our .glb file to .fbx.
I already provided an .fbx version of my avatar in the public/models folder of the starter pack named avatar.fbx. If you want to use it, you can skip the next step.
End of lesson preview
To get access to the entire lesson, you need to purchase the course.