Fundamentals
Core
Master
Shaders
Shader transitions
In this lesson we will learn how to create transitions using shaders.
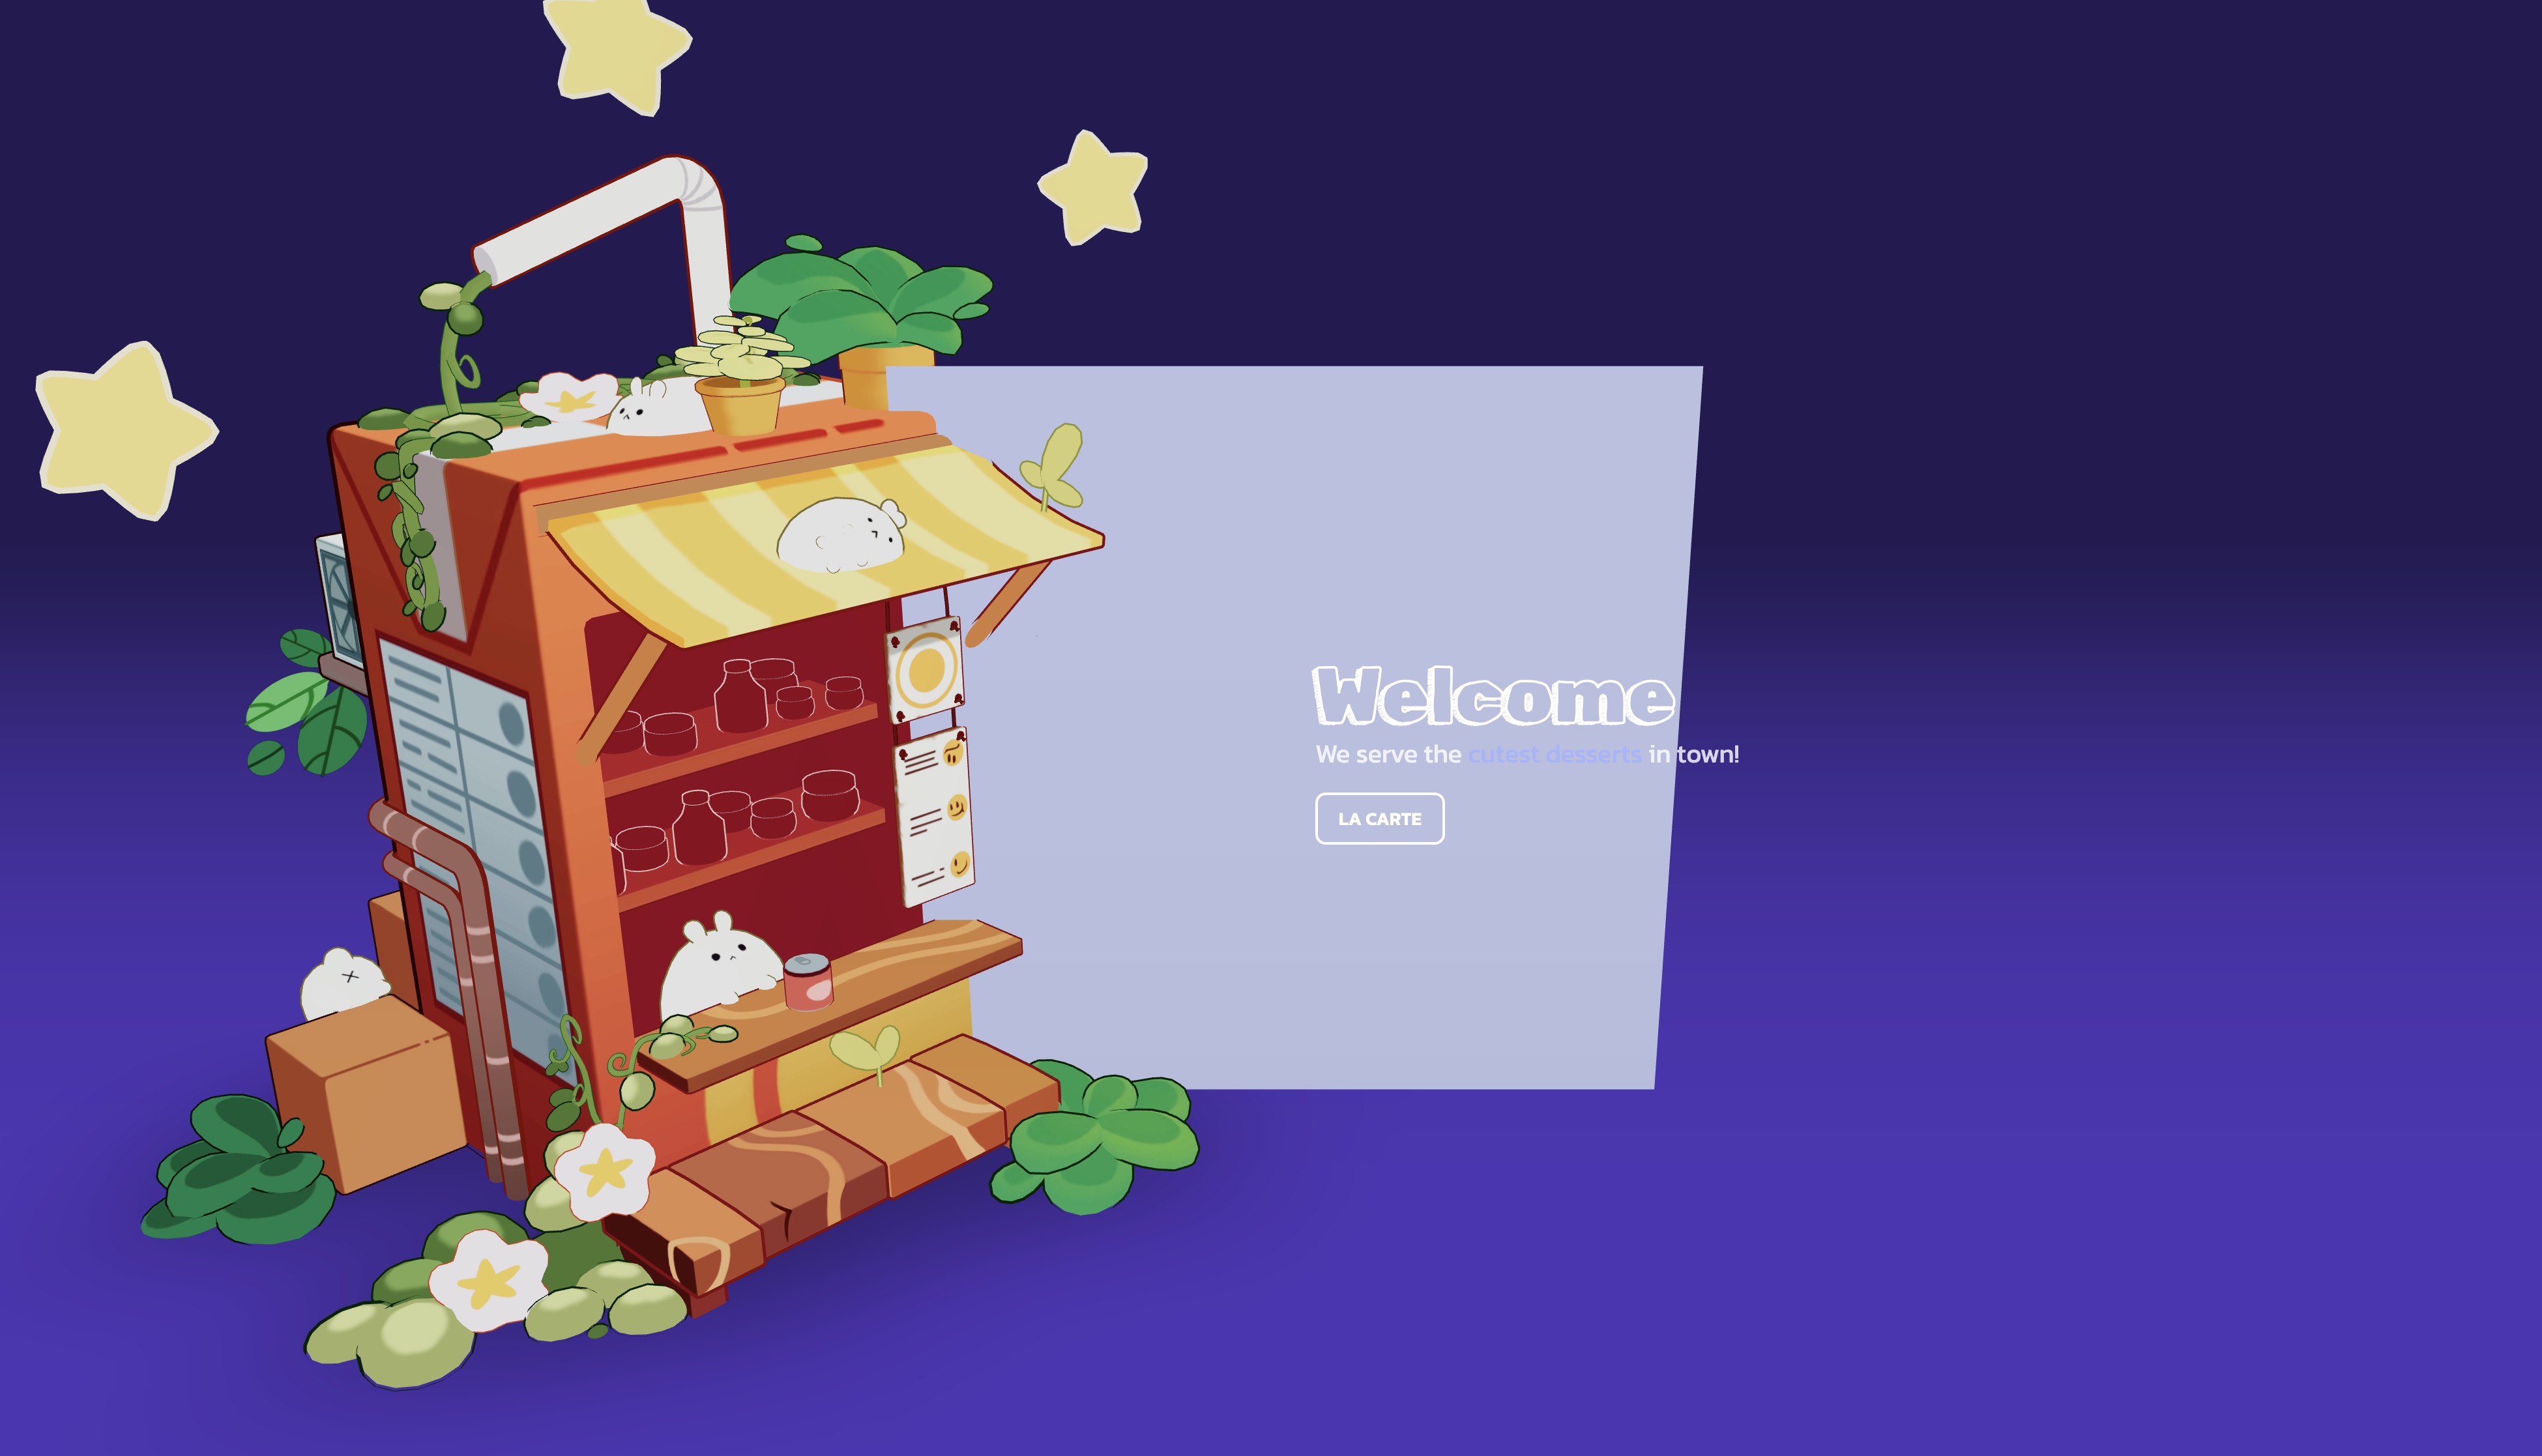
The first effect we will create is a screen transition effect:
We have total control over the transition effect, we can change the duration, the easing function, and the shader itself.
The second effect we will create is a model transition effect:
When fading out the model is dissolved and colors are washed into white, the opposite happens when fading in.
Starter pack
Here are all the 3D models we will use in this lesson by Ergoni and licensed under Creative Commons Attribution:
The starter pack uses the following packages:
- Tailwind CSS for styling
- Framer Motion for animations
- Jotai library to manage shared state between components
The two fonts used are Kanit and Rubik Doodle Shadow, both from Google Fonts.
Feel free to adjust any components to your preferences.
You can adjust the colors by playing with Leva controls in the top right corner. Once you found the colors you like, add the hidden prop to the Leva component in App.jsx:
// ... function App() { // ... return ( <> <Leva hidden /> {/* ... */} </> ); } // ...
Screen transition
Let's start by creating our screen transition effect. We will make a component called ScreenTransition that will handle the transition effect.
Let's create a new file called ScreenTransition.jsx in the components folder:
export const ScreenTransition = ({ transition, color }) => { return ( <mesh> <planeGeometry args={[2, 2]} /> <meshBasicMaterial color={color} /> </mesh> ); };
In this component, we are creating a plane with a color that will cover the entire screen. We will use this plane to transition between screens.
Our component takes two props:
- transition: a boolean to know if the component should display the transition effect
- color: the main color of the transition effect
Let's add the ScreenTransition component to App.jsx:
// ... import { ScreenTransition } from "./components/ScreenTransition"; function App() { // ... return ( <> {/* ... */} <Canvas camera={{ position: [0, 1.8, 5], fov: 42 }}> <color attach="background" args={[backgroundColor]} /> <fog attach="fog" args={[backgroundColor, 5, 12]} /> <ScreenTransition transition color="#a5b4fc" /> <Suspense> <Experience /> </Suspense> </Canvas> </> ); } export default App;
For now we force the transition effect to be displayed by passing true to the transition prop. We will add the logic to control the transition effect later.
Adjust the color to your liking. If you change it, make sure to update the color in the index.css file to avoid a color flash when the website loads:
// ... html { background-color: #a5b4fc; }

The plane is in the middle of the scene.
Fullscreen plane
We want our plane to cover the entire screen. We could use the viewport dimensions and make it face the camera, but we also want it to be on top of everything.
To achieve this, Drei provides a Hud component that will render its children on top of everything. We can add a fixed camera to the Hud component to be sure it's perfectly aligned with our plane:
import { Hud, OrthographicCamera } from "@react-three/drei"; export const ScreenTransition = ({ transition, color }) => { return ( <Hud> <OrthographicCamera makeDefault top={1} right={1} bottom={-1} left={-1} near={0} far={1} /> <mesh> <planeGeometry args={[2, 2]} /> <meshBasicMaterial color={color} /> </mesh> </Hud> ); };
We use an OrthographicCamera to easily cover the entire screen whatever the distance between the camera and the plane is.

The plane is now covering the entire screen.
Transition logic
One last thing before creating our custom shader, let's define a transition state in UI.jsx:
// ... import { atom } from "jotai"; export const transitionAtom = atom(true); // ...
We set the initial value to true to start with a fade-out effect after the website loads.
We will use this state to control the transition effect.
Still in UI.jsx, we will define two constants to control the duration and delay of the transition effect:
// ... export const TRANSITION_DELAY = 0.8; export const TRANSITION_DURATION = 3.2; // ...
Now let's replace the setScreen function call with a new one that will handle the transition effect:
// ... import { useAtom } from "jotai"; import { useRef } from "react"; // ... export const UI = () => { // ... const [transition, setTransition] = useAtom(transitionAtom); const timeout = useRef(); // ... const transitionToScreen = (newScreen) => { setTransition(true); clearTimeout(timeout.current); timeout.current = setTimeout(() => { setScreen(newScreen); setTransition(false); }, TRANSITION_DURATION * 1000 + TRANSITION_DELAY * 1000); }; // ... };
Instead of directly setting the new screen, we set the transition state to true and use a setTimeout to set the new screen after the transition effect is done (the duration of the transition effect plus the delay).
Now our function is ready, search for the setScreen calls in the UI component and replace them with transitionToScreen.
From home to menu:
<motion.button onClick={() => transitionToScreen("menu")} // ... >
And from menu to home:
<motion.button onClick={() => transitionToScreen("home")} // ... >
End of lesson preview
To get access to the entire lesson, you need to purchase the course.

