
Fundamentals
Core
Master
Shaders
Camera Controls
To position and animate the camera in a 3D scene, we have discovered a few ways to do it:
- Manually setting the camera position and rotation.
- Using different kinds of controls, like OrbitControls.
But sometimes, we need more control over the camera, and it requires a lot of code and calculation to get it right. Fortunately, there are libraries that can help us with that.
The one we are going to use is called camera-controls. It's a small library that allows us to perform a variety of camera movements and animations very easily.
By chance, Drei has a wrapper for this library, so we can use it with a few lines of code.
Starter project
To discover the different features of this library, we are going to create a nice 3D slider to showcase the new iPhone 15 Pro Max Black.
Please contact me when the iPhone 16 is released so I can update this lesson 🤭
The starter project contains:
- Apple iPhone 15 Pro Max Black model by polyman. Licensed under Creative Commons Attribution.
- A UI component containing a slider made with Tailwind CSS that we will add later to the project.
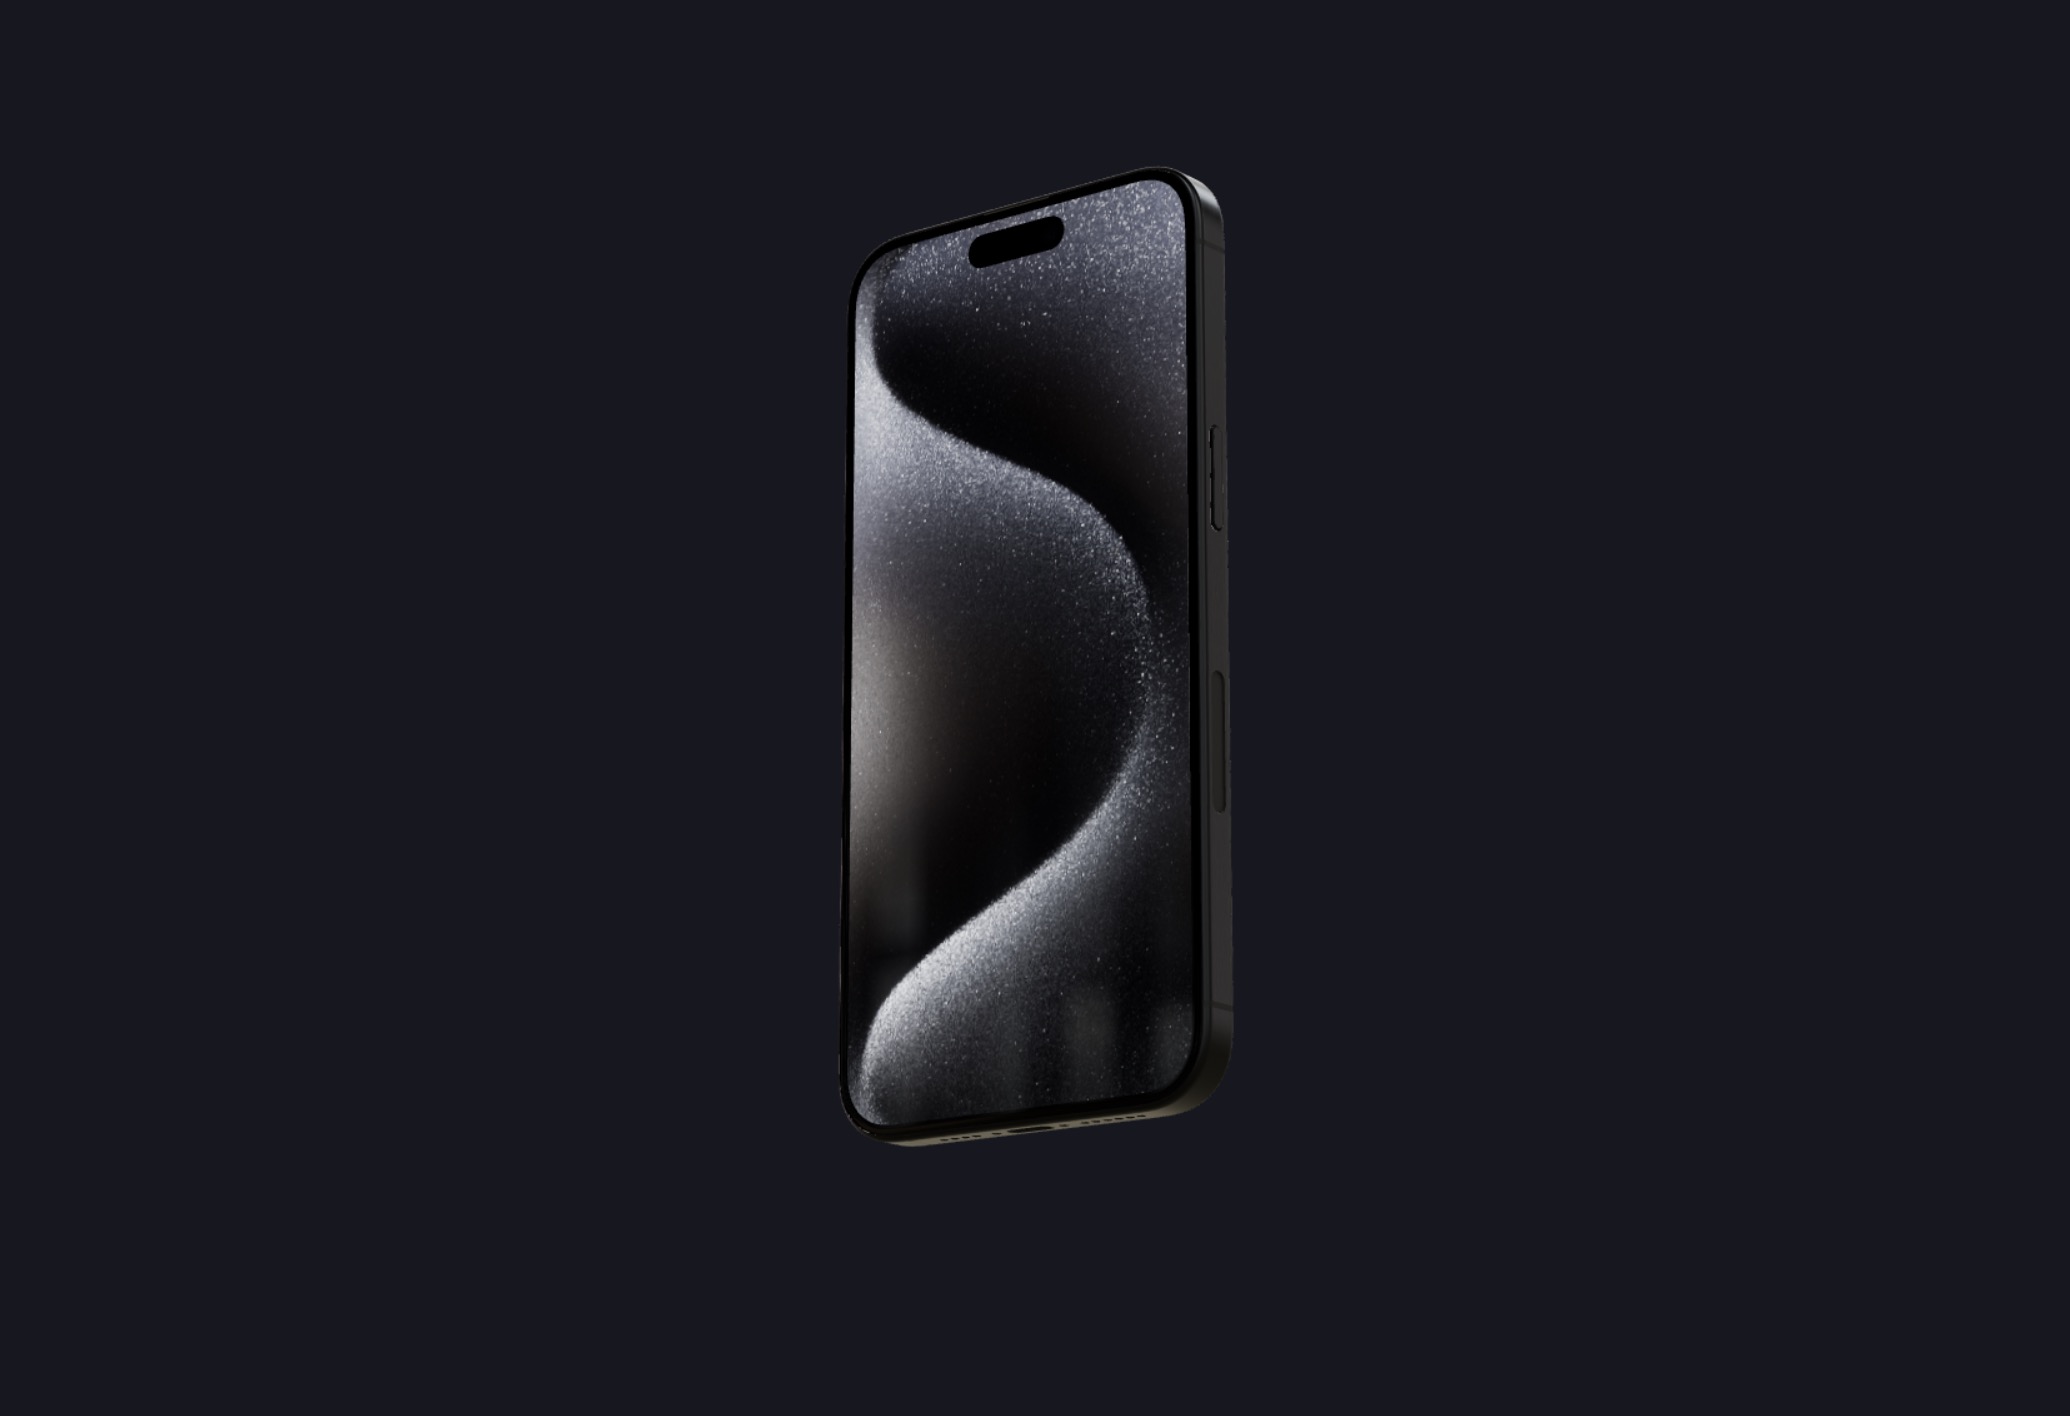
For now we can only see the iPhone model
Let's start playing with the camera controls.
Controls
To enable the camera controls, we need to replace the OrbitControls already present in the starter project with the CameraControls component from Drei.
We will also add a reference to the control so we can access it later and use its methods.
Experience.jsx:
// ... import { CameraControls } from "@react-three/drei"; import { useRef } from "react"; export const Experience = () => { const controls = useRef(); return ( <> <CameraControls ref={controls} /> {/* ... */} </> ); };
By doing this, we can't notice any major difference with the OrbitControls. We can still rotate, pan and zoom the camera.
The API has also many controls in common such as the distance, zoom, polarAngle, azimuthAngle, ...
Where the CameraControls component shines is when we want to animate the camera.
We won't go through all the controls available, but we will see the most common ones. You can find the full list in the camera-controls documentation.
Dolly
The dolly control allows us to move the camera forward and backward.
Let's use Leva to add buttons to move the camera forward and backward:
// ... import { button, useControls } from "leva"; export const Experience = () => { // ... useControls("dolly", { in: button(() => { controls.current.dolly(1, true); }), out: button(() => { controls.current.dolly(-1, true); }), }); // ... };
The first argument of the dolly method is the distance we want to move the camera. The second argument is a boolean that indicates if we want to animate the movement or not.
Our camera can now move forward and backward
If we wanted to achieve the same result with the
OrbitControls, we would have to calculate the new position of the camera and the target. Then we would have to animate the camera and the target to their new positions.
Truck
The truck control allows us to move the camera up, down, left and right without changing the camera's orientation.
As we did with the dolly control, let's add buttons to experiment the truck control:
// ... export const Experience = () => { // ... useControls("truck", { up: button(() => { controls.current.truck(0, -0.5, true); }), left: button(() => { controls.current.truck(-0.5, 0, true); }), down: button(() => { controls.current.truck(0, 0.5, true); }), right: button(() => { controls.current.truck(0.5, 0, true); }), }); // ... };
The first two arguments of the truck method are the horizontal and vertical distances we want to move the camera. The third argument is a boolean that indicates if we want to animate the movement or not.
You can use different values for the horizontal and vertical distances to move the camera diagonally.
Rotate
Camera Controls provide a way to programmatically rotate the camera around its target like the movement we do when we drag the mouse with the OrbitControls.

Let's add buttons to rotate the camera around its target:
// ... export const Experience = () => { // ... useControls("rotate", { up: button(() => { controls.current.rotate(0, -0.5, true); }), down: button(() => { controls.current.rotate(0, 0.5, true); }), left: button(() => { controls.current.rotate(-0.5, 0, true); }), right: button(() => { controls.current.rotate(0.5, 0, true); }), }); // ... };
The arguments of the rotate method are:
azimuthAngle: the horizontal angle in radians.polarAngle: the vertical angle in radians.enableTransition: a boolean that indicates if we want to animate the movement or not.
Smooth time
To control the animation time when we use the enableTransition argument, we can use the smoothTime property.
End of lesson preview
To get access to the entire lesson, you need to purchase the course.