

Fundamentals
Core
Master
Shaders
Staging
In this lesson we will explore ways and components to make our 3D experiences more pro-looking.
While the content of a scene is important, the way it is presented can make a huge difference. The best looking 3D models can look so-so if they are not presented in a good way.
Our starter project is a Tesla Model 3 displayed in the middle of the screen.
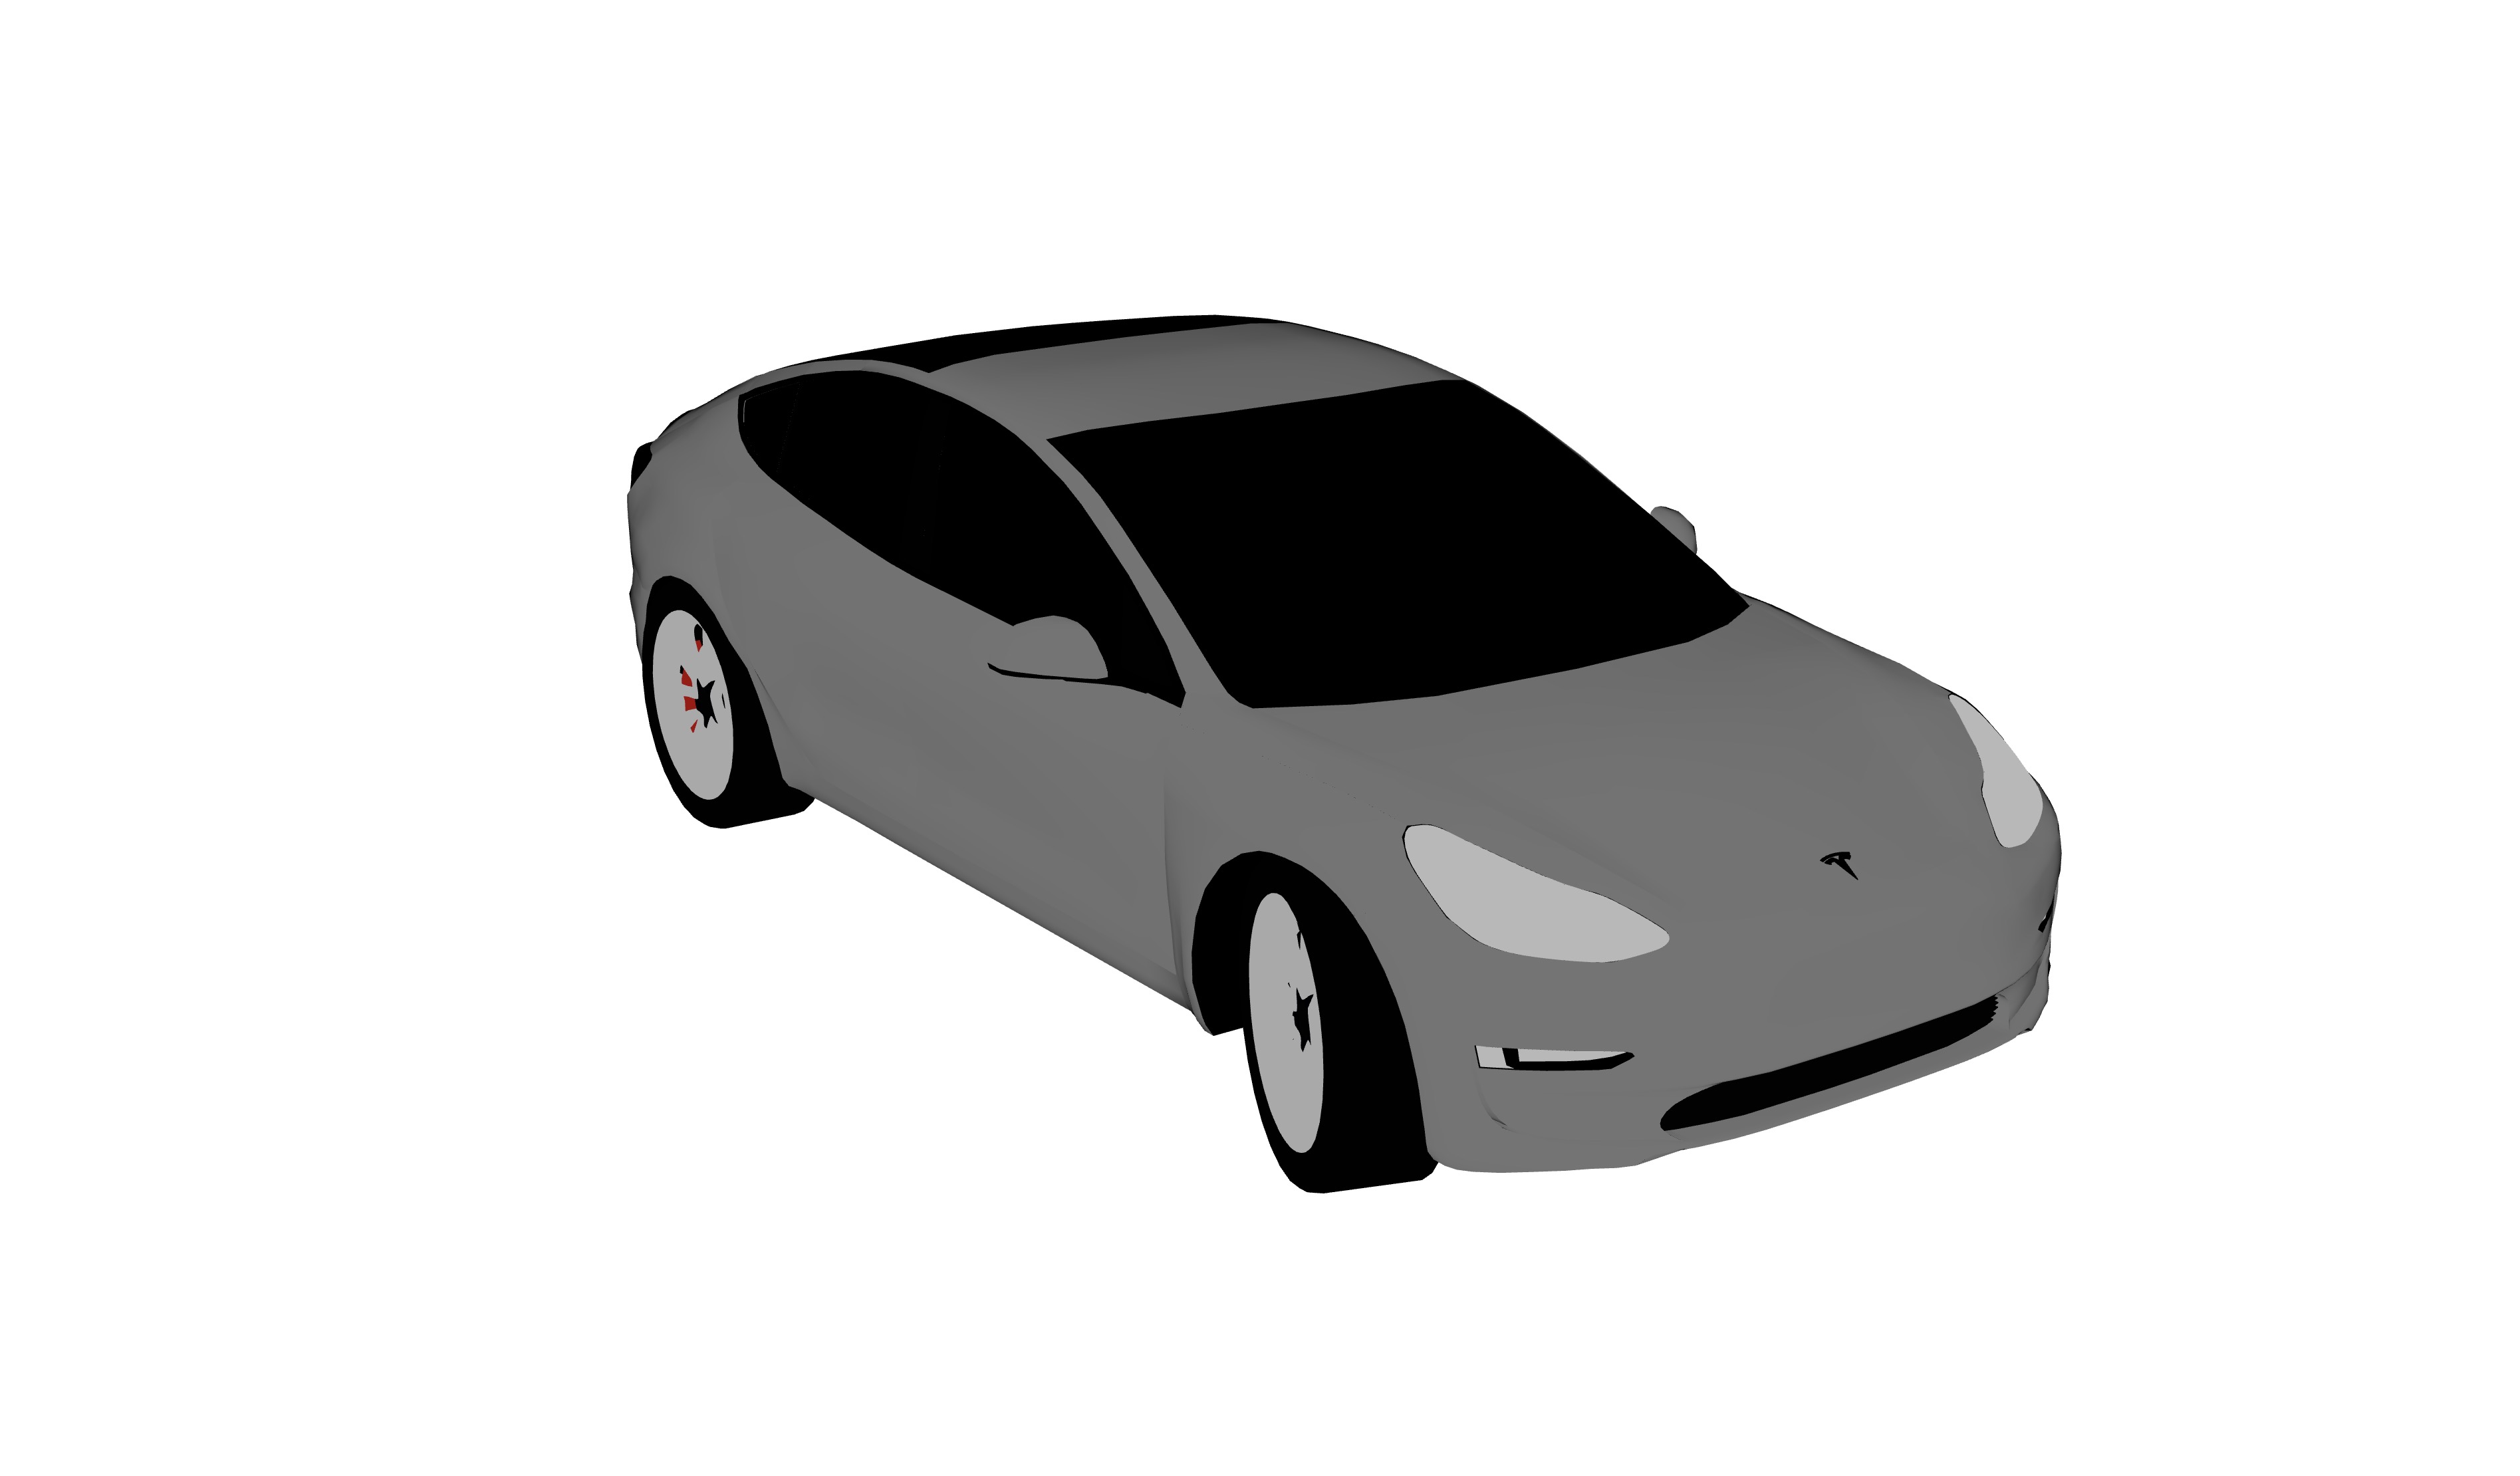
The scene contains an orbit control so that we can move around the car. I configured the control to always have a good view of the car. This is also part of the staging and pro-looking experience.
There's only one light source: an ambient light. It barely lights the scene and the car looks flat.
Let's see how we can improve this! I promise you that the final result will look much better.
Stage
Stage from Drei library is a wrapper component that creates a proper studio lighting setup for your scene.
Let's wrap our car in a Stage component:
import { Stage } from "@react-three/drei"; // ... export const Experience = () => { return ( <> {/* ... */} <Stage> <TeslaModel3 scale={0.012} position-z={0.6} /> </Stage> {/* ... */} <> ); };
The car looks much better already! The lighting is more realistic and the car looks more 3D. We even have shadows!
We can customize the Stage component by passing it some props:
<Stage intensity={0.4} preset={"upfront"} environment={"studio"}> <TeslaModel3 scale={0.012} position-z={0.6} /> </Stage>
intensitycontrols the intensity of the light. The default value is0.5.presetcontrols the lighting setup. The default value isrembrandt.environmentcontrols the environment preset. The default value iscity. (we will cover environment later in this lesson)
This component is very useful and a quick way to make your scene look better. It also have other props that you can check in the documentation.
Sometimes you will need to have more control, that's why we will explore other ways to create lighting environments.
Background color and fog
So far in this course, we always kept the background transparent. This led to a white background because of the background of our HTML page.
Which means you can change the background color by setting the background color of the body of your page in CSS and even use gradients or images.
In index.css add the following:
body { margin: 0; background-color: #d9afd9; background-image: linear-gradient(0deg, #d9afd9 0%, #97d9e1 100%); }
This is a gradient I found on Grabient.
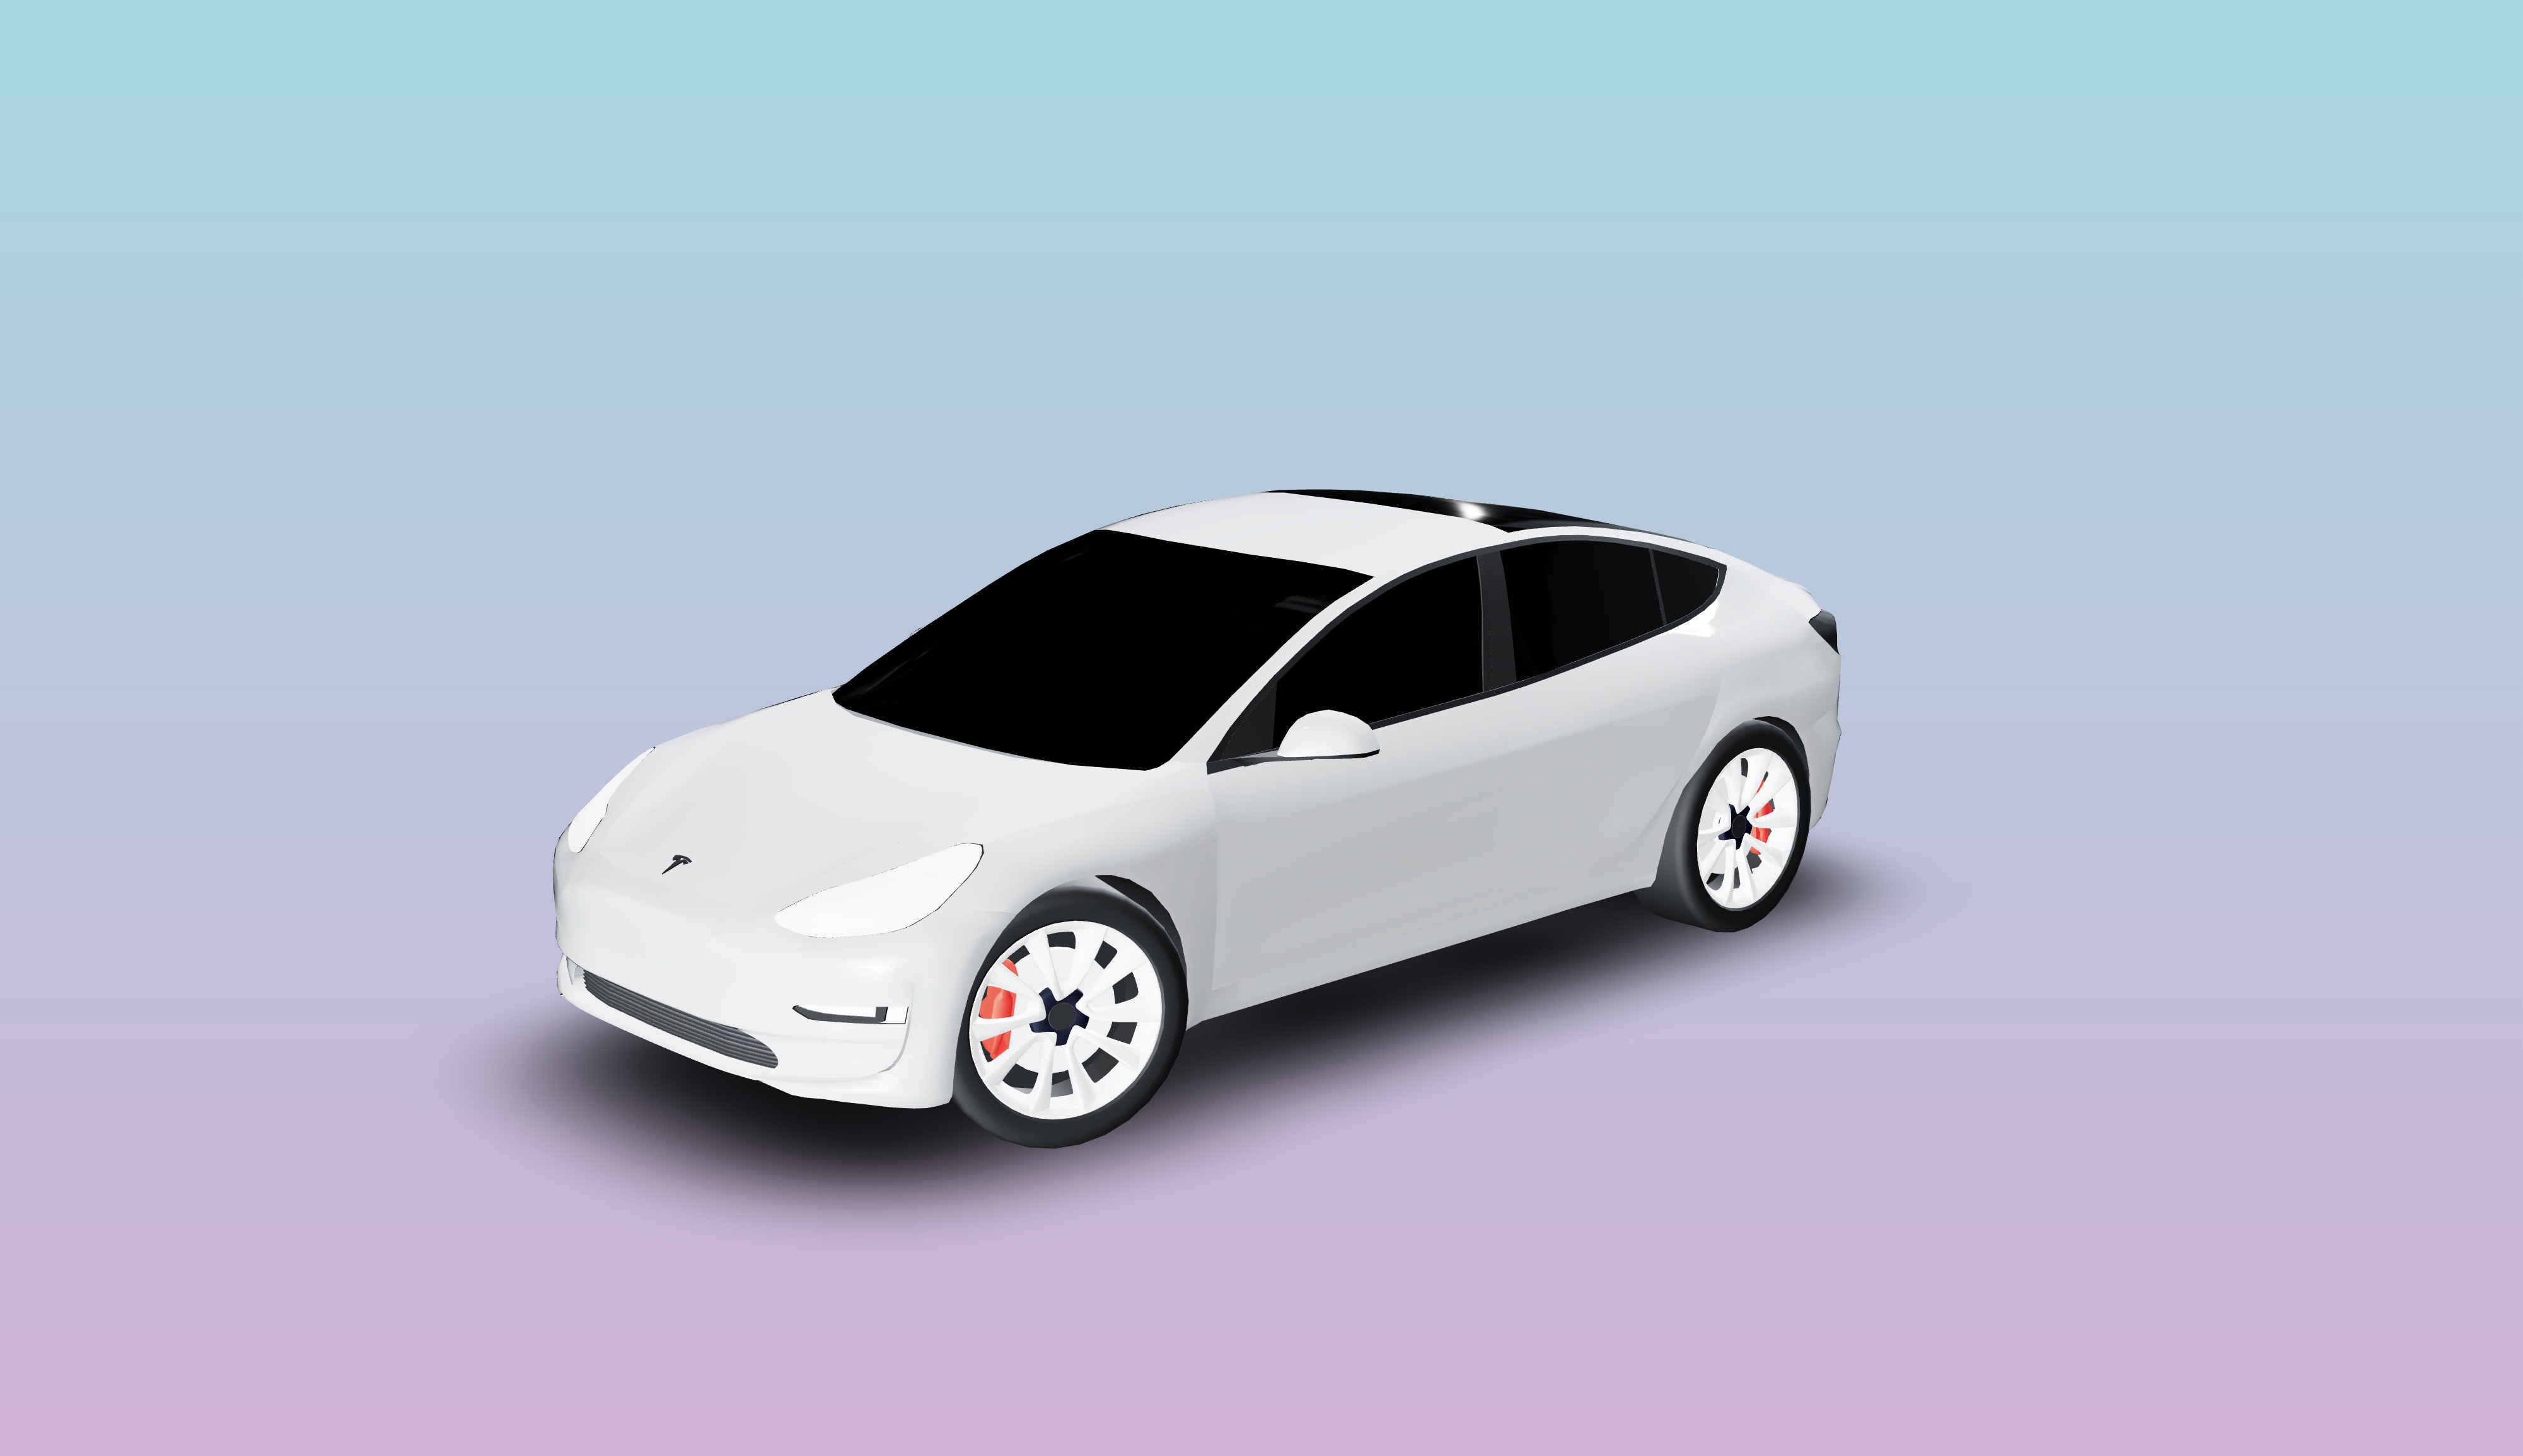
Our scene now has a nice background.
We can't always rely on the page background to set the background color of our scene. For example if we want to use fog, it requires the scene to have a background color.
To add a background color to our scene, we need to attach a color component to the background property of the scene.
Let's add a dark blue background to our scene:
<Canvas camera={{ position: [-3, 1.5, 12], fov: 30 }}> <color attach="background" args={["#171720"]} /> {/* ... */} </Canvas>
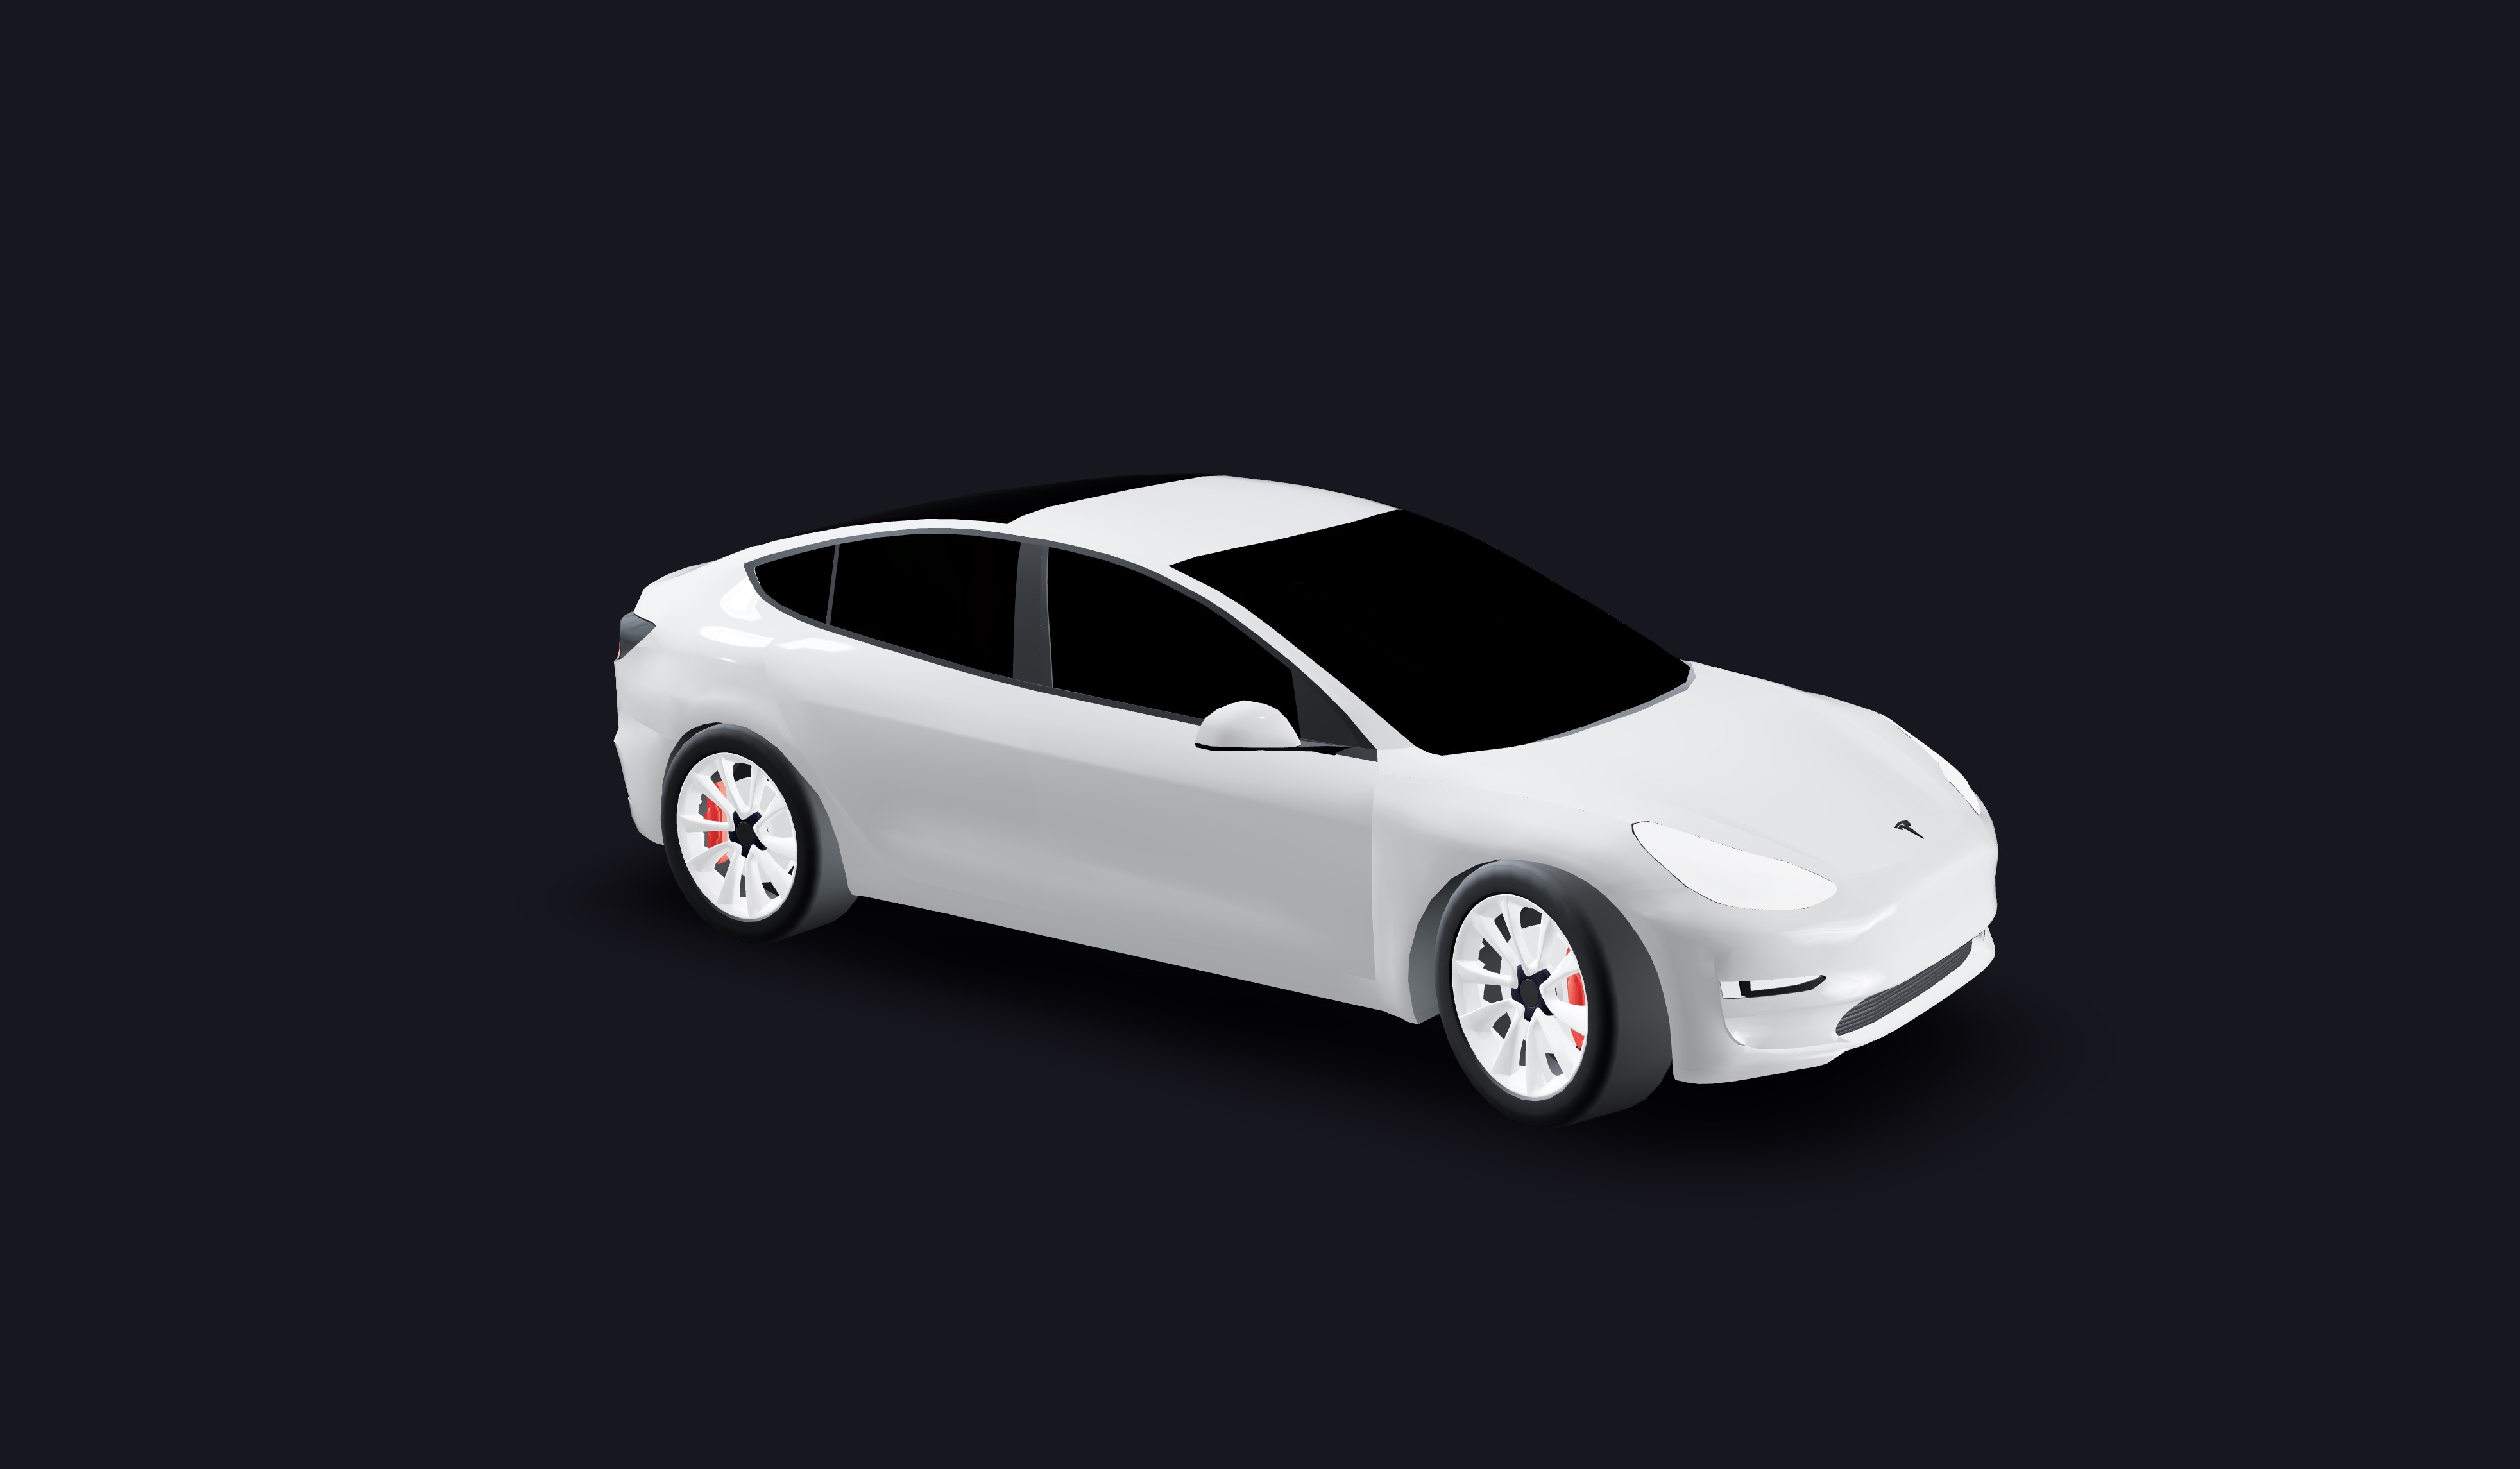
Our 3D scene now has a background and hides the page gradient.
Now let's add some fog to our scene:
<Canvas camera={{ position: [-3, 1.5, 12], fov: 30 }}> <color attach="background" args={["#171720"]} /> <fog attach="fog" args={["#171720", 20, 30]} /> {/* ... */} </Canvas>
The fog component takes 3 arguments:
color: the color of the fog.near: the distance from the camera where the fog starts.far: the distance from the camera where the fog ends.
It smoothly fades between the near and far distances.
End of lesson preview
To get access to the entire lesson, you need to purchase the course.