

Fundamentals
Core
Master
Shaders
Physics
Physics unlocks a whole new world of possibilities for your 3D projects. You can create realistic universes, user interactions, and even games.
In this lesson, we will discover the essential concepts while building a simple game.
Don't worry no prior knowledge is required, we will start from scratch. (To let you know I was a very bad student in physics at school, so if I can do it, you can do it too!)
Physics engines
To add physics to our 3D projects, we will use a physics engine. A physics engine is a library that will handle all the complex math for us, such as gravity, collisions, forces, etc.
In the JavaScript ecosystem, there are many physics engines available.
Two very popular ones are Cannon.js and Rapier.js.
Poimandres (again) has made two great libraries to use these engines with React Three Fiber: react-three-rapier and use-cannon.
In this lesson, we will use react-three-rapier but they are pretty similar and the concepts we will learn here can be applied to both.
To install it, run:
yarn add @react-three/rapier
We're now ready to start!
Physics World
Before creating the game, let's cover the essential concepts.
First, we need to create a physics world. This world will contain all the physics objects of our scene. With react-three-rapier, we simply need to wrap all our objects with a <Physics> component:
// ... import { Physics } from "@react-three/rapier"; function App() { return ( <> <Canvas camera={{ position: [0, 6, 6], fov: 60 }} shadows> <color attach="background" args={["#171720"]} /> <Physics> <Experience /> </Physics> </Canvas> </> ); } export default App;
Our world is now ready but nothing happens! That's because we don't have physics objects yet.
Rigidbody
To add physics to an object, we need to add a rigidbody. A rigidbody is a component that will make our object move in the physics world.
What can trigger the movement of an object? Forces, such as gravity, collisions, or user interactions.
Let's tell our physics world that our cube located in Player.jsx is a physics object by adding a rigidbody to it:
import { RigidBody } from "@react-three/rapier"; export const Player = () => { return <RigidBody>{/* ... */}</RigidBody>; };
Now our cube is responding to gravity and falling down. But it's falling forever!
We need to make the ground a physics object too so that the cube can collide with it and stop falling.
Let's add a rigidbody to the ground in Experience.jsx, but because we don't want it to move and to fall like the cube, we will add the type="fixed" prop:
// ... import { RigidBody } from "@react-three/rapier"; export const Experience = () => { return ( <> {/* ... */} <RigidBody type="fixed"> <mesh position-y={-0.251} receiveShadow> <boxGeometry args={[20, 0.5, 20]} /> <meshStandardMaterial color="mediumpurple" /> </mesh> </RigidBody> {/* ... */} </> ); };
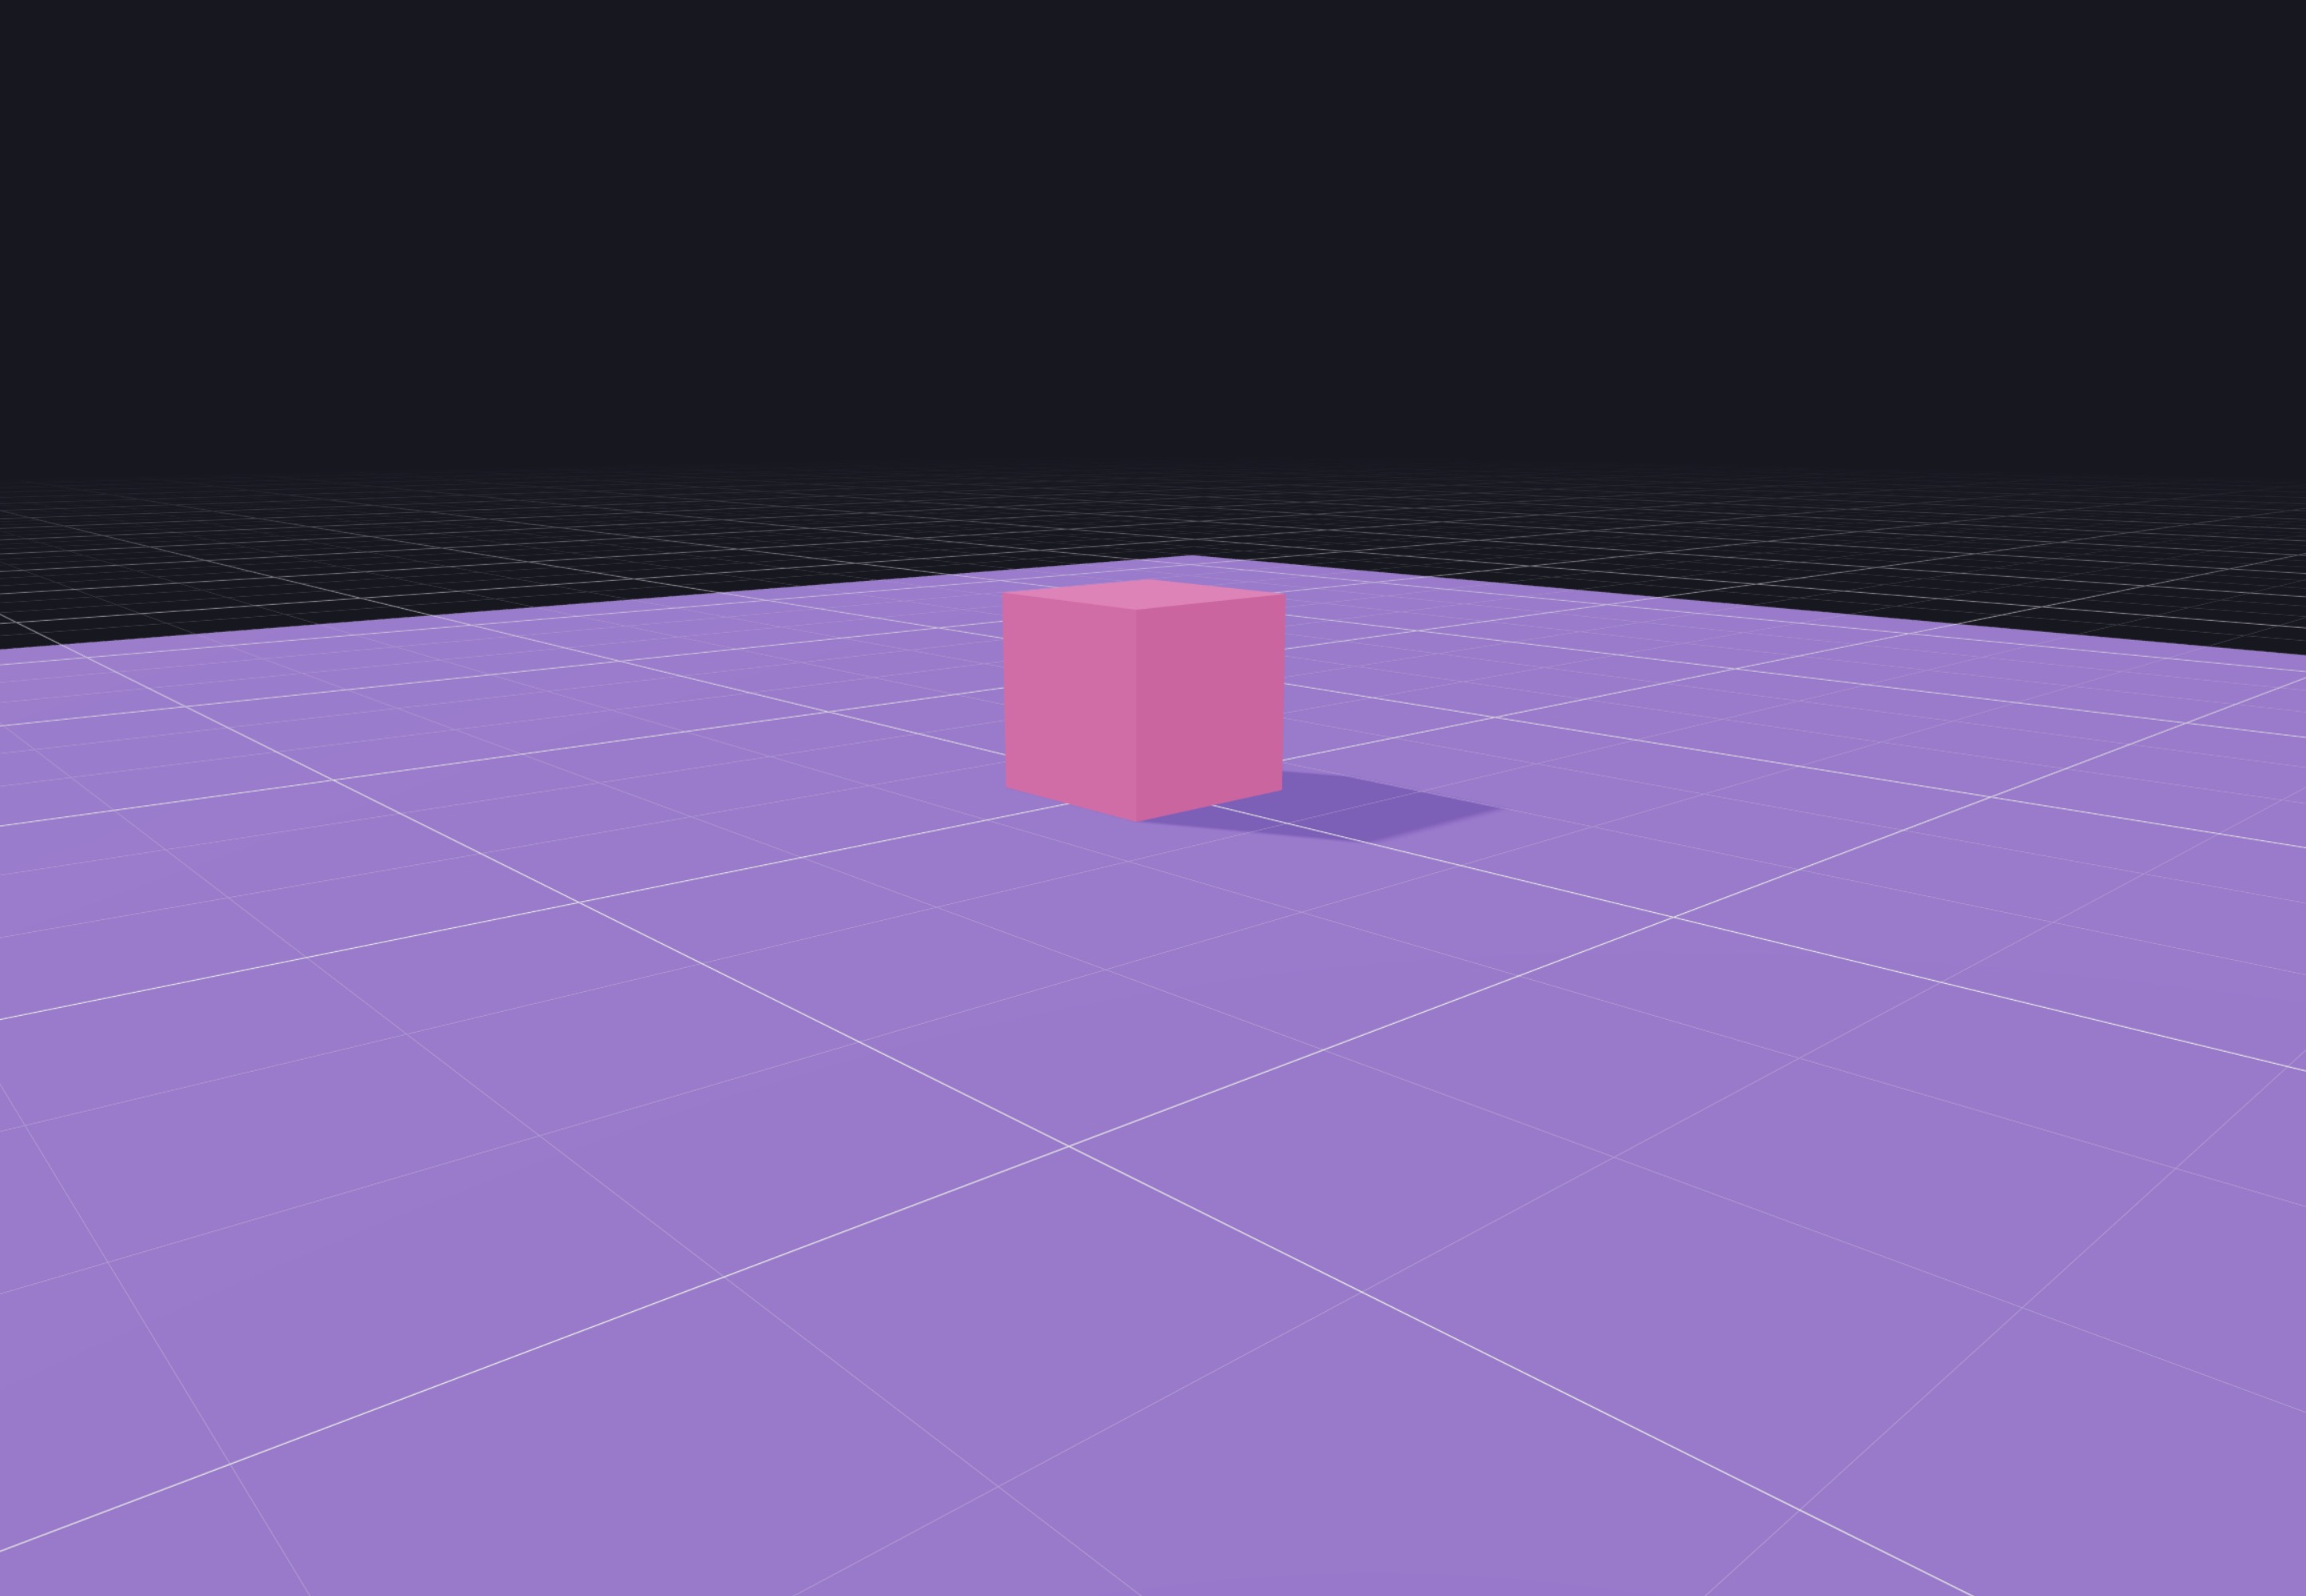
Back to the starting point, we have a non moving cube on top of the ground. But, under the hood, we have a cube reacting to gravity and stopped by its collision with the ground.
Forces
Now that we have a physics world and physics objects, we can start to play with forces.
We will make the cube move with the keyboard arrows. To do so let's use KeyboardControls we discovered in the events lesson:
// ... import { KeyboardControls } from "@react-three/drei"; import { useMemo } from "react"; export const Controls = { forward: "forward", back: "back", left: "left", right: "right", jump: "jump", }; function App() { const map = useMemo( () => [ { name: Controls.forward, keys: ["ArrowUp", "KeyW"] }, { name: Controls.back, keys: ["ArrowDown", "KeyS"] }, { name: Controls.left, keys: ["ArrowLeft", "KeyA"] }, { name: Controls.right, keys: ["ArrowRight", "KeyD"] }, { name: Controls.jump, keys: ["Space"] }, ], [] ); return <KeyboardControls map={map}>{/* ... */}</KeyboardControls>; } export default App;
We can now get the pressed keys in our Player.jsx component:
// ... import { Controls } from "../App"; import { useKeyboardControls } from "@react-three/drei"; import { useFrame } from "@react-three/fiber"; export const Player = () => { const [, get] = useKeyboardControls(); useFrame(() => { if (get()[Controls.forward]) { } if (get()[Controls.back]) { } if (get()[Controls.left]) { } if (get()[Controls.right]) { } if (get()[Controls.jump]) { } }); // ... };
get() is an alternative way to get the pressed keys with the KeyboardControls component.
Now that we have the pressed keys, we can apply forces to the cube. We can do that with two methods:
applyImpulse: apply an instant force to the objectsetLinVel: set the linear velocity of the object
Let's discover both of them.
Let's add a useRef to the RigidBody, and use it to apply an impulse to move the cube in the right direction:
import { useRef } from "react"; import { Vector3 } from "three"; const MOVEMENT_SPEED = 0.5; export const Player = () => { const rb = useRef(); const [, get] = useKeyboardControls(); const impulse = new Vector3(); useFrame(() => { impulse.x = 0; impulse.y = 0; impulse.z = 0; if (get()[Controls.forward]) { impulse.z -= MOVEMENT_SPEED; } if (get()[Controls.back]) { impulse.z += MOVEMENT_SPEED; } if (get()[Controls.left]) { impulse.x -= MOVEMENT_SPEED; } if (get()[Controls.right]) { impulse.x += MOVEMENT_SPEED; } if (get()[Controls.jump]) { } rb.current.applyImpulse(impulse, true); }); return <RigidBody ref={rb}>{/* ... */}</RigidBody>; };
Be careful to assign the ref to the RigidBody and not the mesh.
It works, but it's accelerating too fast and slides on the ground. We can add more friction to the ground to fix that:
// ... export const Experience = () => { // ... return ( <> {/* ... */} <RigidBody type="fixed" friction={5}> {/* ... */} </RigidBody> {/* ... */} </> ); };
The friction makes the cube rotate because it grips the ground. We can fix that by locking the rotation of the cube:
// ... export const Player = () => { // ... return ( <RigidBody ref={rb} lockRotations> {/* ... */} </RigidBody> ); };
It is now way better, but the cube is still sliding a bit. We can fix that by adjusting linear damping to the cube but we won't pursue this path in this lesson.
Because we would also need to adjust the max velocity of the cube to prevent it from constantly accelerating. We would face issues when we will use the left and right keys to rotate the cube instead of moving it.
Let's switch our system to use setLinVel instead of applyImpulse:
// ... import { useRef } from "react"; import { Vector3 } from "three"; const MOVEMENT_SPEED = 5; export const Player = () => { // ... const rb = useRef(); const vel = new Vector3(); useFrame(() => { vel.x = 0; vel.y = 0; vel.z = 0; if (get()[Controls.forward]) { vel.z -= MOVEMENT_SPEED; } if (get()[Controls.back]) { vel.z += MOVEMENT_SPEED; } if (get()[Controls.left]) { vel.x -= MOVEMENT_SPEED; } if (get()[Controls.right]) { vel.x += MOVEMENT_SPEED; } if (get()[Controls.jump]) { } rb.current.setLinvel(vel, true); }); return <RigidBody ref={rb}>{/* ... */}</RigidBody>; };
You can also remove the friction from the ground because it's not needed anymore.
F2is your friend to quickly rename variables.
Great! We now have a cube that can move with the keyboard arrows.
Let's add a jump force when the user presses the space bar:
// ... const JUMP_FORCE = 8; export const Player = () => { // ... useFrame(() => { // ... if (get()[Controls.jump]) { vel.y += JUMP_FORCE; } rb.current.setLinvel(vel, true); }); return ( <RigidBody ref={rb} lockRotations> {/* ... */} </RigidBody> ); };
We have two issues:
- The cube is not reacting correctly to the gravity (compare with the falling cube at the beginning of the lesson)
- The cube can jump when it's already in the air
The gravity issue is because we set manually the velocity of the cube on the y axis. We need to change it only when we jump, and let the physics engine handle the gravity the rest of the time:
// ... export const Player = () => { // ... useFrame(() => { const curVel = rb.current.linvel(); if (get()[Controls.jump]) { vel.y += JUMP_FORCE; } else { vel.y = curVel.y; } rb.current.setLinvel(vel, true); }); // ... };
We get the current velocity of the cube with rb.current.linvel() and if we are not jumping, we set the y velocity to the current one.
To prevent the cube from jumping when it's already in the air, we can check if the cube has touched the ground before being able to jump again:
// ... export const Player = () => { // ... const inTheAir = useRef(false); useFrame(() => { // ... if (get()[Controls.jump] && !inTheAir.current) { vel.y += JUMP_FORCE; inTheAir.current = true; } else { vel.y = curVel.y; } rb.current.setLinvel(vel, true); }); // ... };
We can now jump only once, and the gravity is working but a bit too slow.
Before fixing them, let's see how our collision system works.
End of lesson preview
To get access to the entire lesson, you need to purchase the course.