

Fundamentals
Core
Master
Shaders
Shaping functions
The shader logic is special, it's different from what we are used to in JavaScript or other programming languages. While the syntax is similar, the way we implement logic is different. It's a bit like a black box, you put in some data and you get out some colors for the fragment shader, or some positions for the vertex shader.
But how do you control the output? How do you make it look like you want? This is where shaping functions come in.
We will focus on the fragment shader for this lesson, but the same principles apply to the vertex shader.
Practice zone
To master the art of shaping, you will need to practice and experiment. It will take time to get used to the way the shader works, but once you get the hang of it, you will be able to create amazing effects.
Because I want you to put you in the best position to succeed, I've prepare this 3D Art Gallery scene for you to visualize your shaders in real time in a pleasant environment.
Can you feel your creativity flowing? All those empty frames are waiting for your masterpieces!
The 3D model used is VR Gallery by Maxim Mavrichev and is licensed under Creative Commons Attribution.
I used <CameraControls /> to create a first person camera to navigate inside the gallery and Squoosh to reduce the size of the textures.
SimpleShaderMaterial
All the frames from the gallery are copies of the SimpleShaderMaterial, it is a basic custom shader I prepared for you with:
uColor: a coloruTime: the time elapsed since the beginning of the applicationvUv: the UV coordinates of the fragment (0 to 1 on both axis)
They all are extended in the <App.jsx /> to be able to use them declaratively in our scene.
They are named based on their position in the gallery, but feel free to rename them to something more meaningful once you created masterpieces with them!
Functions
For each fragment of our shader, our same code will be executed with different inputs.
If we want to draw a line, we could use if statements to check if the pixel is inside the line or not. But doing more complex shapes would be very difficult and inefficient.
Instead, we use functions to shape our output. Do not worry, you don't need to be a math expert to use them. You just need to understand what functions are at your disposal, and what they do.
Think of a function as a machine that takes some input and gives you some output. For example, the function
f(x) = x * 2takes a numberxand gives youx * 2as a result.
To visualize the effect of the different functions, we will use Graphtoy, it's a simple tool to type in functions and see their output. It helps validate our understanding of the functions when we are experimenting with them in our shaders.
Let's visualize our f(x) = x * 2 function in Graphtoy:

Graphtoy will quickly become your best friend when you are experimenting with shaders.
Time to experiment with the different functions at our disposal.
Step
The step function is a simple function that returns 0 if the input is less than a threshold, and 1 if the input is greater than the threshold.
It takes two parameters:
edge: the thresholdx: the input value
Let's try it on the front frame ArtFront02Material.jsx fragment shader:
void main() { float pct = 1.0; pct = step(0.5, vUv.x); vec3 finalColor = pct * uColor; gl_FragColor = vec4(finalColor, 1.0); }
We declare a variable pct to determine the percentage of the color we want to display. We set it to 1.0 by default, and then we use the step function to set it to 0.0 if the vUv.x is less than 0.5.
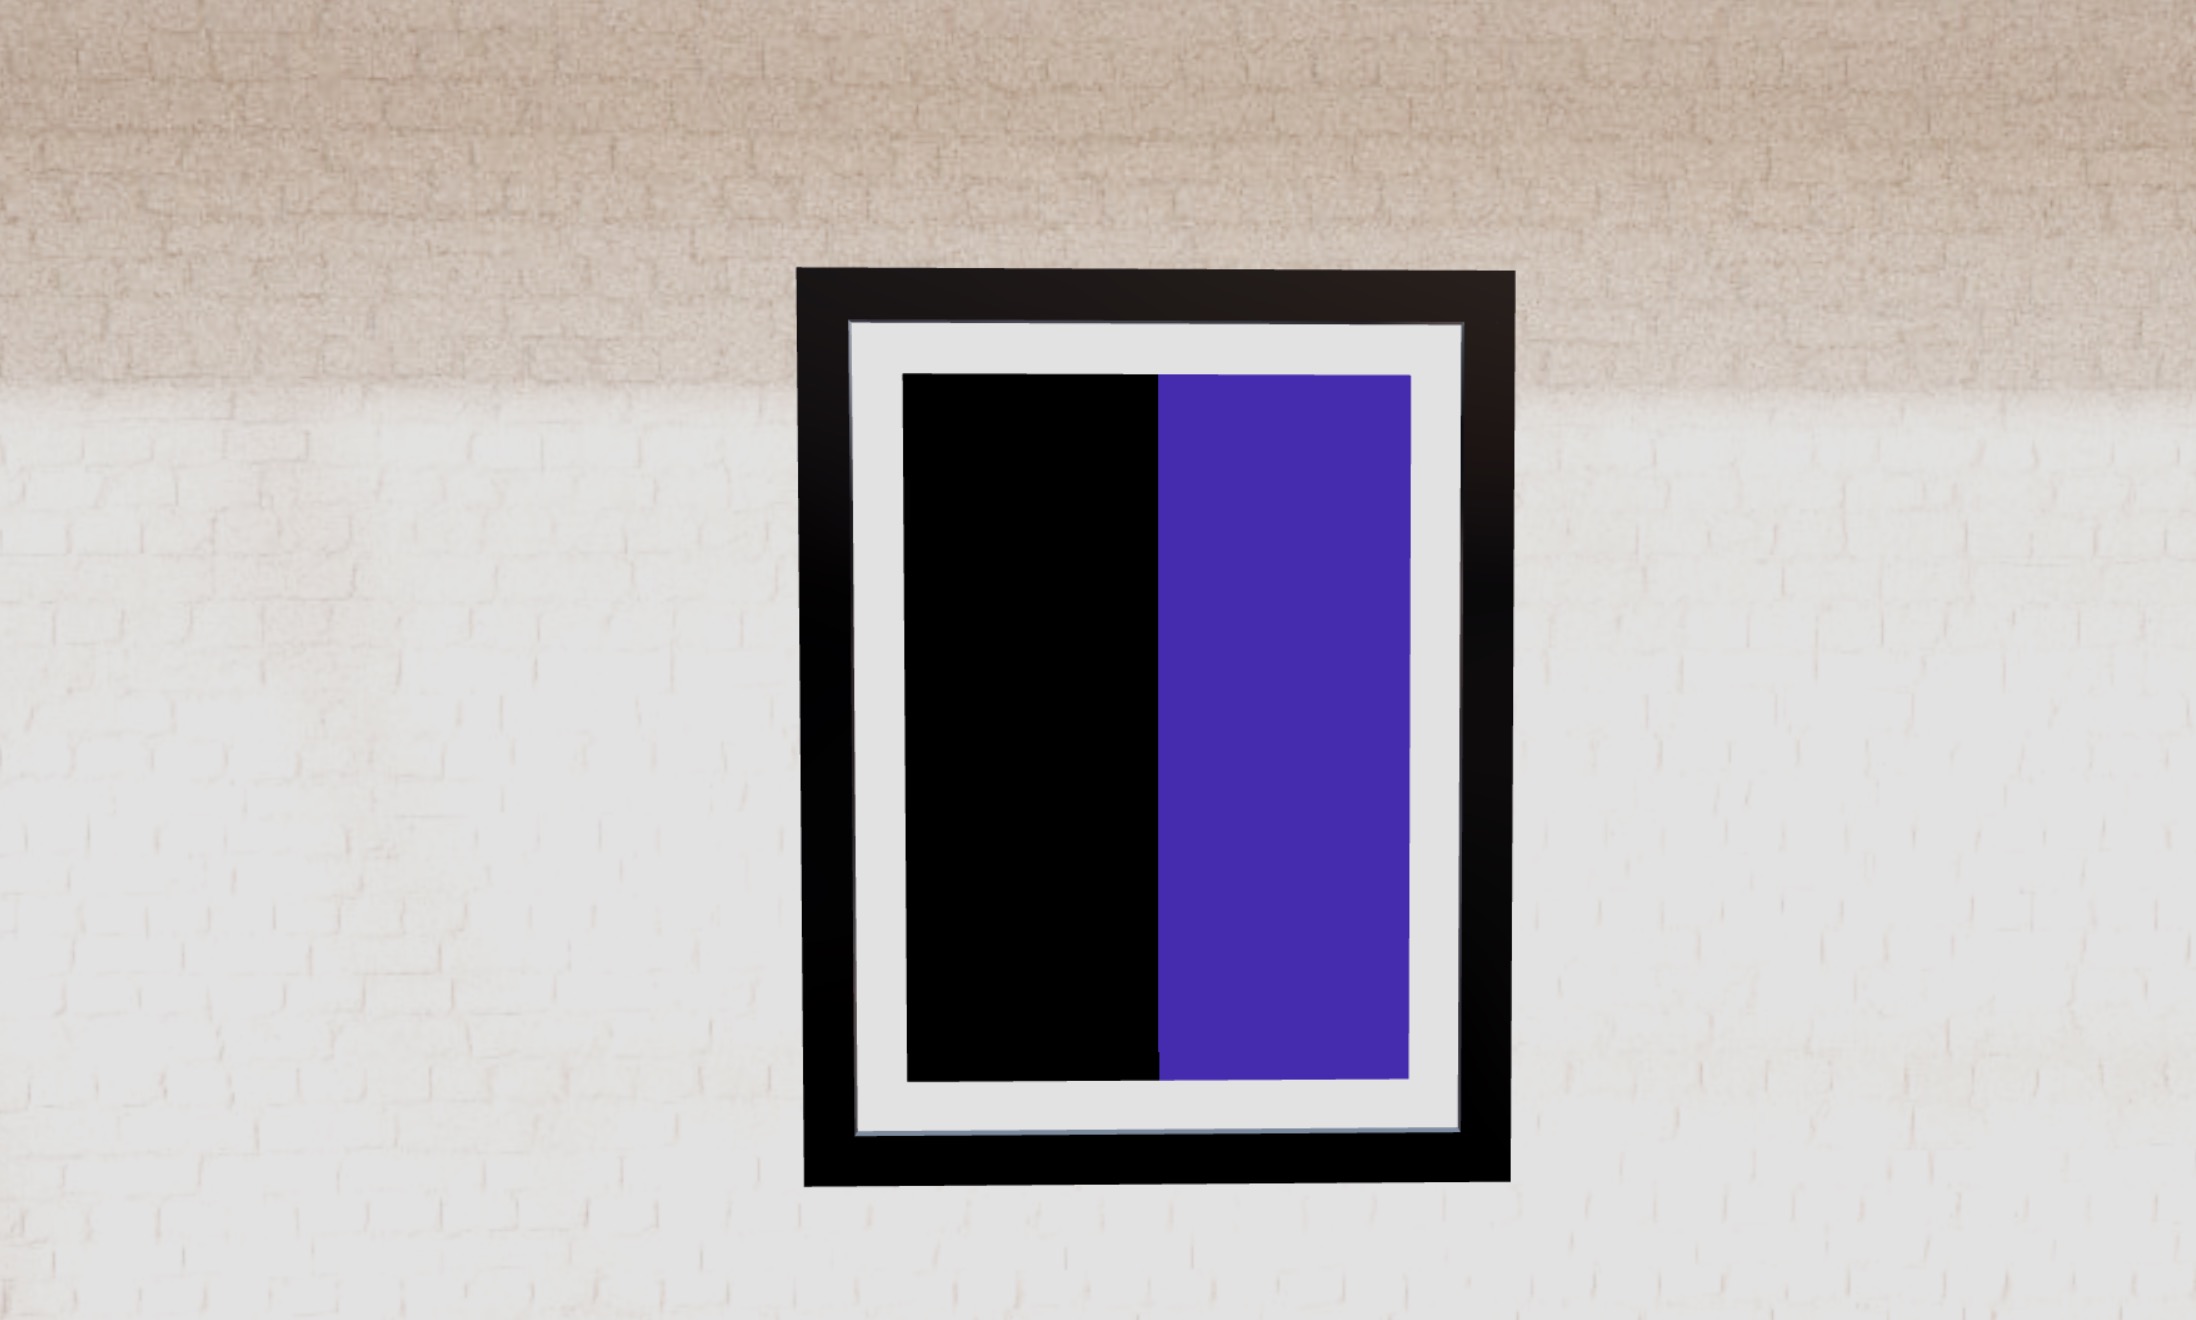
We can see the left half of the frame is black, and the right half is the color set in the uColor uniform.
Let's apply it to the vertical axis with a different threshold:
void main() { float pct = 1.0; pct = step(0.2, vUv.y); vec3 finalColor = pct * uColor; gl_FragColor = vec4(finalColor, 1.0); }
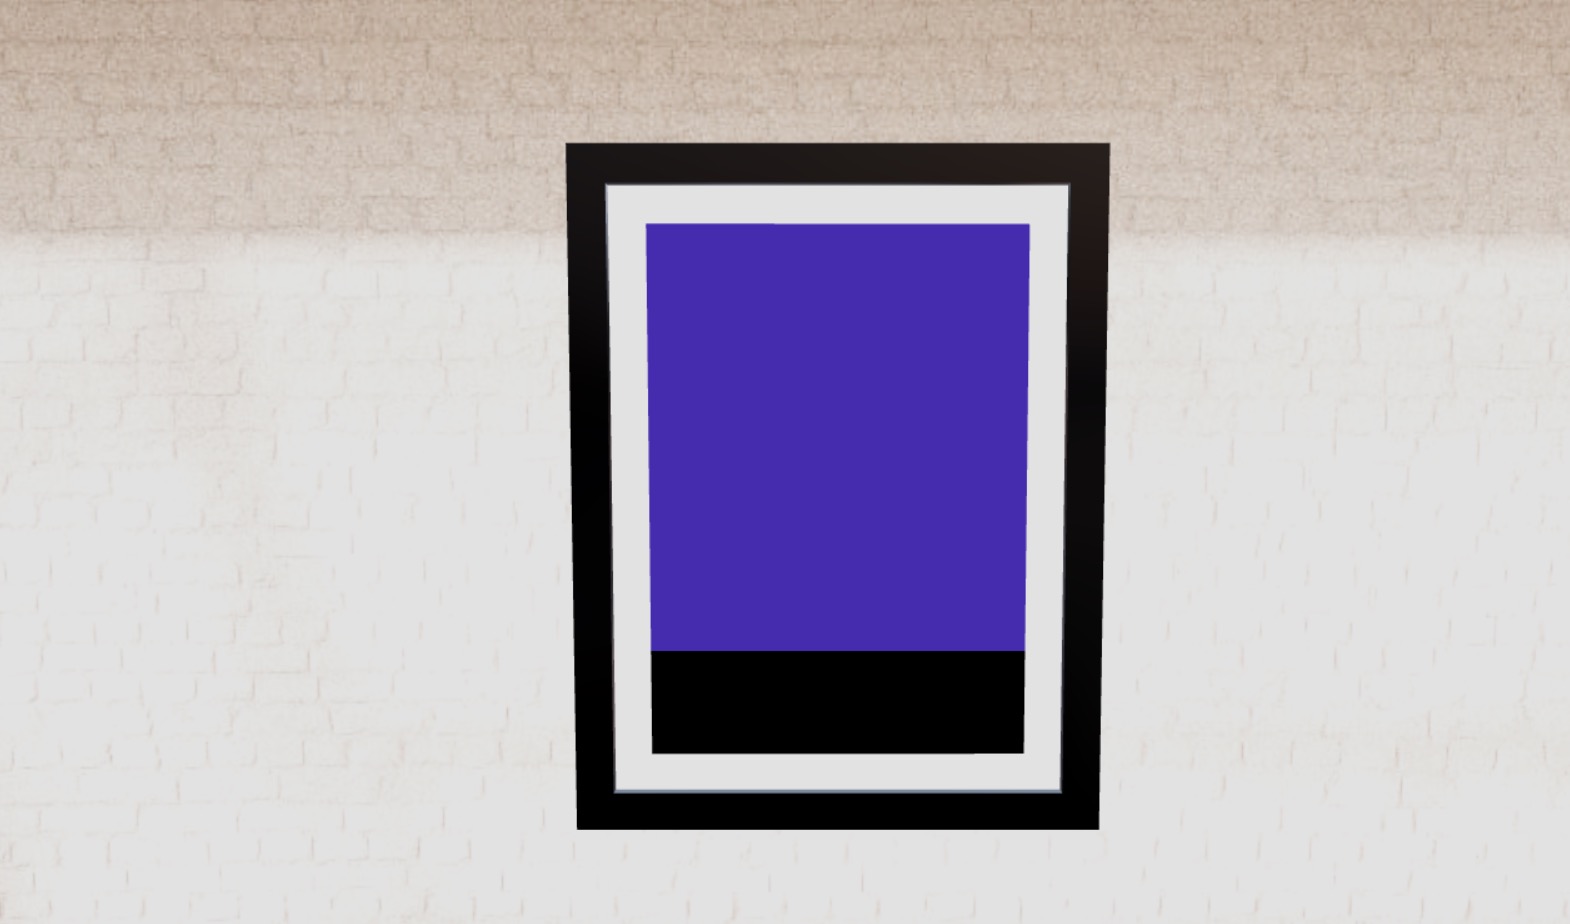
We can see the 20% of the bottom of the frame is black, and the rest is purple.
The UV coordinates have the origin at the bottom left corner of the frame, so
[0, 0]is the bottom left corner, and[1, 1]is the top right corner.
If you want to revert the effect, you can simply swap the parameters of the step function:
void main() { float pct = 1.0; pct = step(vUv.y, 0.2); vec3 finalColor = pct * uColor; gl_FragColor = vec4(finalColor, 1.0); }
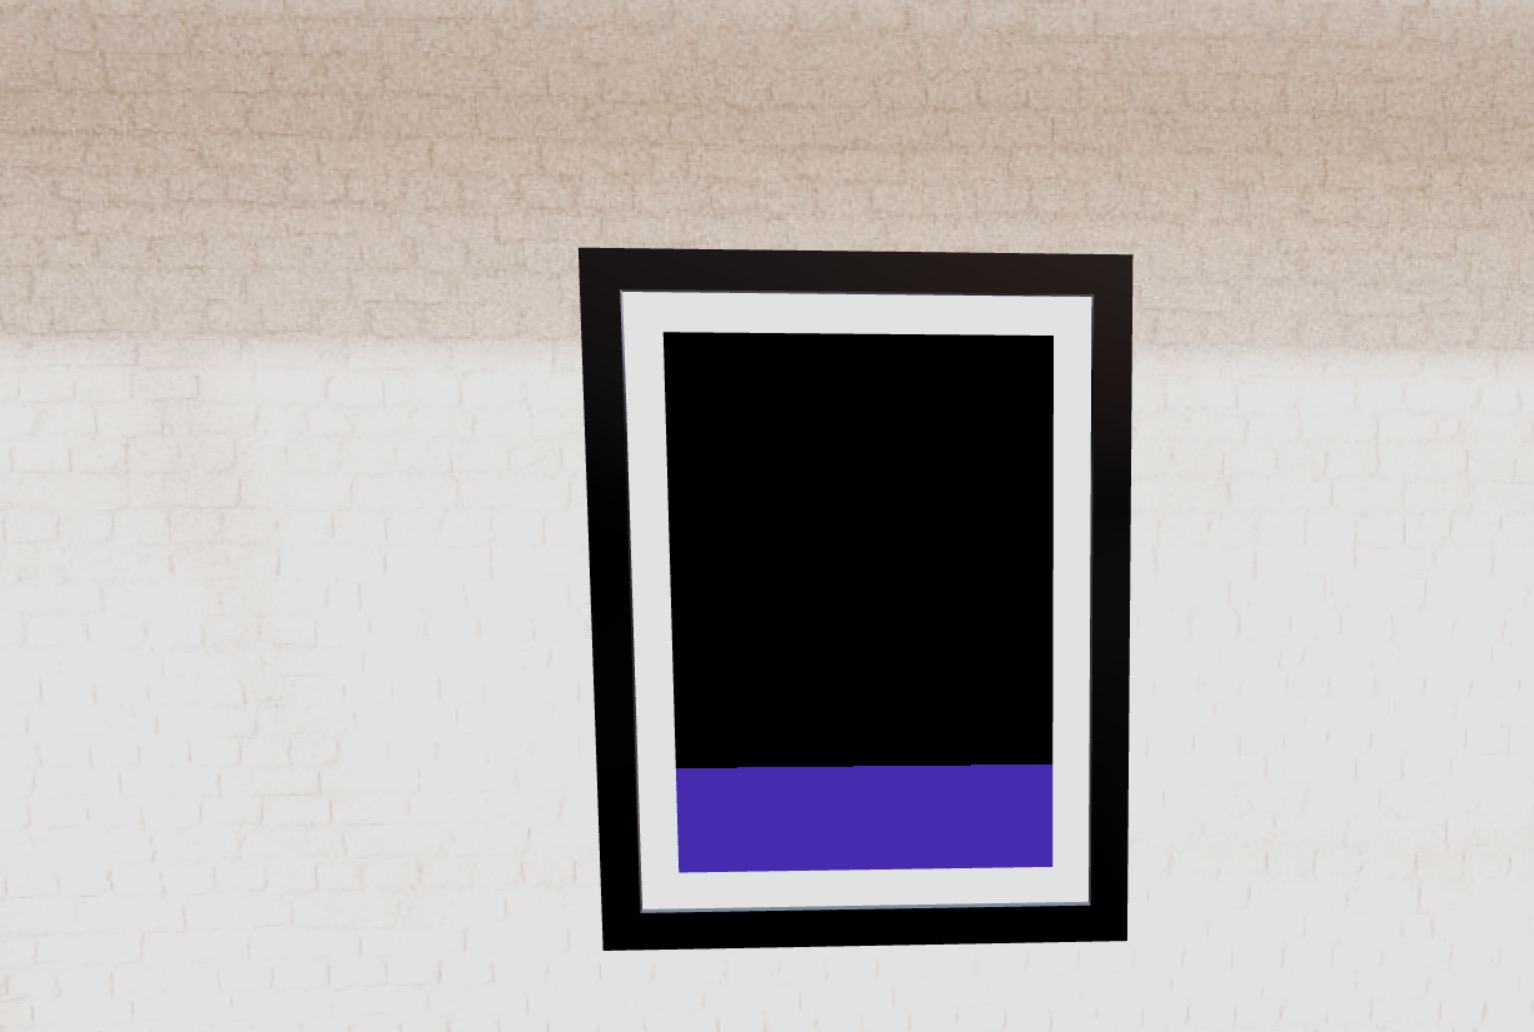
We now have the opposite effect.
Mix
The mix function is a simple function that returns a linear interpolation between two values.
It takes three parameters:
x: the first valuey: the second valuea: the value to interpolate betweenxandy
Let's try it:
void main() { float pct = 1.0; pct = mix(0.0, 1.0, vUv.x); vec3 finalColor = pct * uColor; gl_FragColor = vec4(finalColor, 1.0); }
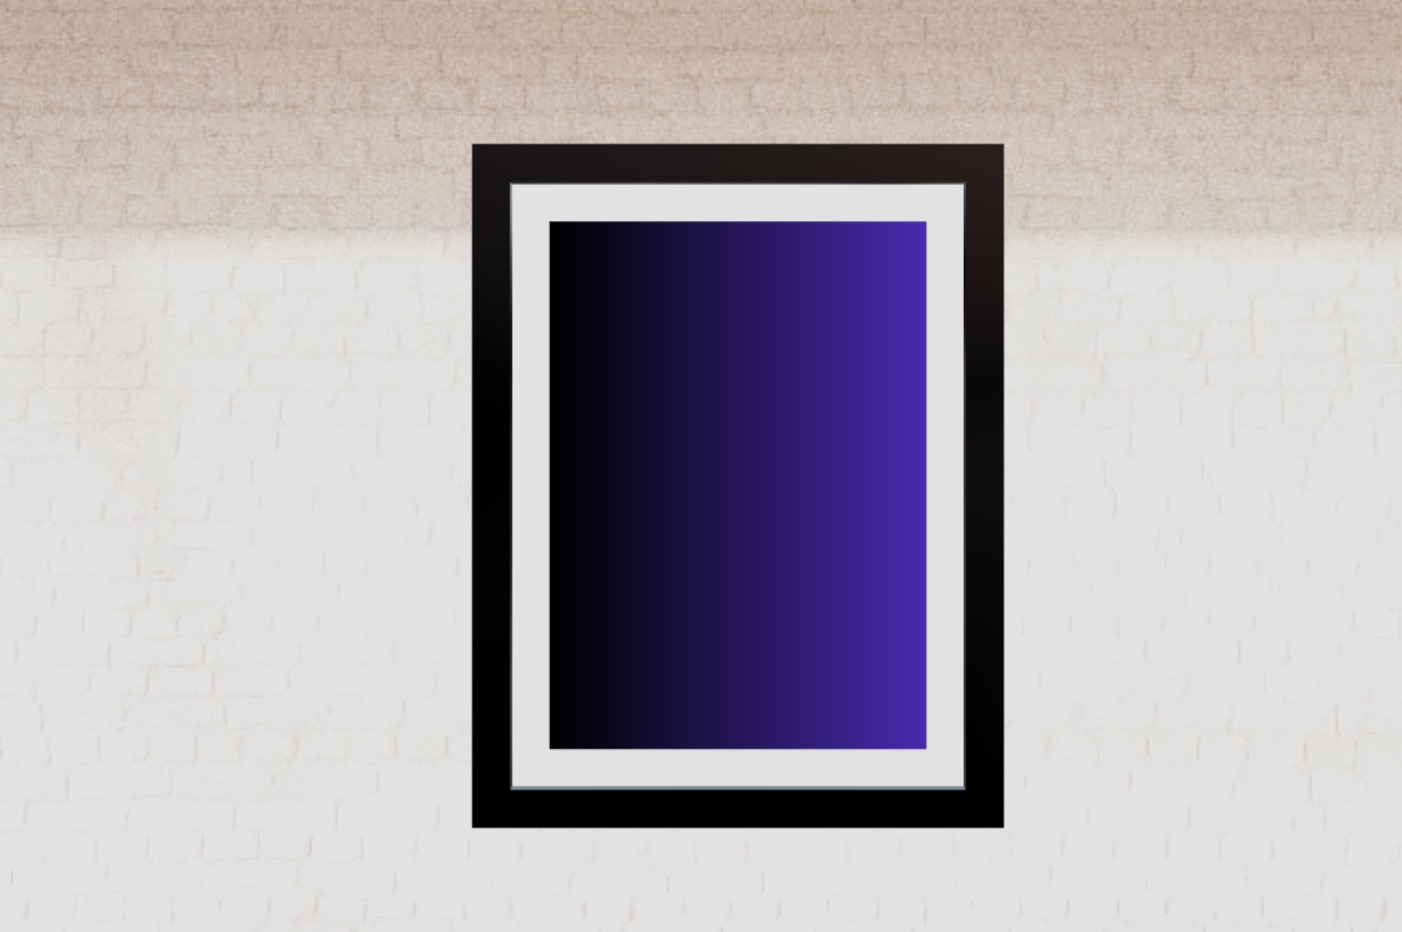
We can see a nice gradient from black to purple.
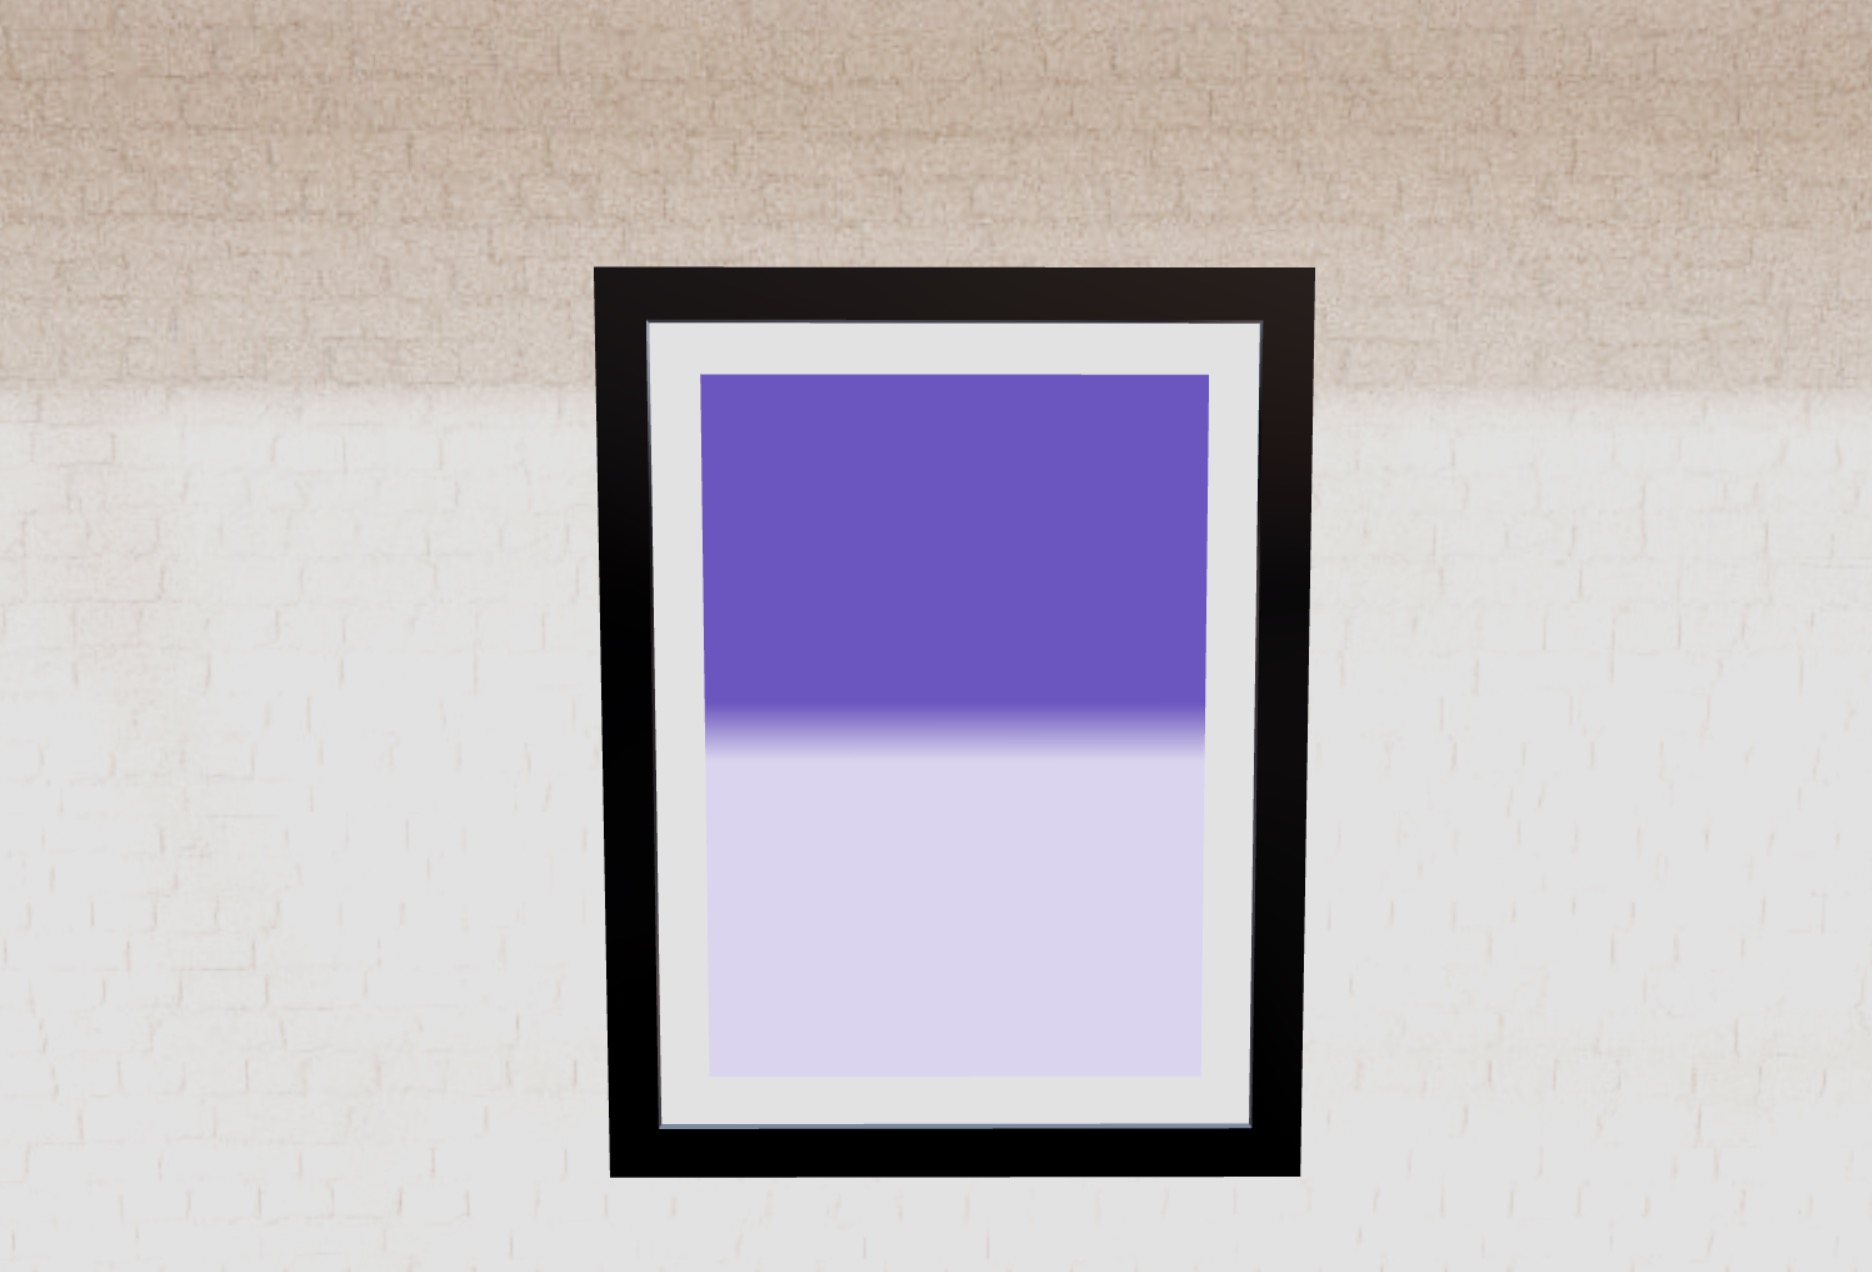
As many other functions, you can use it on other types of data, like the vector components. Let's use it to create a gradient from white to purple on the vertical axis:
void main() { vec3 whiteColor = vec3(1.0); vec3 finalColor = mix(whiteColor, uColor, vUv.y); gl_FragColor = vec4(finalColor, 1.0); }
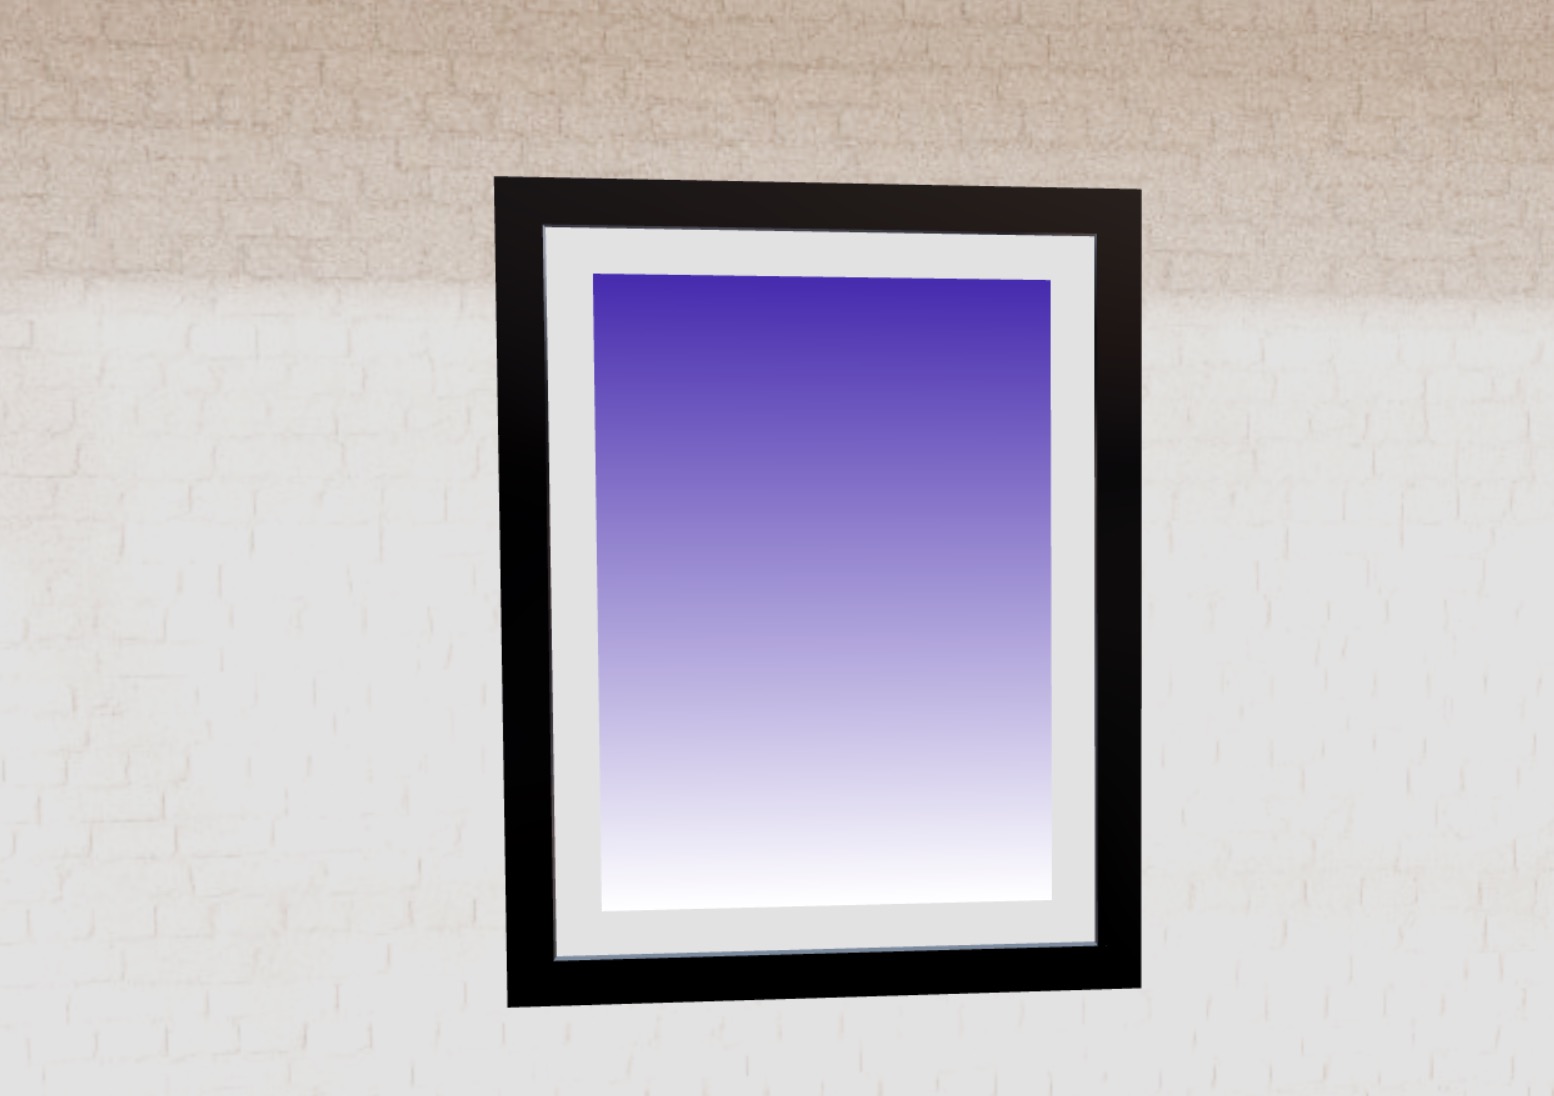
We can see a nice gradient from white to purple.
Let's change the interpolation value by calling the mix function a first time to get the pct value, and then use it to interpolate between the whiteColor and the uColor:
void main() { vec3 whiteColor = vec3(1.0); float pct = mix(0.0, 0.3, vUv.y); vec3 finalColor = mix(whiteColor, uColor, pct); gl_FragColor = vec4(finalColor, 1.0); }
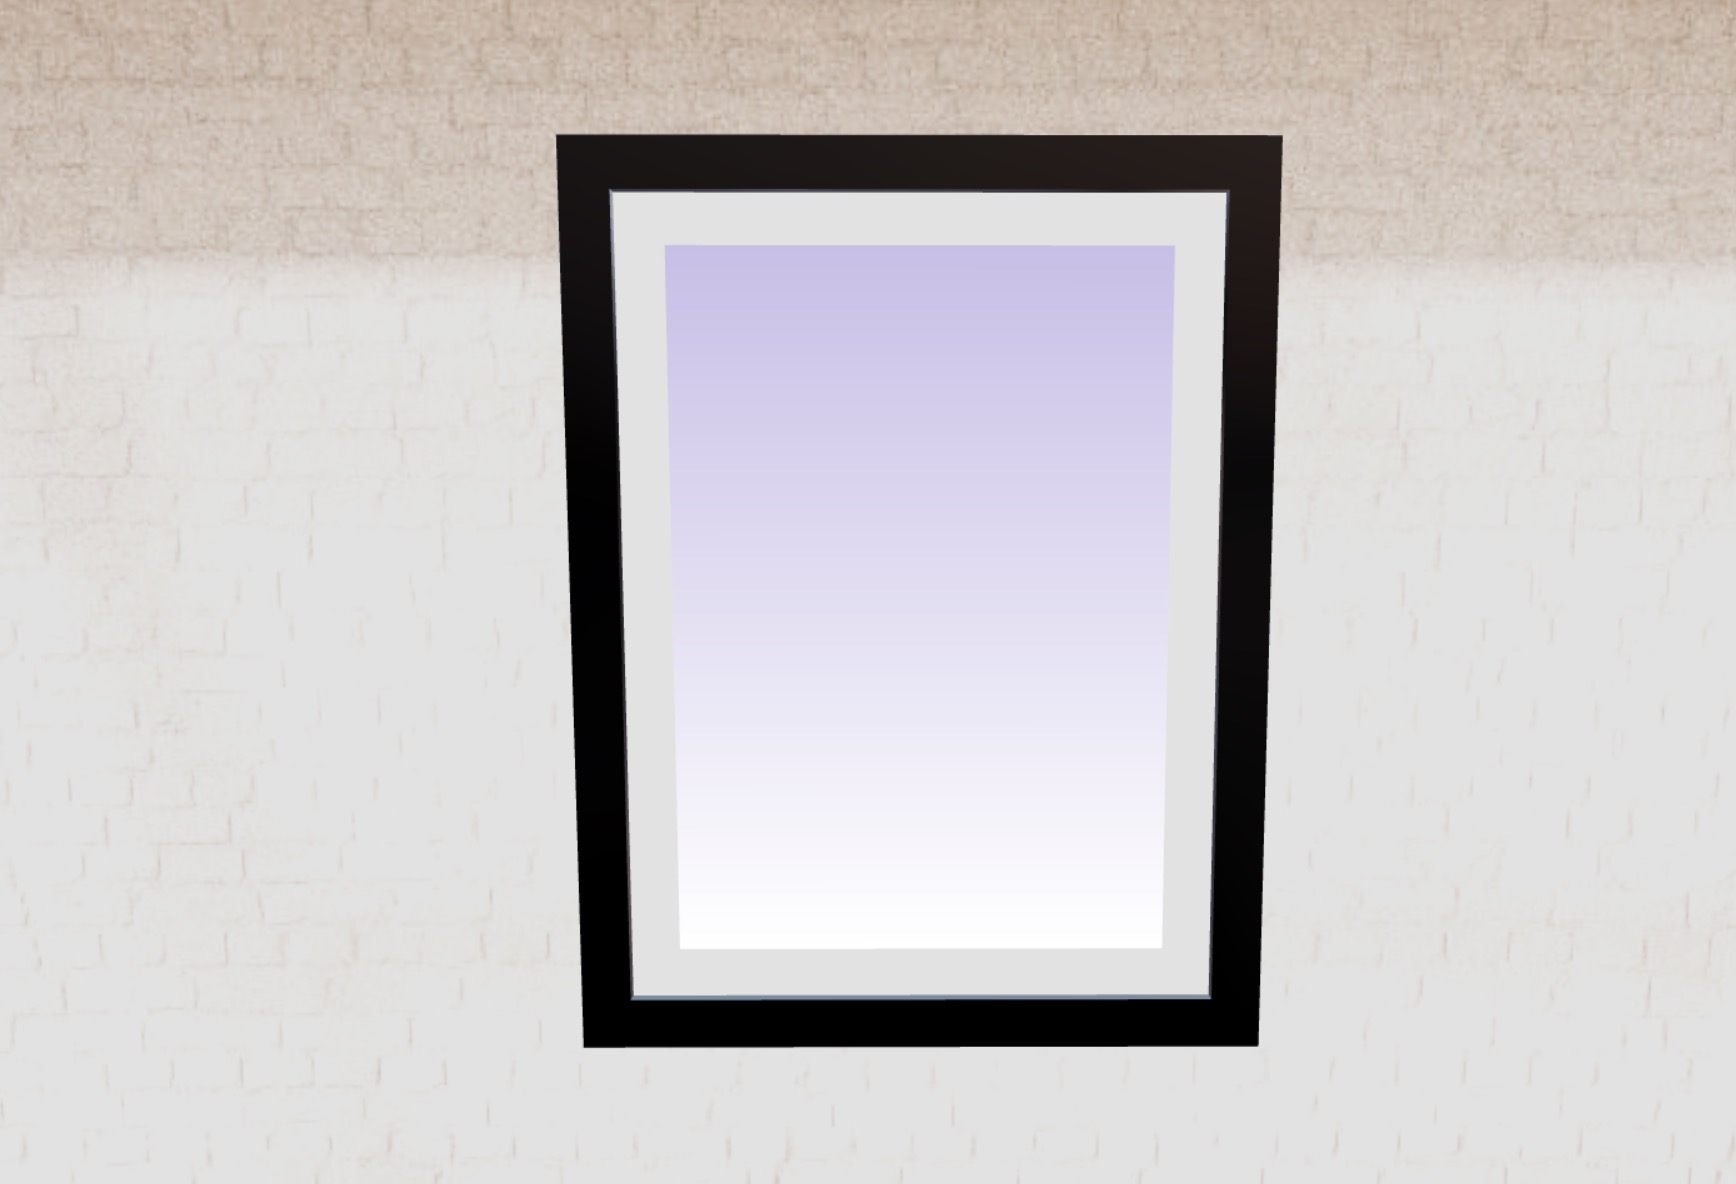
The purple is very light as the maximum value of pct is 0.3.
Use Graphtoy to experiment with the mix function and understand how it works.
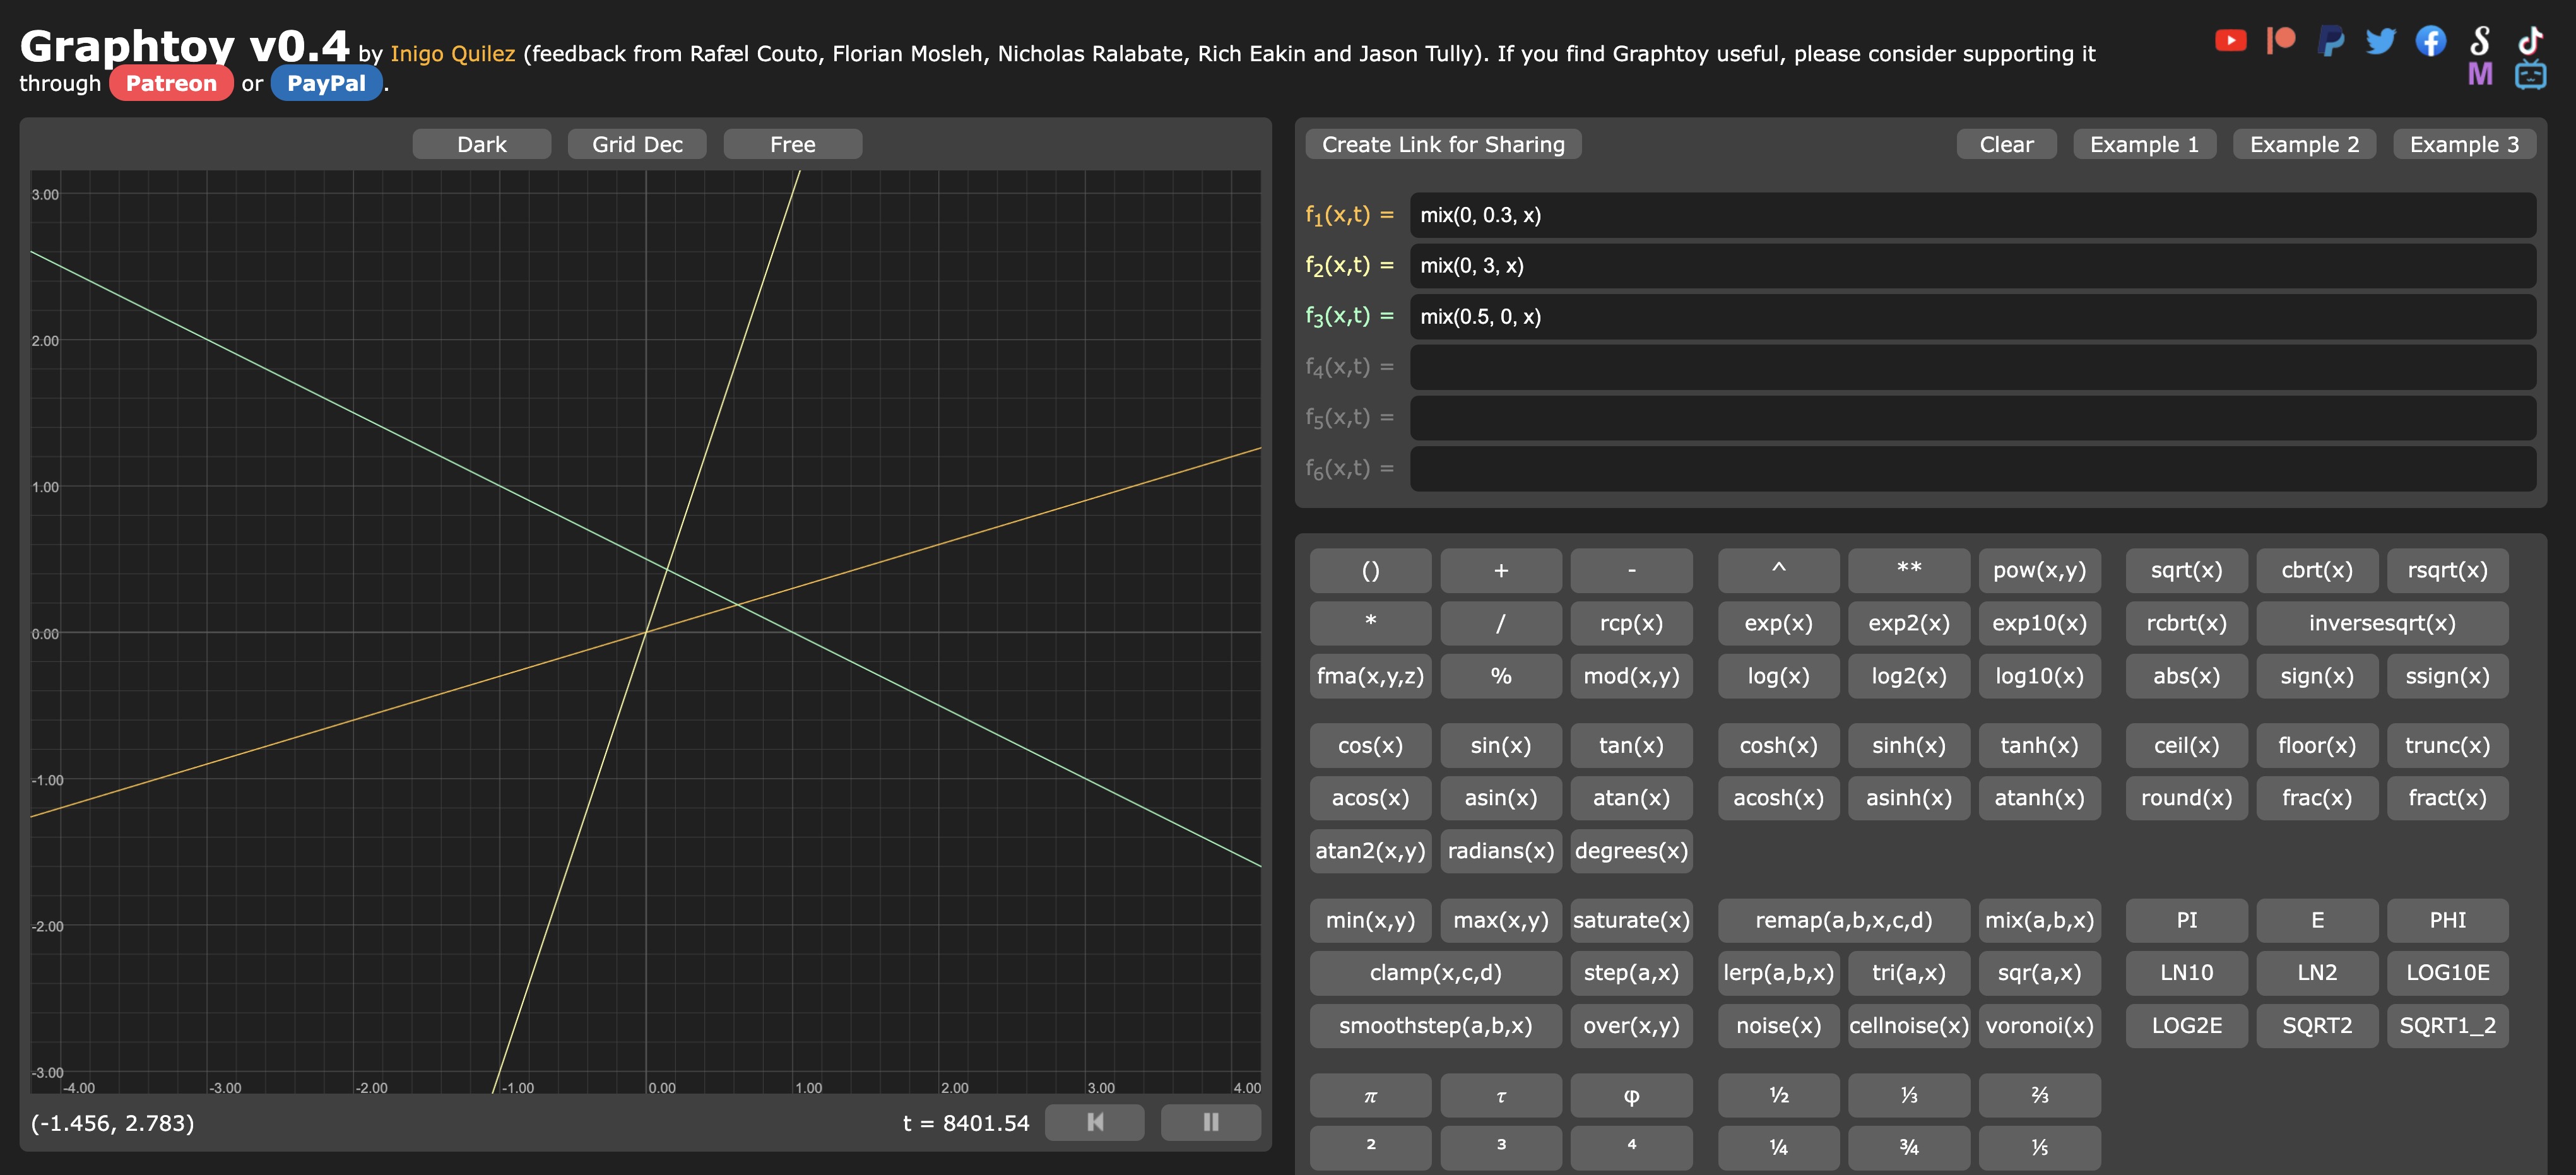
3 different interpolations with the mix function give completely different results.
Smoothstep
The smoothstep function is a simple function that returns a smooth interpolation between two values.
It takes three parameters:
edge0: the lower edgeedge1: the upper edgex: the value to interpolate betweenedge0andedge1
It gives three different results:
0.0ifxis less thanedge01.0ifxis greater thanedge1- a smooth interpolation between
0.0and1.0ifxis betweenedge0andedge1
Let's use it to change our pct value:
void main() { vec3 whiteColor = vec3(1.0); float pct = smoothstep(0.4, 0.6, vUv.y); vec3 finalColor = mix(whiteColor, uColor, pct); gl_FragColor = vec4(finalColor, 1.0); }
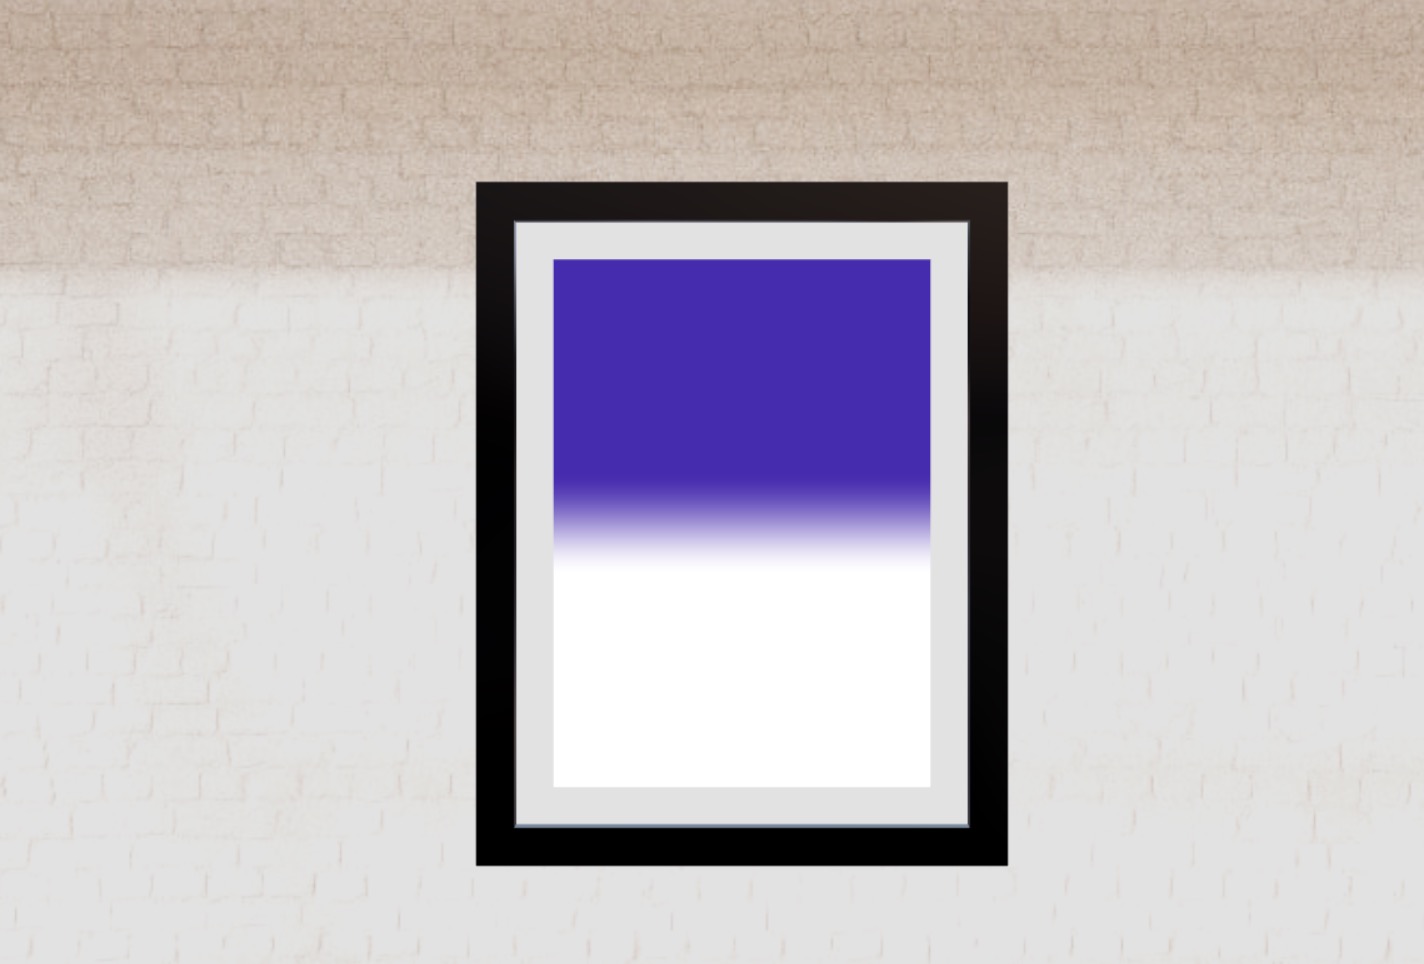
The transition is now only between 0.4 and 0.6. Everything below is white, and everything above is purple.
Min & Max
min and max are simple functions that return the minimum or maximum value between two inputs. They work exactly like the Math.min and Math.max functions in JavaScript.
Let's use them to fine-tune our pct value. First let's make sure it's never below 0.4 (which means never totally white):
void main() { vec3 whiteColor = vec3(1.0); float pct = smoothstep(0.4, 0.6, vUv.y); pct = max(pct, 0.4); vec3 finalColor = mix(whiteColor, uColor, pct); gl_FragColor = vec4(finalColor, 1.0); }
And never above 0.6 (which means never totally purple):
void main() { vec3 whiteColor = vec3(1.0); float pct = smoothstep(0.4, 0.6, vUv.y); pct = max(pct, 0.4); pct = min(pct, 0.6); vec3 finalColor = mix(whiteColor, uColor, pct); gl_FragColor = vec4(finalColor, 1.0); }
The colors are washed out, and the transition is very smooth.
Let's vizualize it on Graphtoy:
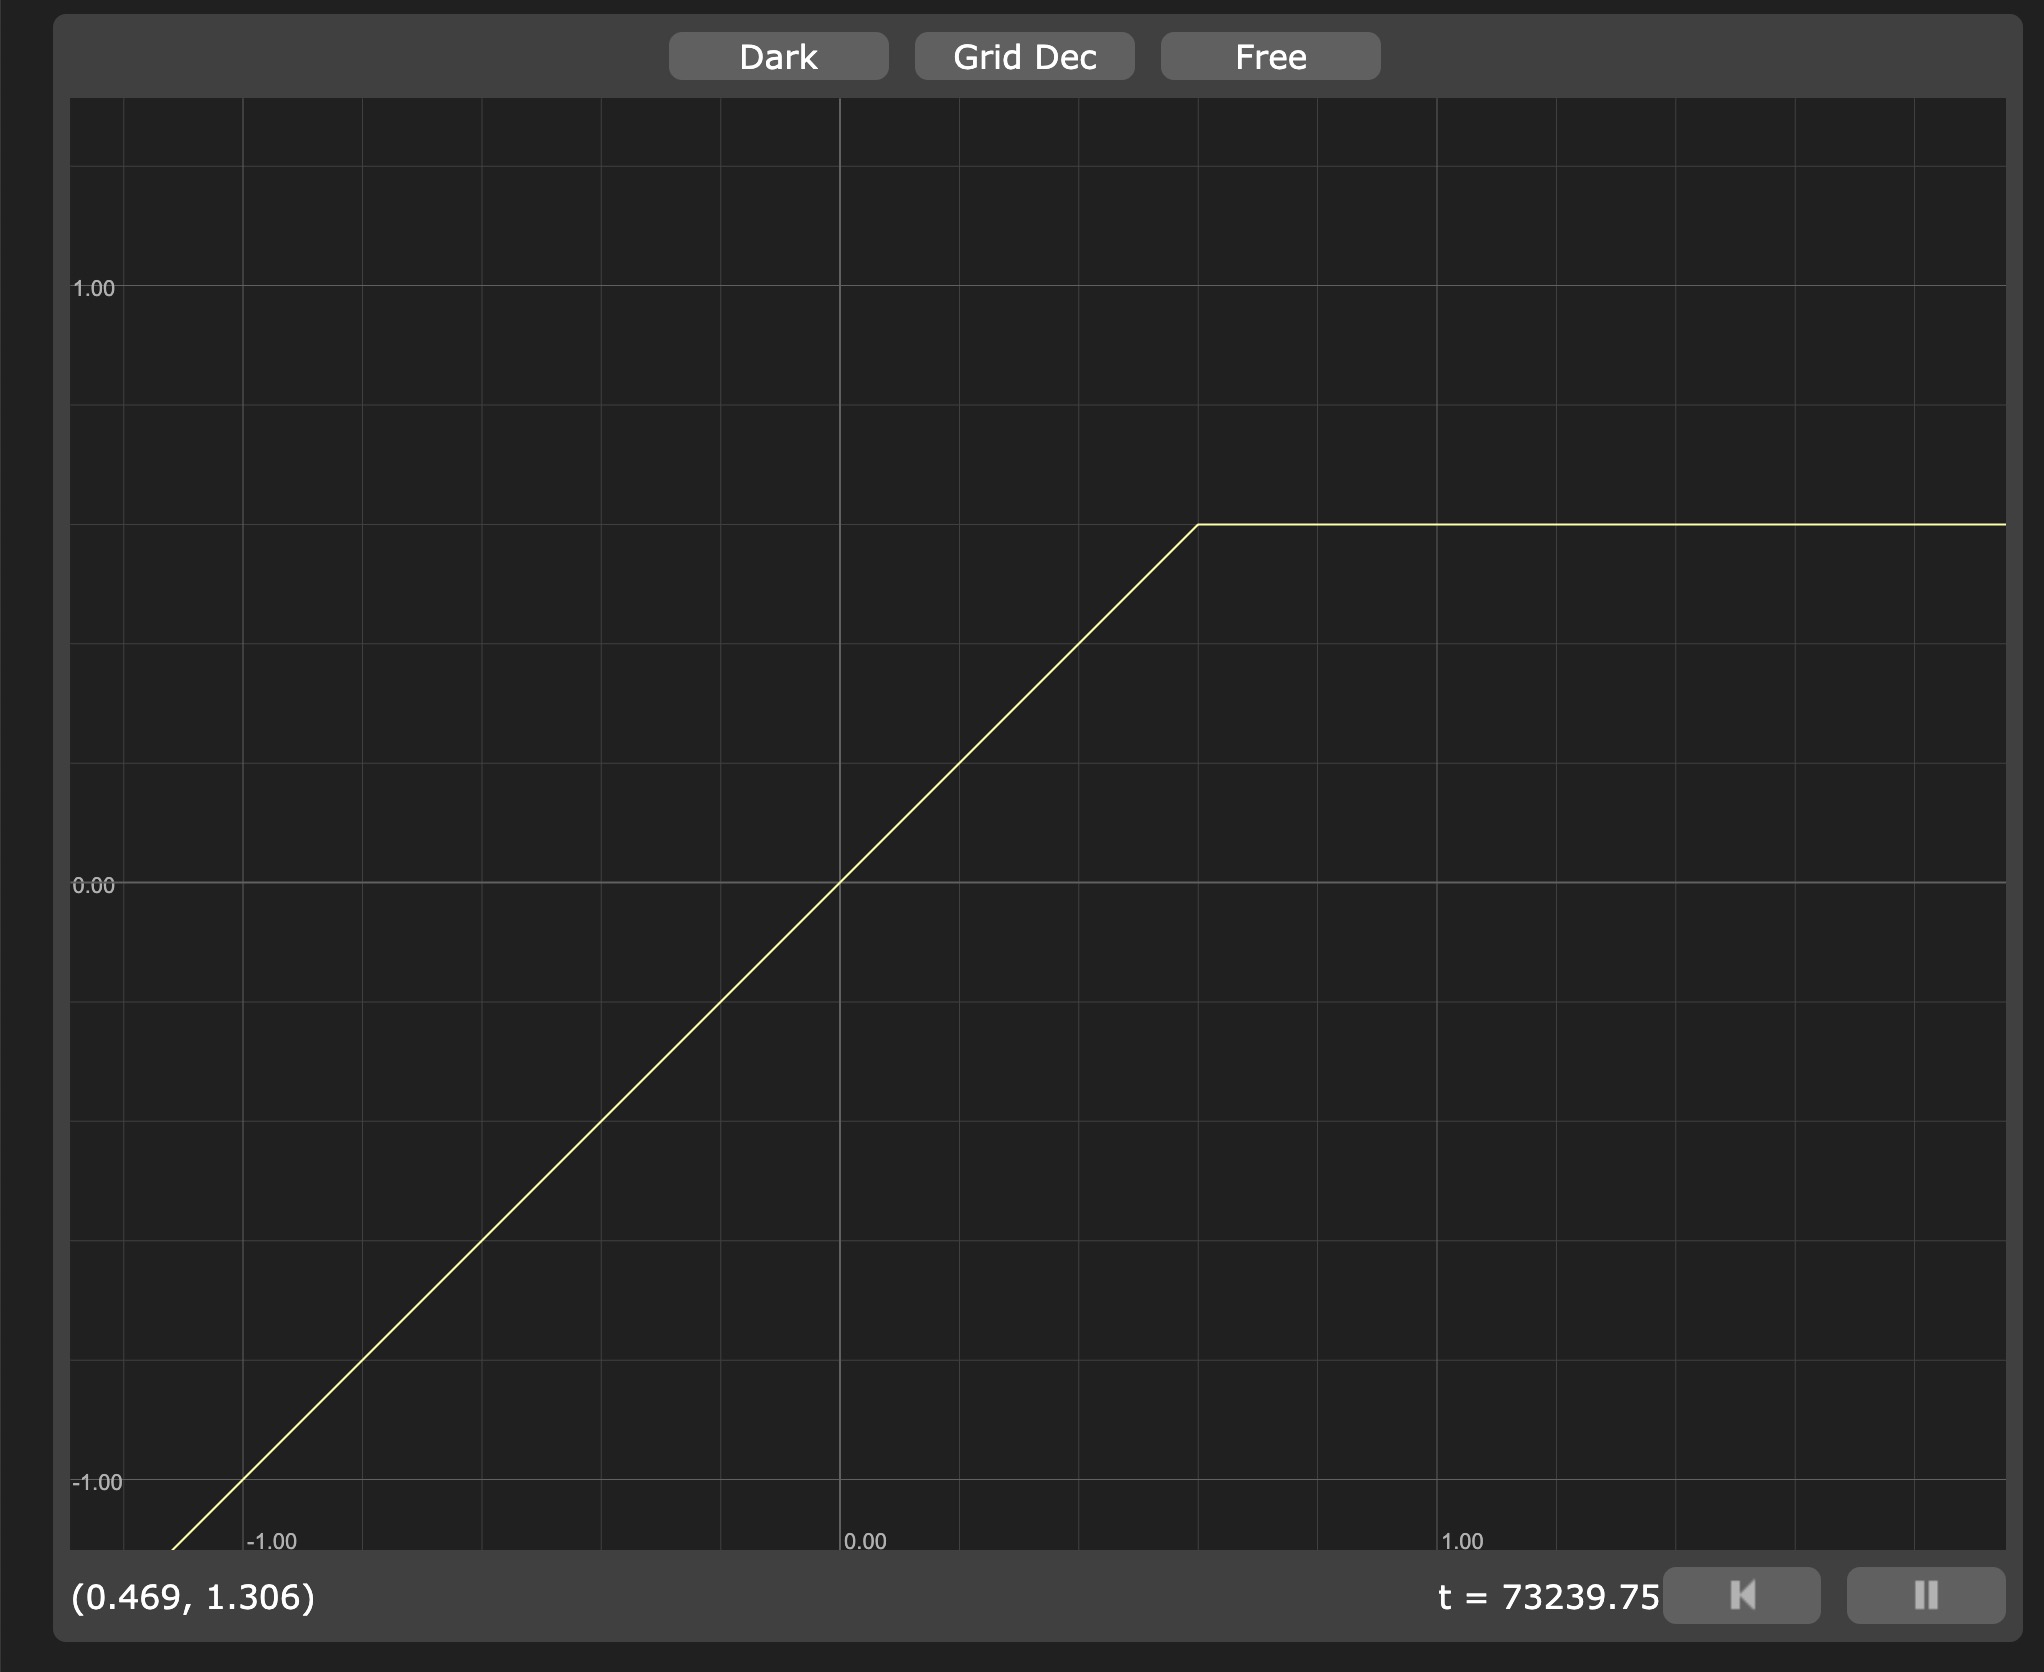
max(x, 0.4) representation
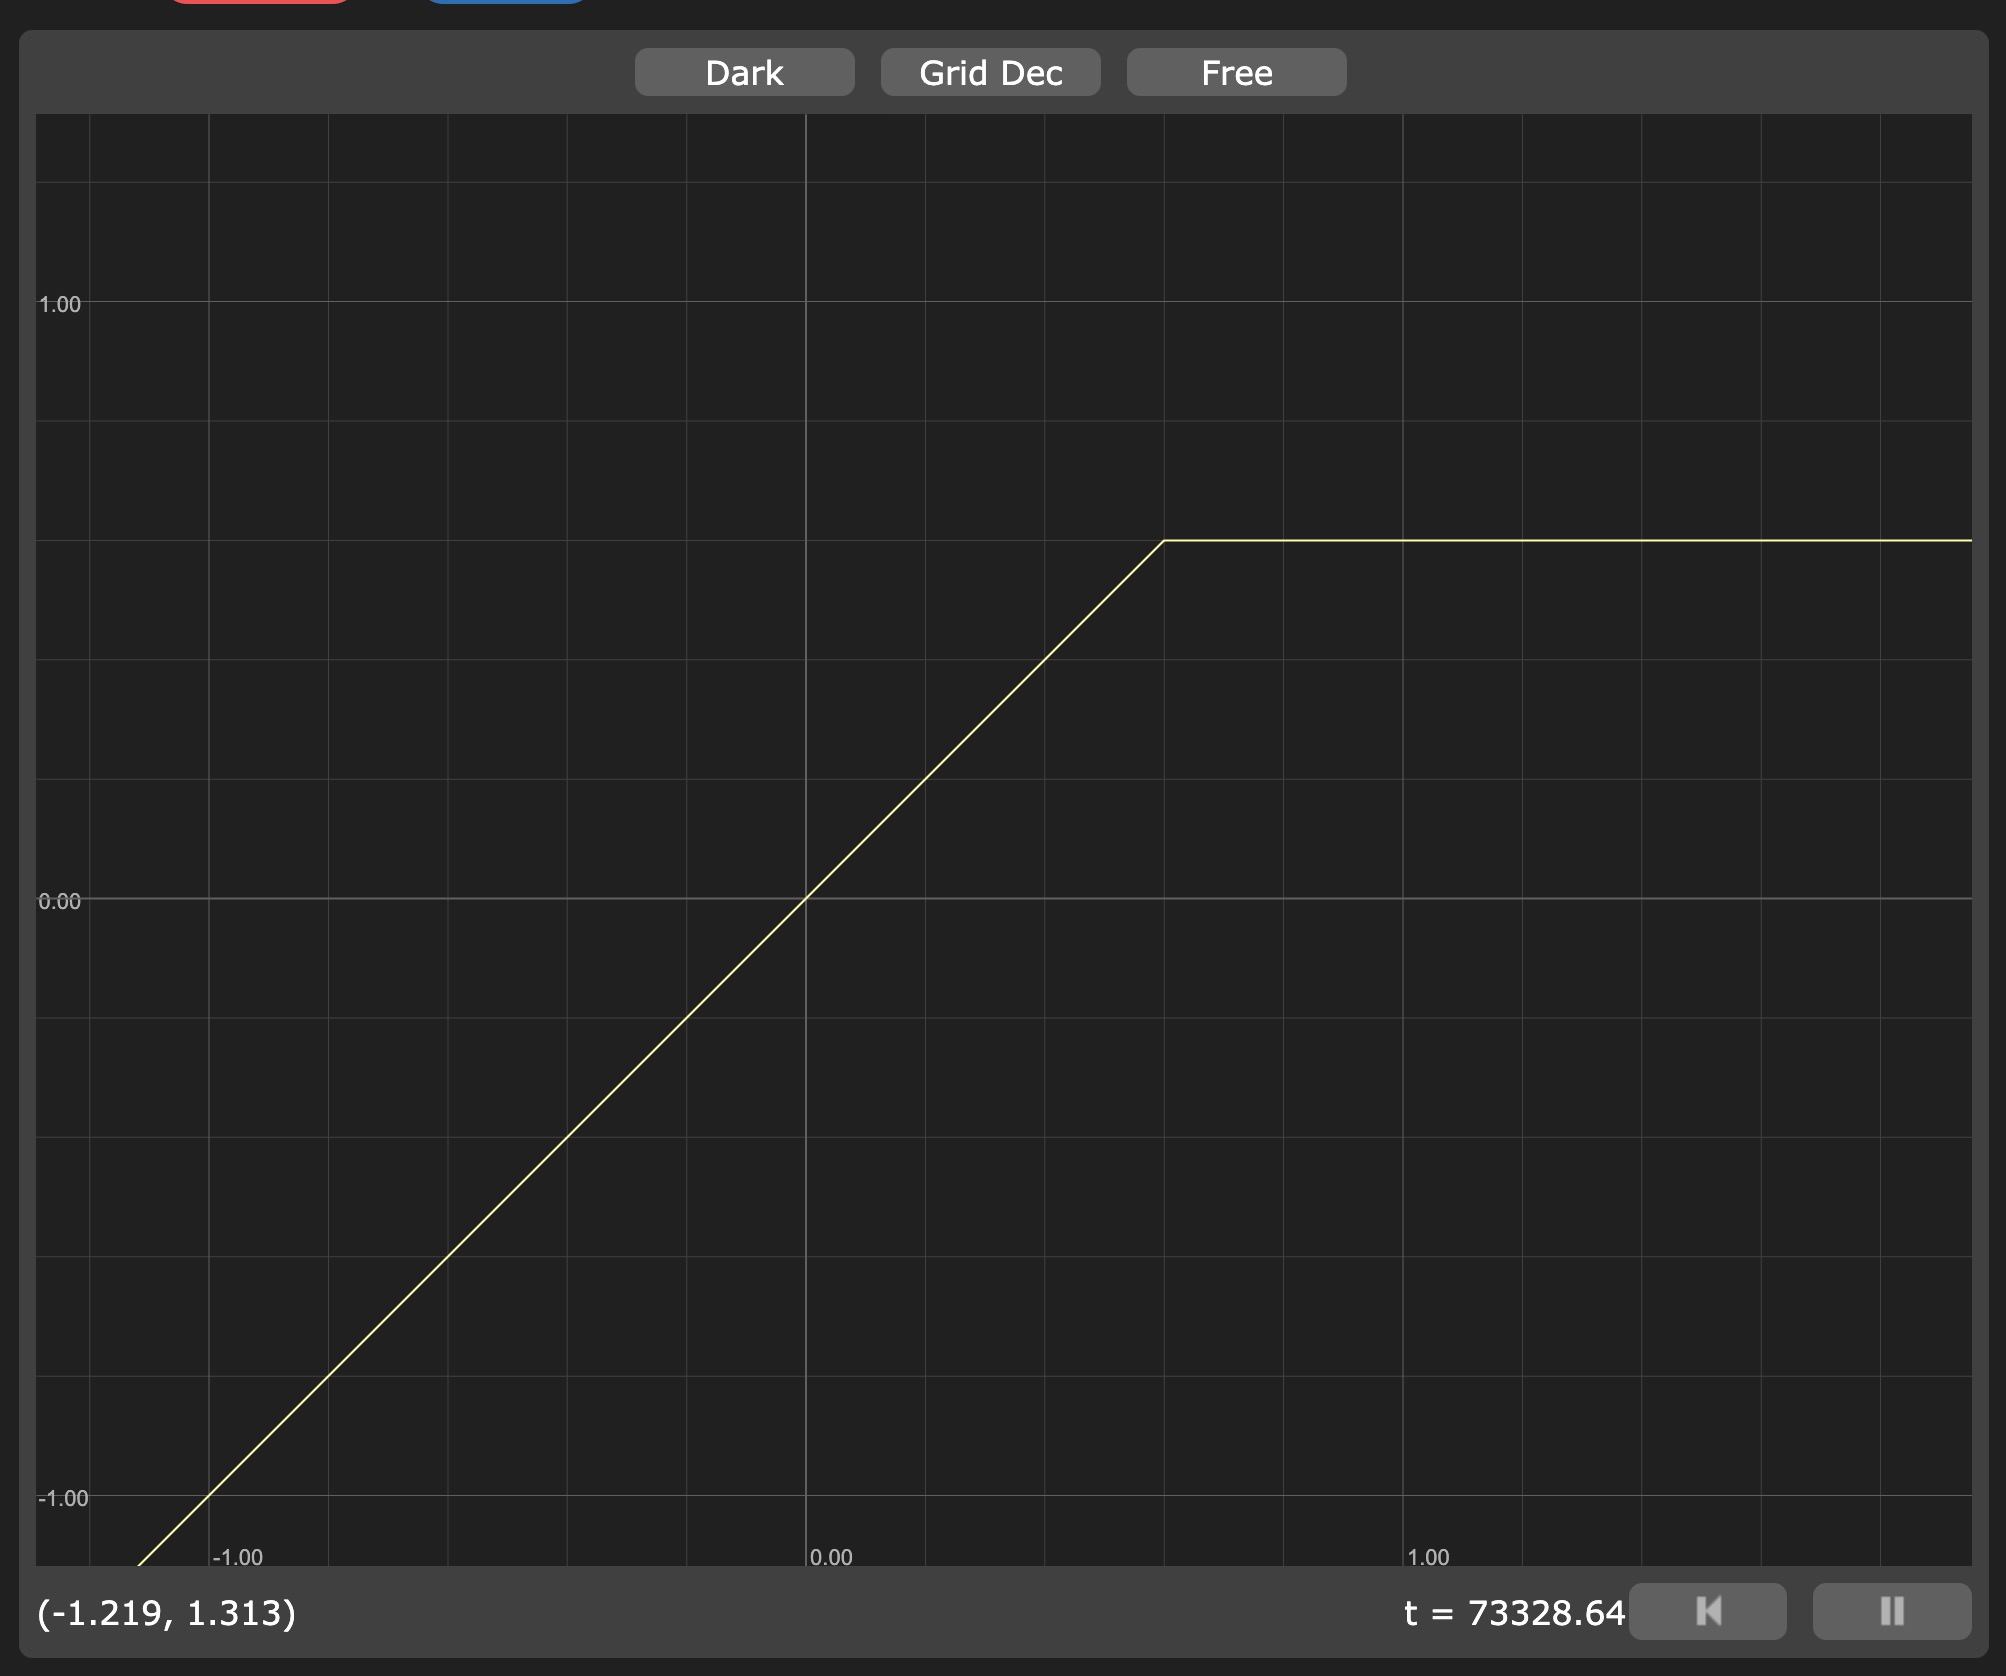
min(x, 0.6) representation
And if we combine them:
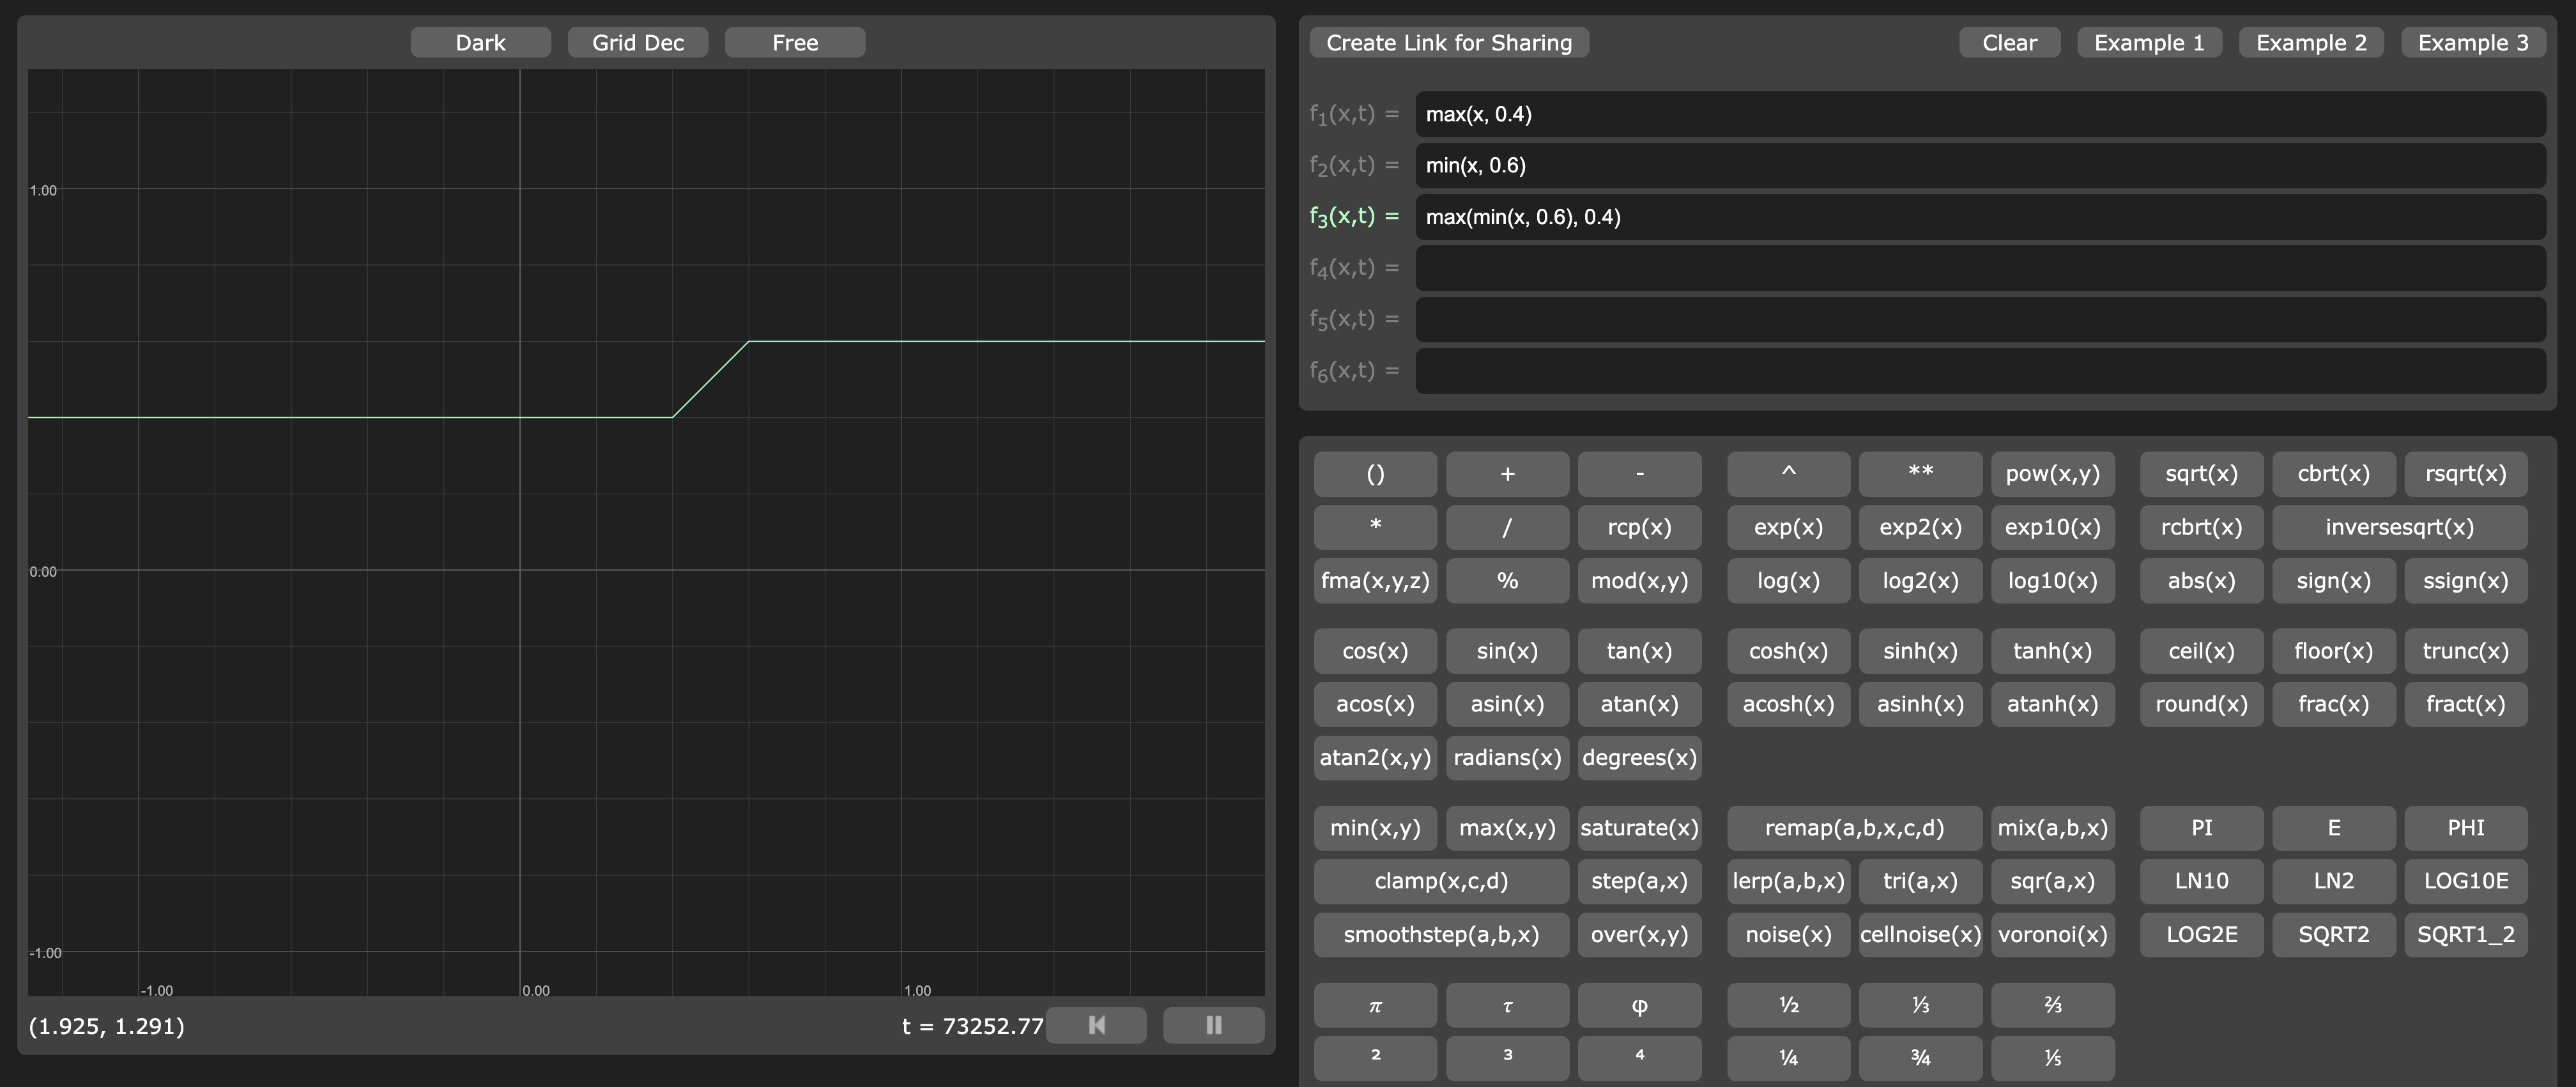
You can see our values never go below 0.4 and never go above 0.6.
Our combination of
minandmaxfunctions can be replaced by the clamp function, which is a shorthand formin(max(x, min), max).
Operations & patterns
Before we discover many other useful functions, let's see how we can use operations to create patterns.
End of lesson preview
To get access to the entire lesson, you need to purchase the course.