

Fundamentals
Core
Master
Shaders
Render Target
When we use React Three Fiber we simply add a Canvas component and put our 3D scene inside and it will render it to the screen.
If you have some experience with Three.js, you know that we first need to create a WebGLRenderer and then call renderer.render(scene, camera) to render our scene to the screen.
Fortunately, React Three Fiber does all of this for us under the hood but for more advanced use cases, it's important to know how it works.
The renderer role is to process the 3D scene to create the actual 2D image we see on the screen.
By default, the renderer output is set to the Canvas component and is displayed on the screen but we can also output it to a texture (via a WebGLRenderTarget).
For now it can be a bit conceptual, let's see how it works in practice and in what creative ways we can use it.
Security Camera
To understand how Render Targets work and what we can do with them, I prepared a 3D scene containing:
- A living room 3D model by Alex Safayan CC-BY via Poly Pizza
- A Ready Player Me avatar (as the one we use in the portfolio lessons) watching to Spongebob Squarepants on the TV
- A 2D remote control with multiple buttons
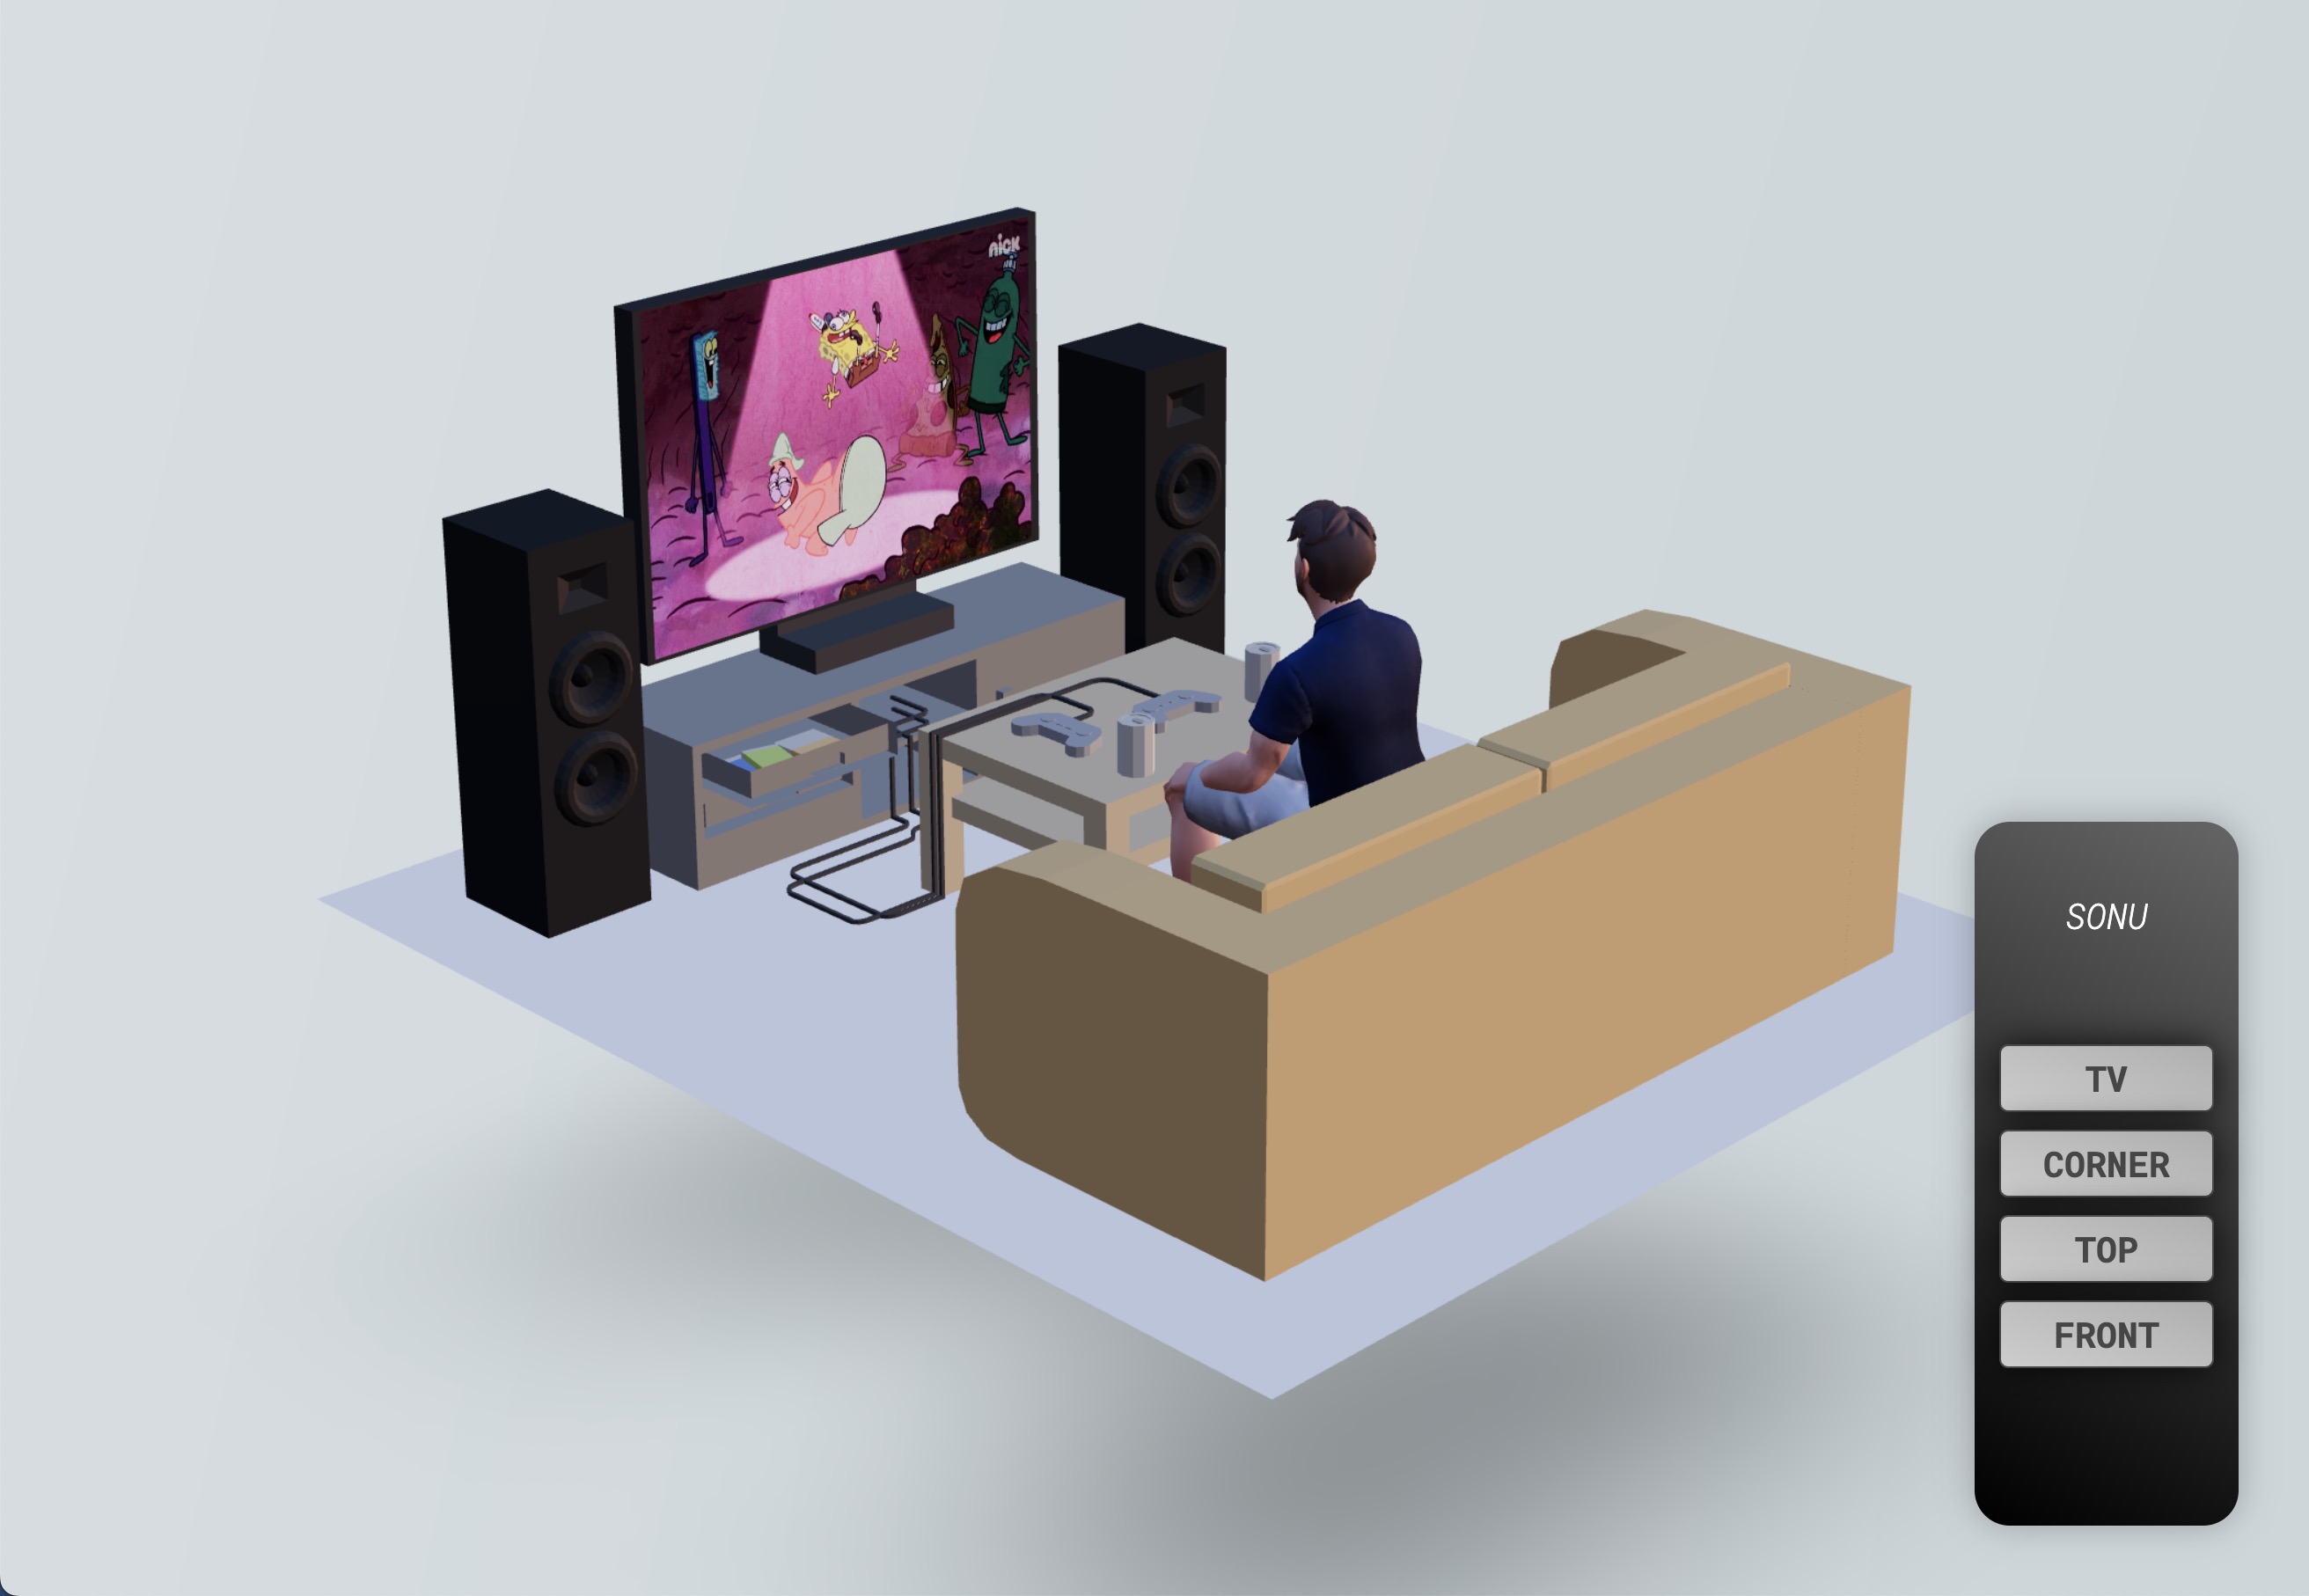
The goal is to create a surveillance system by rendering the scene from a security camera point of view on the TV.
Rendering the scene to a texture
To render our current scene to a texture, we will need to create a Render Target.
Thanks to Drei library, we can easily create a Render Target with the useFBO hook:
// ... import { useFBO } from "@react-three/drei"; export const Experience = () => { const cornerRenderTarget = useFBO(); // ... };
If you want to know how to create a Render Target from scratch, you can check the source code of the
useFBOhook here. It's a good reflex to have to understand how things work under the hood.
Now that we have a Render Target, we need to tell our renderer to render our scene using our camera.
All those objects are available in the root state of our React Three Fiber application. This is the object returned by the useThree hook.
The
glproperty is the renderer.
But, as we want to display what is happening in real-time on the TV, we will do the process at each frame using the useFrame hook.
The callback function includes the root state so we can access our variables directly from it:
// ... import { useFrame } from "@react-three/fiber"; export const Experience = () => { // ... useFrame(({ gl, camera, scene }) => { gl.setRenderTarget(cornerRenderTarget); gl.render(scene, camera); gl.setRenderTarget(null); }); // ... };
What we are doing here is:
- Setting the Render Target as the renderer output
- Rendering the
sceneusing thecameraand because the renderer output is set to the Render Target, it will render the scene to it - Setting the renderer output to
nullto render the scene to the canvas again
Now that we have our Render Target, we need to display it on the TV. Let's add a reference to the material currently rendering the video:
// ... import { useRef } from "react"; export const Experience = () => { // ... const tvMaterial = useRef(); // ... return ( <> {/* ... */} <group position-y={-0.5}> <group> <Sky /> <Avatar rotation-y={Math.PI} scale={0.45} position-z={0.34} /> <Gltf src="models/Room.glb" scale={0.3} rotation-y={-Math.PI / 2} /> <mesh position-x={0.055} position-y={0.48} position-z={-0.601}> <planeGeometry args={[0.63, 0.44]} /> <meshBasicMaterial ref={tvMaterial} /> </mesh> </group> </group> {/* ... */} </> ); };
And then, we can use the useFrame hook to update the map property of the material with our Render Target:
// ... export const Experience = () => { // ... useFrame(({ gl, camera, scene }) => { // ... tvMaterial.current.map = cornerRenderTarget.texture; }); // ... };
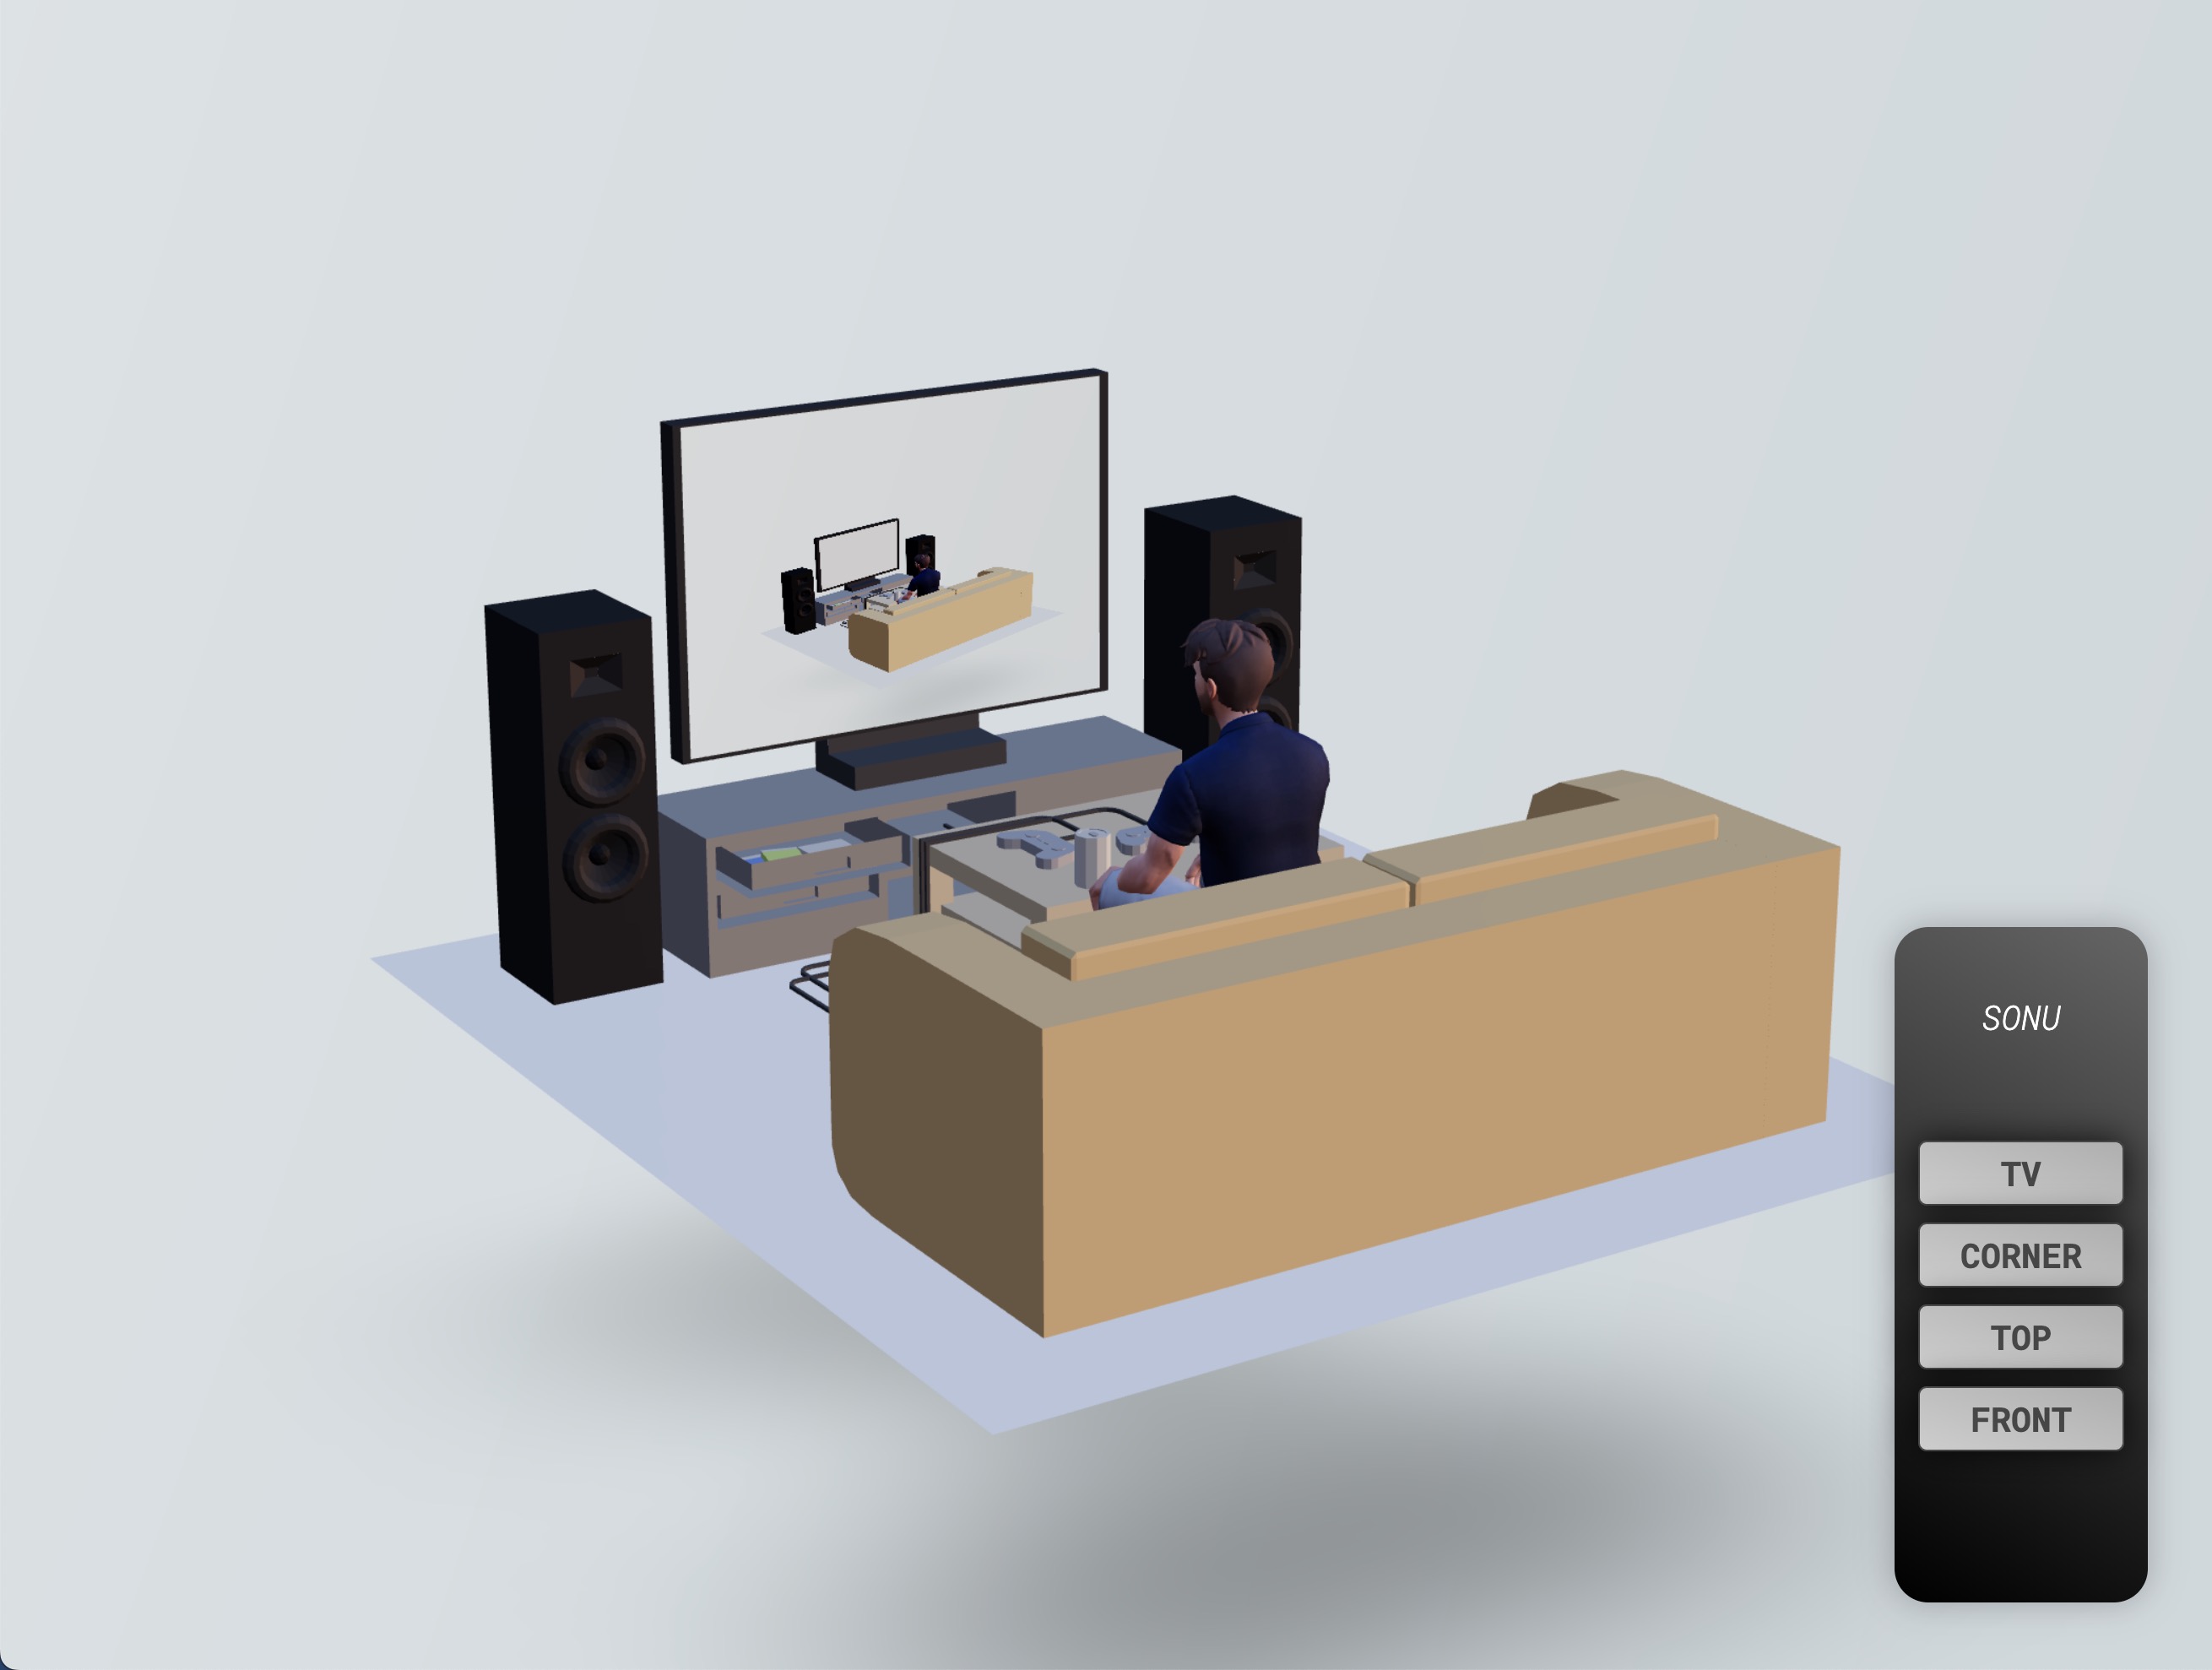
We can now see the security camera view on the TV but the TV screen in the security camera view is empty.
This is because when we render the scene to the Render Target, our screen is empty.
Inception effect
To see the security camera view inside the TV screen of the TV screen 🤯, we need to:
- Create another render target (we will name it
bufferRenderTarget) - Render the scene to it
- Attach it to the TV screen material
- Render the scene to the
corderRenderTarget - Attach it to the TV material
// ... export const Experience = () => { const bufferRenderTarget = useFBO(); // ... useFrame(({ gl, camera, scene }) => { gl.setRenderTarget(bufferRenderTarget); gl.render(scene, camera); tvMaterial.current.map = bufferRenderTarget.texture; gl.setRenderTarget(cornerRenderTarget); gl.render(scene, camera); gl.setRenderTarget(null); tvMaterial.current.map = cornerRenderTarget.texture; }); // ... };
It could sound scary but it's actually pretty simple. Just think about what is happening at every step.
Now our scene is infinitely rendered inside the TV screen!
Even if it's the realist effect we can create, it's not the most creative one. Let's remove the inception effect and display Spongebob Squarepants on the screen instead:
End of lesson preview
To get access to the entire lesson, you need to purchase the course.