

Fundamentals
Core
Master
Shaders
HTML
So far the 3D experiences we built contained only a canvas HTML element where our Three.js 3D scenes were rendered.
There are two ways to make our experiences more interactive:
- Build your HTML page like you usually do and add your 3D scene as a background in a fullscreen canvas. Then make it well integrated by connecting them through mouse events or page scroll. We will see how to achieve this in the scroll section in the animations lesson.
- Adding HTML elements as if they were 3D objects in our 3D scenes. This is what we will see in this lesson.
Those two approaches are not mutually exclusive. You can combine them to create immersive experiences.
Ikea online showroom
For this lesson, let's imagine we want to create an online showroom for Ikea. The starter pack contains various 3D models of kitchen furniture (All coming from Quaternius on Poly Pizza, thank you 🙏).
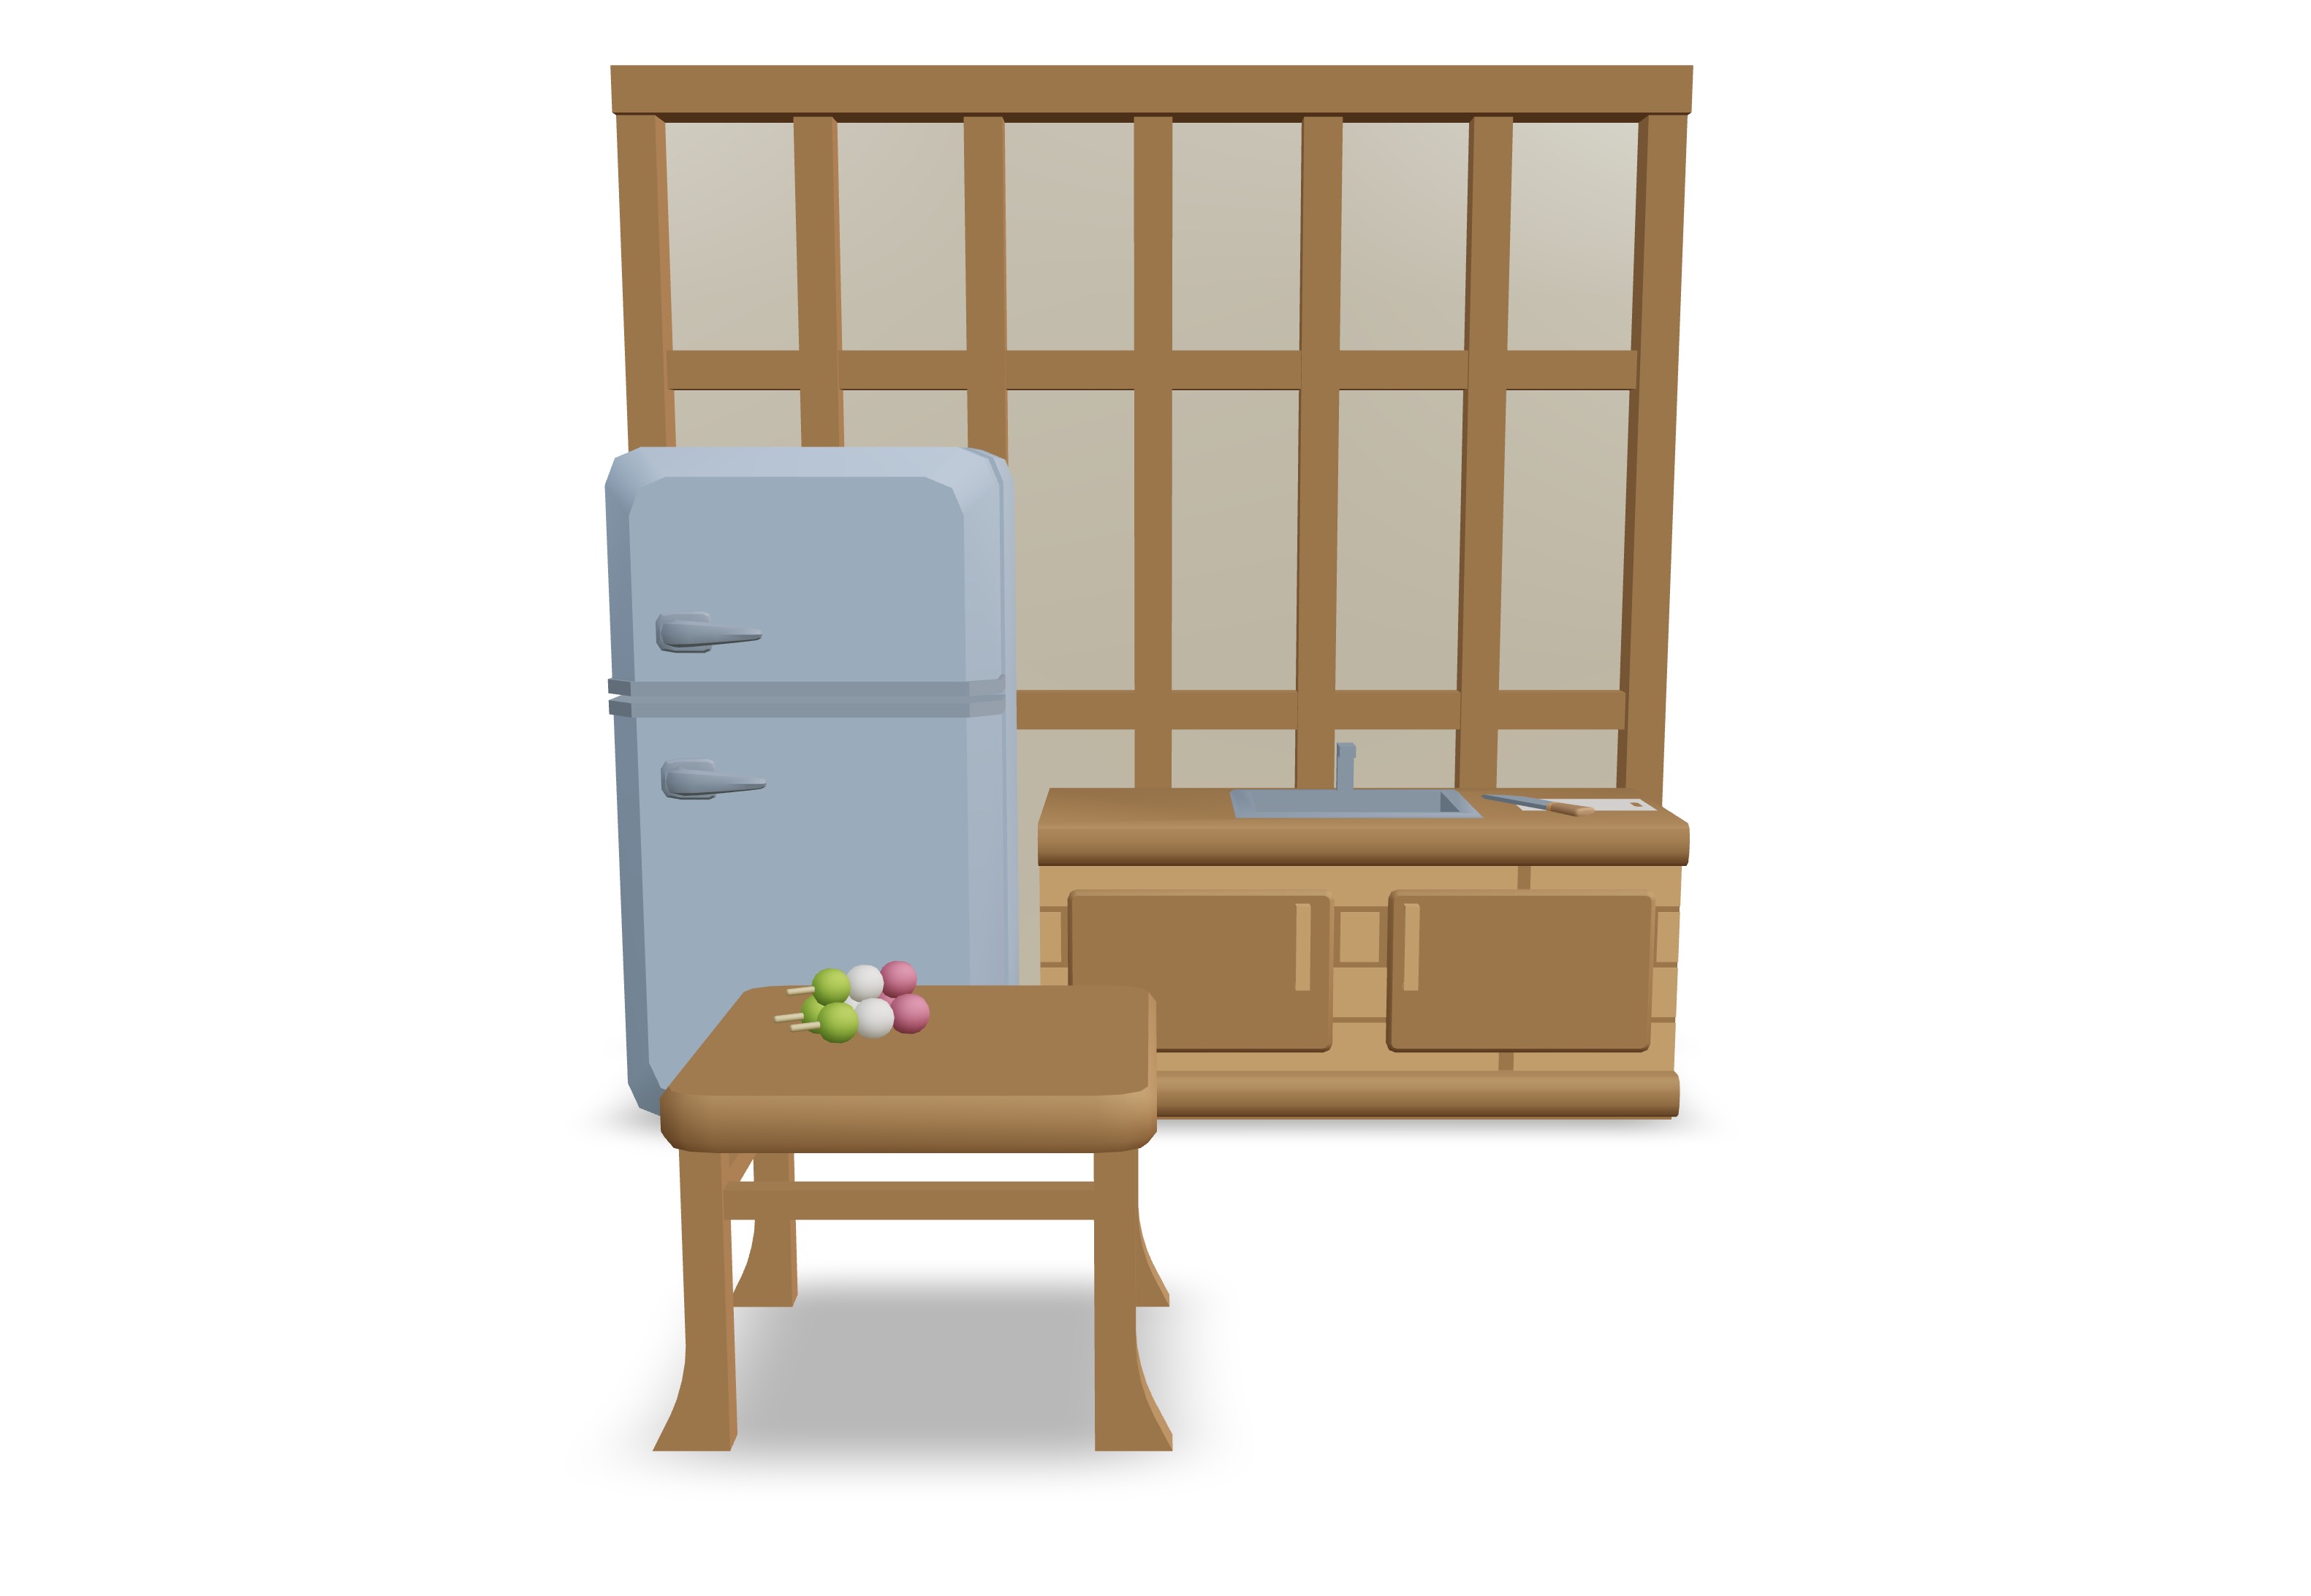
This is what we have so far. A Japanese style kitchen.
We will try to add labels on the kitchen furniture to show the name and price of each item.
Before doing it, let me explain some parts of the starter pack.
To make the code generic, instead of declaring each item manually and re-write the loading and positioning logic, I created an array of items.
const sceneItems = [ { model: "Japanese Door.glb", position: [0, -0.88, -1.2], scale: 1.8, }, { model: "Counter Sink.glb", position: [1.3, 0, -2.8], }, { model: "Chopping board.glb", position: [2.8, 1.9, -2.8], scale: 0.5, }, { model: "Fridge.glb", position: [-2.1, 0, -3], }, { model: "Table.glb", position: [-1, 0, 2], scale: [1, 1, 1], }, { model: "Dango.glb", position: [-1.4, 1.64, 2], scale: 0.72, rotation: [0, Math.PI / 6, 0], }, ];
Then I created a generic component called Item that takes the model path and other transform props (position, rotation, scale...):
const Item = ({ model, position, rotation, ...props }) => { const gltf = useGLTF(`models/${model}`); return ( <group position={position} rotation={rotation}> <primitive object={gltf.scene} {...props} /> </group> ); };
The component takes care of loading the 3D model and positioning it in the scene. I chose a group as a root element to be able later to add HTML elements as children.
Then we loop through the items array and render an Item component for each item:
export const Experience = () => { return ( <> {sceneItems.map((item, index) => { return <Item key={index} {...item} />; })} </> ); };
HTML elements in 3D
Now that we have a generic component that can render any 3D model and position it in the scene, we can focus on our furniture labels.
Let's add more information to our items array by adding a label and price property:
const sceneItems = [ { model: "Japanese Door.glb", position: [0, -0.88, -1.2], scale: 1.8, name: "Hemnes", price: 300, }, { model: "Counter Sink.glb", position: [1.3, 0, -2.8], name: "Lillången", price: 450, }, { model: "Chopping board.glb", position: [2.8, 1.9, -2.8], scale: 0.5, name: "Skogsta", price: 25, }, { model: "Fridge.glb", position: [-2.1, 0, -3], name: "Lagan", price: 600, }, { model: "Table.glb", position: [-1, 0, 2], scale: [1, 1, 1], name: "Lerhamn", price: 80, }, { model: "Dango.glb", position: [-1.4, 1.64, 2], scale: 0.72, rotation: [0, Math.PI / 6, 0], name: "Dango", price: 4, }, ];
Don't be offended by the name and prices, they're GitHub Copilot generated...
Now we can update our Item component to get the name and price props and render them as HTML elements:
End of lesson preview
To get access to the entire lesson, you need to purchase the course.