Fundamentals
Core
Master
Shaders
Post processing
Post processing is a technique used to apply effects to a scene after it has been rendered. This is commonly used to add effects like blur, bloom, and color correction.
Used correctly, post processing can greatly enhance the visual quality of a scene.
This is the scene we'll be working with:

And what we'll end up with:

The result looks much better, right?
React Postprocessing
React Postprocessing is a library that makes it easy to add post processing effects to your React Three Fiber projects.
While there are other ways to add post processing effects to Three.js, React Postprocessing automatically organizes and merges any given combination of effects.
It makes it more simple to add effects to your scene with the least amount of performance overhead.
Let's start by installing the library:
yarn add @react-three/postprocessing
To use it we simply need to wrap our effects into the EffectComposer component.
To keep our code organized, let's create a new file components/Effects.jsx and add the following code:
import { EffectComposer } from "@react-three/postprocessing"; export const Effects = () => { return <EffectComposer></EffectComposer>; };
We can now import and use this component in our App.jsx file:
import { Effects } from "./components/Effects"; import { Canvas } from "@react-three/fiber"; import { Effects } from "./components/Effects"; import { Experience } from "./components/Experience"; function App() { return ( <> <Canvas camera={{ position: [-1, 0.225, 5.91], fov: 42 }}> <color attach="background" args={["#333333"]} /> <Experience /> <Effects /> </Canvas> </> ); } export default App;
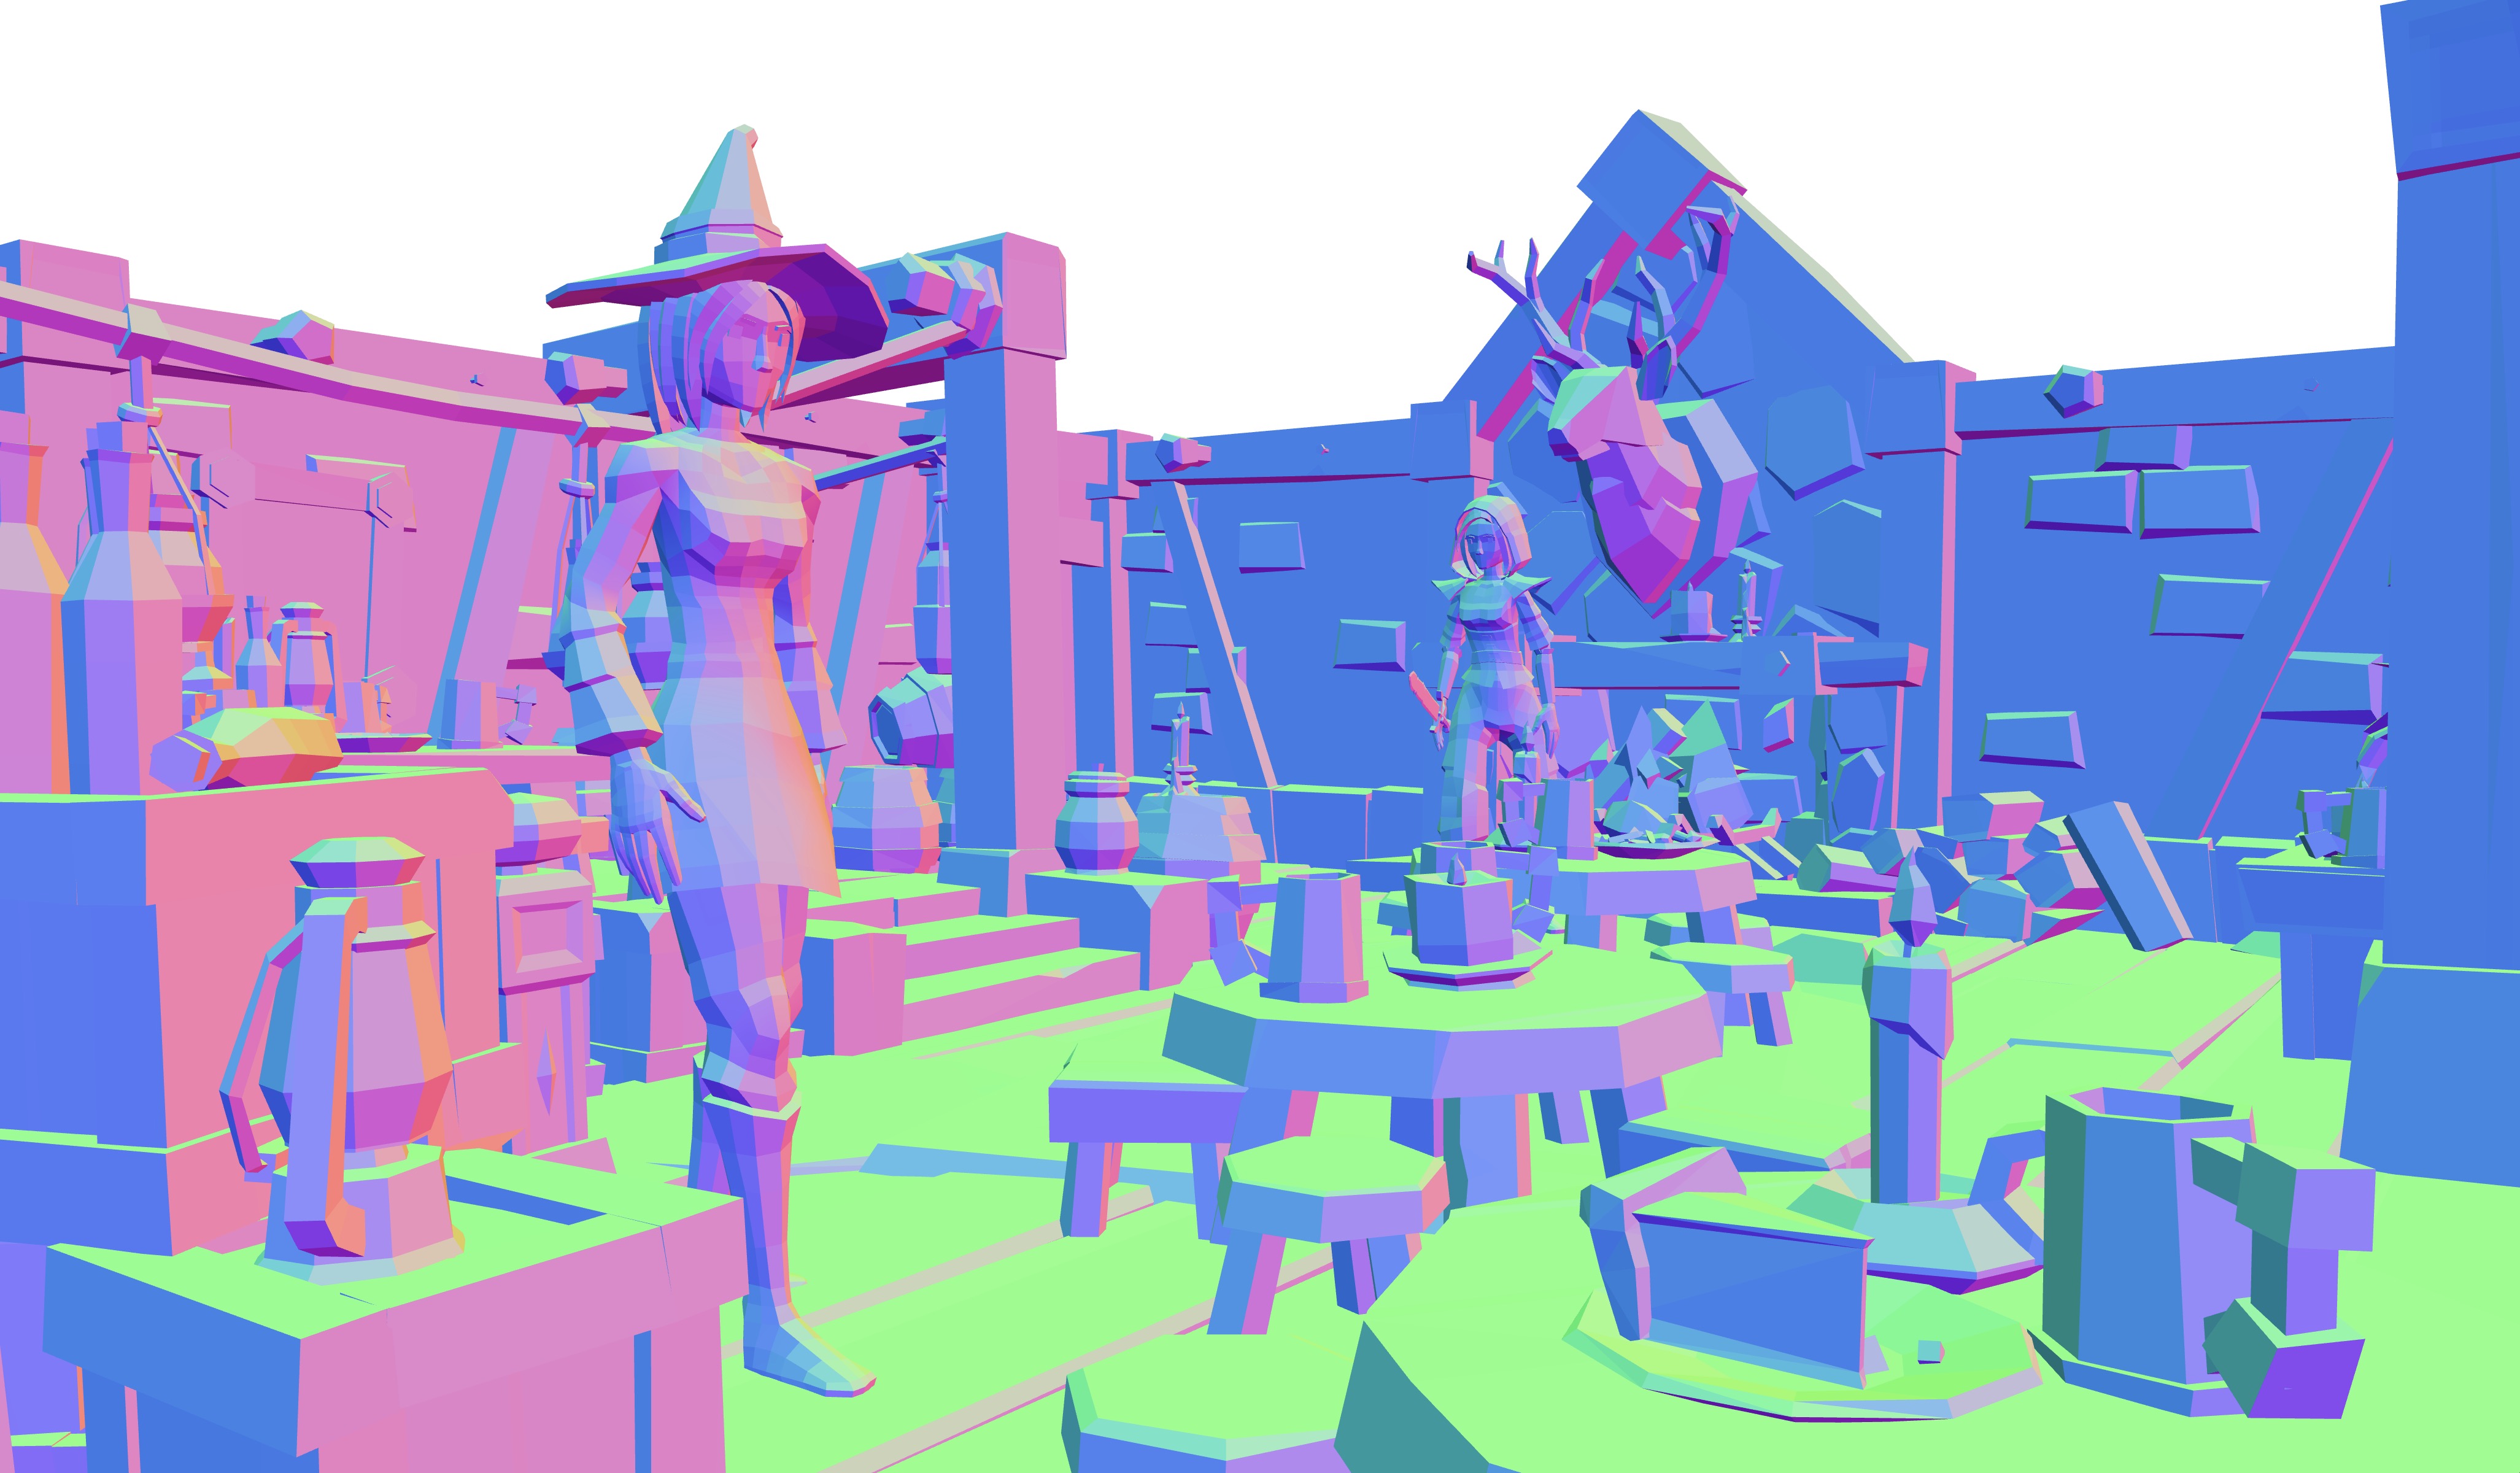
If we take a look at our scene, we can see all of our objects as if they are using the meshNormalMaterial.

This is because by default, the EffectComposer component will render the scene using the NormalPass effect. As we didn't add any other effects, this is the only thing we see.
We can disable this by setting the disableNormalPass prop to true:
<EffectComposer disableNormalPass></EffectComposer>
Now our EffectComposer is ready to receive effects.
The list of available effects can be found in the React Postprocessing documentation.
For each effect, it includes a sample of code with the different props available for customization. Some effects also come with CodeSandbox examples to visualize and experiment with.
Let's discover together some of them!
Vignette
If you do some photography, you might be familiar with the term vignette. It is a darkening of the corners of an image.
Vignette helps to draw the viewer's attention to the center of the scene.
Let's add it to our Effects.jsx file:
End of lesson preview
To get access to the entire lesson, you need to purchase the course.

